There’s a significant, sometimes dramatic shift happening in backyard pools. Homeowners are moving away from the cyclical chore of buying, storing, and manually adding chlorine. They’re chasing something better. Something smoother. They’re converting to salt. The allure is undeniable: silky, soft-feeling water that’s gentler on skin and eyes, and a consistent, automated approach to sanitation. It feels less like a chemical bath and more like a natural spring. For our team, designing and building stunning Pools AND Spas is about creating an experience, and a salt system is a massive upgrade to that experience.
But between deciding you want one and actually enjoying that perfect water lies a crucial step: the installation. How to install a pool salt chlorinator is one of the most common questions we get, both from hands-on homeowners and from clients who want to understand exactly what goes into our professional process. It’s a project that seems straightforward but is filled with nuances where experience makes all the difference. This isn’t just about connecting pipes; it’s about integrating a sophisticated piece of equipment into your pool’s circulatory system flawlessly. We’re going to pull back the curtain and show you how it’s done right.
Before You Begin: Is a Salt System Really for You?
Let's be honest, making a change to your pool's core equipment is a big decision. A salt chlorine generator (or salt chlorinator) isn't magic—it’s chemistry. It uses a process called electrolysis to convert dissolved salt (sodium chloride) in your pool water into pure chlorine. You get all the sanitizing benefits without the harsh binders and fillers found in chlorine tabs or shock. The water feels incredibly soft, and you can say goodbye to that overpowering chlorine smell, red eyes, and itchy skin.
We’ve found that for 9 out of 10 clients, the benefits are a game-changer. The convenience alone is a massive win. No more last-minute trips to the pool store because you ran out of chlorine pucks. The system produces chlorine automatically as the pump runs, keeping your pool consistently sanitized. But we also believe in full transparency. The initial investment is higher than a standard chlorinator, and the salt cell, which is the heart of the system, will need to be replaced every 3-7 years. There’s also a persistent myth about salt causing corrosion. Here’s the reality: properly balanced saltwater in a correctly bonded pool poses minimal risk to modern pool equipment. The problems we've seen almost always stem from poor installation or neglected water chemistry. A well-designed pool environment, from the high-grade Pavers SAN Diego on the deck to the proper electrical bonding, creates a system where everything works in harmony.
Gathering Your Arsenal: Tools and Materials
Getting your tools and parts lined up before you start is non-negotiable. Scrambling for a fitting mid-installation is a recipe for frustration. Our service trucks are stocked for any scenario, but for a standard installation, this is the core loadout.
For the Chlorinator System:
- Salt Chlorine Generator: This includes the control box (the brains) and the salt cell (the part that makes the chlorine).
- Owner's Manual: We can't stress this enough. Read it. Every model has slight variations, and the manual is your ultimate source of truth.
For the Plumbing:
- PVC Pipe Cutter: A ratchet-style cutter provides the cleanest cuts.
- Tape Measure & Marker: Precision is your best friend here.
- PVC Primer (Purple) and Cement (Heavy-Duty): Don't cheap out on this. The bond needs to be permanent and leak-proof.
- Deburring Tool or Sandpaper: To smooth the inside and outside edges of cut pipe for a perfect fit.
- Necessary PVC Fittings: You'll likely need unions (most cells come with them) and potentially some couplings or elbows depending on your specific plumbing layout.
For the Electrical:
- Wire Strippers/Cutters
- Screwdrivers (Phillips and Flat-head)
- Conduit and Fittings (if required by local code)
Safety First, Always:
This seems like a lot, but having everything within arm's reach makes the entire process smooth and professional.
The Critical First Step: Sizing Your System Correctly
Here’s a piece of professional insight that can save you years of headaches: always oversize your salt chlorinator. Always. Manufacturers rate their systems by the maximum number of gallons they can treat. It might seem logical to buy a 25,000-gallon system for your 24,000-gallon pool, but our experience shows this is a mistake.
First, you need to know your pool's actual volume. The formula is straightforward:
Length (ft) x Width (ft) x Average Depth (ft) x 7.5 = Total Gallons
Once you have that number, buy a chlorinator rated for a significantly larger pool—we recommend at least 1.5 times your pool's volume. A 40,000-gallon unit for a 25,000-gallon pool is a perfect match. Why? An oversized unit can produce the same amount of chlorine by running at a lower percentage and for less time. This puts far less strain on the salt cell, dramatically extending its lifespan. It also gives you a ton of extra power when you need it, like after a big pool party or a storm. Undersizing forces the unit to run at 100% capacity constantly, leading to premature failure. It's a classic case of spending a little more now to save a lot more later.
Here’s a quick comparison of common salt cell models to illustrate the point:
| Cell Model |
Max Pool Size (Gallons) |
Expected Lifespan |
Primary Use Case |
| T-Cell-3 |
Up to 15,000 |
~10,000 hours |
Best for smaller pools or spas where space is tight. |
| T-Cell-9 |
Up to 25,000 |
~10,000 hours |
A common mid-range option, but can be overworked in hot climates or high-use pools. |
| T-Cell-15 |
Up to 40,000 |
~10,000 hours |
Our standard recommendation for most average-sized pools (20k-30k gallons). |
As you can see, the lifespan in hours is similar, but an oversized cell achieves the required sanitation in fewer run hours per day, translating directly to more years of service.
Finding the Perfect Spot: Location, Location, Location
The placement of your new equipment is just as important as the plumbing itself. You have two components to worry about: the control box and the salt cell.
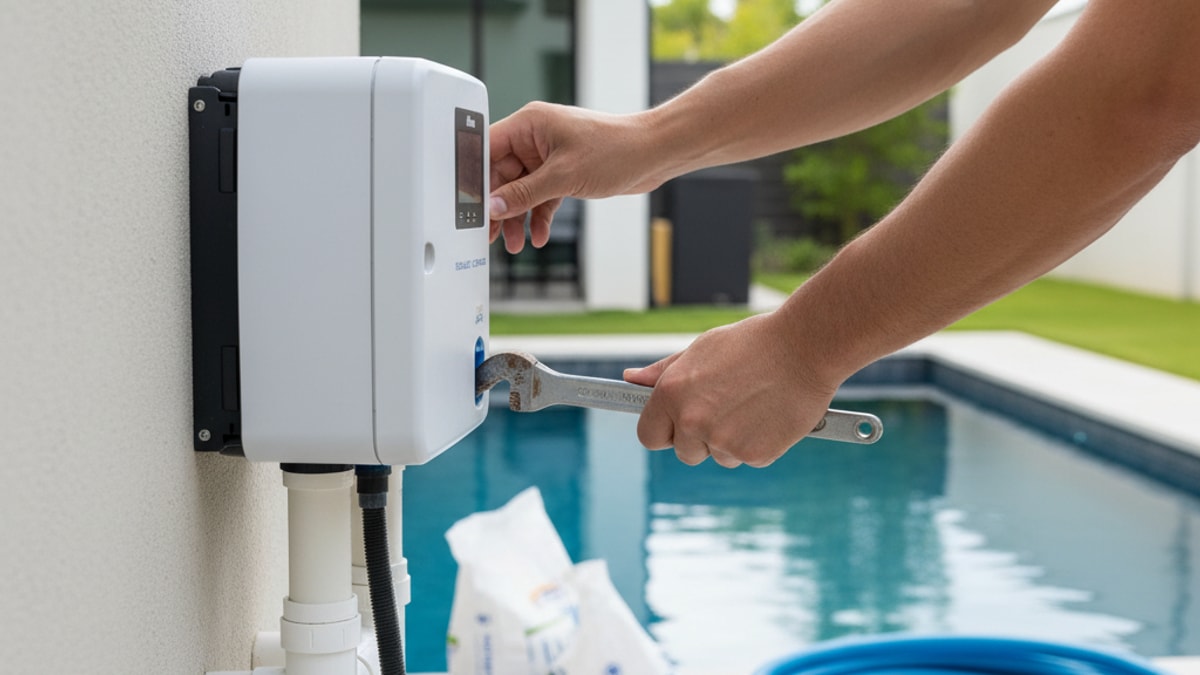
The Control Box: This unit houses the electronics. It needs to be mounted vertically on a sturdy wall or post near your pool equipment pad. Choose a spot that's protected from direct, relentless sun and sprinklers if possible. It also needs to be easily accessible so you can check readings and make adjustments. We typically install it at eye level. Most importantly, it needs to be a safe distance from the pool itself, according to electrical codes, and have a clear path for electrical conduit from your power source.
The Salt Cell: This is where the magic happens, and its placement is absolutely critical. The rule is simple: the salt cell must be the very last piece of equipment the water passes through before it returns to the pool. This means it goes after the filter and after the heater. If you install it before a heater, the highly concentrated chlorine generated inside the cell can quickly corrode the heater's delicate internal components, leading to a catastrophic and expensive failure. We've seen it happen, and it's completely avoidable. The cell should also be installed on a straight run of pipe, ideally with at least 6-12 inches of straight pipe before it, to ensure smooth water flow.
Let's Talk Plumbing: Cutting In the Salt Cell
This is the part that often intimidates people, but with careful measurement and patience, it's very manageable. Here’s our step-by-step process.
POWER DOWN. COMPLETELY. This is our number one rule. Go to your home's circuit breaker panel and turn off the breaker that powers your pool pump, filter, and any other related equipment. Don't just turn it off at the timer. Kill the power at the source.
Mark Your Cuts. With the system off, identify the section of return-line pipe where the cell will live (after the filter/heater). Place the cell assembly (with its unions attached) against the pipe and use a marker to indicate exactly where you need to cut. Remember the old saying: measure twice, cut once. Check your marks again.
Make Clean Cuts. Use a PVC pipe cutter to make your two cuts. A cutter provides a clean, square edge that a hacksaw can't match. A clean edge is essential for a strong, leak-free solvent weld.
Deburr and Dry-Fit. Use a deburring tool or a piece of sandpaper to smooth the inside and outside of the cut pipe ends. This removes any small plastic burrs that could impede flow or weaken the joint. Now, dry-fit everything. Slide the unions onto the pipe ends, insert the cell, and make sure it all lines up perfectly. Check the flow-direction arrow on the cell to ensure it's oriented correctly with the water flow. It should be level.
Prime and Glue. This is the point of no return. Working one joint at a time, apply the purple PVC primer to the outside of the pipe and the inside of the fitting. The primer cleans and softens the PVC, preparing it for the cement. Immediately follow up with a thin, even layer of PVC cement on both surfaces. Don't glob it on. Push the pipe into the fitting with a slight quarter-turn twist and hold it firmly in place for at least 30 seconds. You'll feel it grab.
Cure. Let it Cure. We see people rush this part all the time. PVC cement needs time to cure and harden fully before you introduce pressurized water. The manufacturer's instructions will give you a specific cure time based on temperature and humidity. Follow it religiously. We typically wait several hours, if not overnight, before turning the system back on.
The Electrical Side: Wiring the Control Box
Let's be very clear here. If you are not 100% comfortable and knowledgeable about working with electricity, this is the time to call a licensed electrician. For every one of our Pools AND Spas installations, a certified electrician handles the final hookup. It's a matter of safety and code compliance.
That said, understanding the principle is important. The salt chlorinator's control box must be wired so that it only receives power when the pool pump is running. If the chlorinator runs while the pump is off, concentrated chlorine gas can build up in the pipes, creating a dangerous situation. This is typically achieved by wiring the control box to the load side of the pump's timer or relay.
The control box will need to be connected to the correct voltage (either 120V or 240V, check your model) and properly grounded. The wire from the salt cell then plugs directly into the control box, a connection that's usually simple and weatherproof. Proper grounding and bonding of all pool equipment is a critical safety feature that prevents electrical shock and minimizes galvanic corrosion.
The Moment of Truth: Adding Salt and Starting Up
With the plumbing cured and the electrical complete, you're ready for the final steps. This is where your pool officially begins its transformation.
First, you need to add salt. But how much? The target salinity for most chlorinators is between 3000 and 3500 parts per million (PPM). For a brand-new conversion on a freshwater pool, a good rule of thumb is about 50 pounds of salt for every 2,000 gallons of water. Use only high-purity, food-grade, non-iodized salt specifically intended for pools. Do not use rock salt or water softener salt.
The right way to add it is to broadcast the salt directly into the deep end of the pool, then use your pool brush to sweep it around the bottom to help it dissolve. Here's a pro tip: point your return jets downwards to help circulate the water along the pool floor.
Now for the most important part: let the pump run for a full 24 hours to allow the salt to dissolve and distribute completely before you turn the chlorinator on. Turning the chlorinator on too early, before the salt concentration is uniform, can trick the sensors and cause error codes or even damage the cell. Patience is key.
After 24 hours, it's time. Power on the salt chlorinator. The control box should light up, and you can begin the final setup.
Calibration and Fine-Tuning Your New System
Your new system isn't a 'set it and forget it' device—at least not initially. You'll need to dial it in.
Start by setting the desired chlorine output. Most systems use a percentage setting (0% to 100%). We recommend starting around 50%. Let it run for a day or two, then test your free chlorine level. The ideal range is 1-3 PPM. If it's too low, bump the output percentage up. If it's too high, dial it back. It might take a week of small adjustments to find the sweet spot for your specific pool.
Remember that a salt chlorinator is there to manage one thing: chlorine production. You are still the pool's manager. You must continue to test and balance your other chemical levels, especially pH and alkalinity. The process of generating chlorine can cause the pH to rise, so you'll likely need to add a pH reducer (like muriatic acid or dry acid) more frequently than before. Stabilizer (Cyanuric Acid or CYA) is also crucial. It acts like a sunscreen for your chlorine, protecting it from being destroyed by the sun's UV rays. Without it, your chlorinator will work overtime for nothing. A well-maintained pool is a holistic system, where a beautiful finish using quality Concrete SAN Diego and elegant Landscape Lighting SAN Diego is supported by perfectly balanced water.
Finally, the most important maintenance task is cleaning the salt cell. Over time, calcium deposits will build up on the metal plates inside the cell, reducing its efficiency. Most modern systems are 'self-cleaning' (they reverse polarity to flake off scale), but they all require a manual cleaning every 3 months or so. This involves removing the cell, capping one end, and filling it with a mild acid solution to dissolve the buildup. It's a simple 15-minute job that will keep your system running at peak performance for years.
Installing a salt chlorinator is a transformative upgrade for any pool. It elevates the swimming experience and simplifies daily maintenance in a profound way. While it's a project that a skilled DIYer can tackle, there’s no substitute for professional expertise to ensure every cut is clean, every connection is secure, and the entire system is optimized for longevity and safety. If you're considering making the switch and want it done perfectly, that's what we're here for. Let's talk about transforming your pool; BOOK MY FREE CONSULTATION and our design team can walk you through the entire process.


.webp)
.webp)