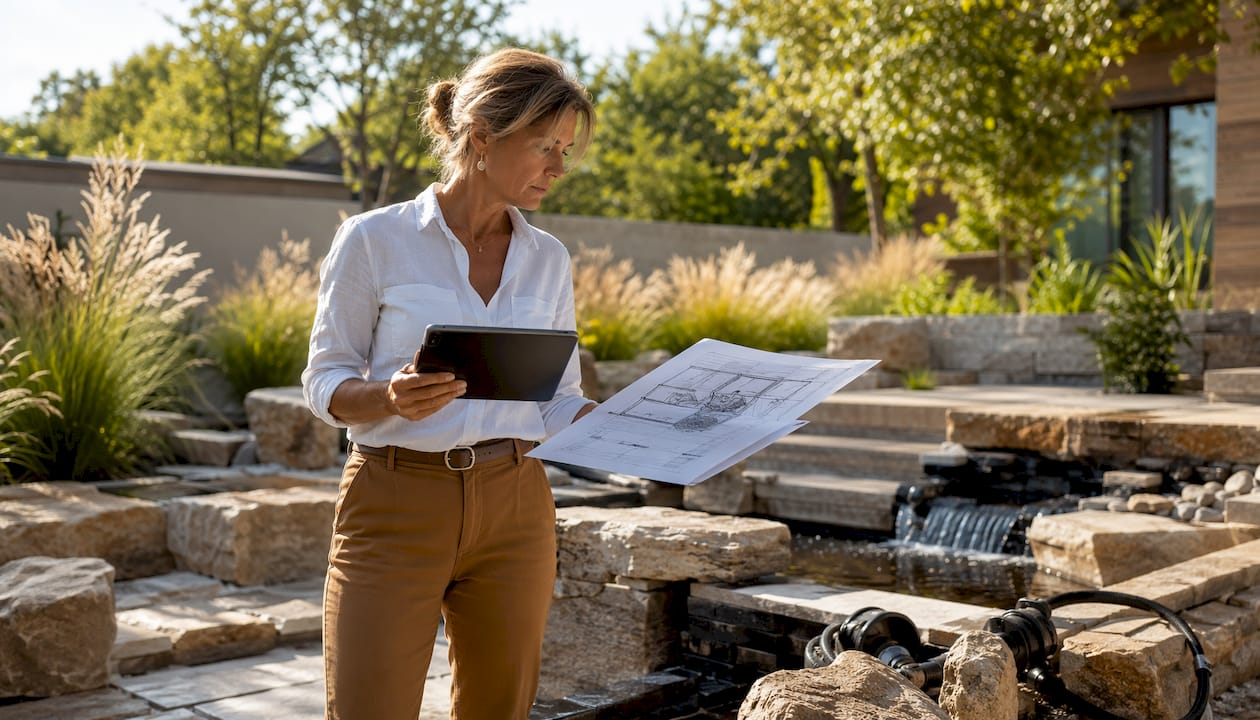
July 19, 2026 · outdoor kitchen layout planning steps
Outdoor Kitchen Layout Design: Your Complete 2026 Guide
Discover what outdoor kitchen layout design means and learn how to create a functional, inviting cooking space for your home. Dive in!
Practical, honest guidance on concrete, driveways, pavers, outdoor kitchens, pools, and the craft of luxury landscape design — written from deep San Diego design-build experience.
Discover what outdoor kitchen layout design means and learn how to create a functional, inviting cooking space for your home. Dive in!

Explore 5 lasdstudio.com alternatives to decide on luxury providers that transform your outdoor spaces with quality craftsmanship and personalized service.
Discover the role of focal point backyard design to create an elegant outdoor space. Transform your yard and enhance your home experience today!
A clear, criteria-based breakdown of the three professionals a San Diego homeowner can hire to build a backyard, and how to pick the right one for your project's complexity, budget, and timeline.
A tactical due-diligence checklist for hiring a luxury landscape design-build firm in San Diego: the exact questions to ask, how to verify a CSLB license, and the red flags that mean walk away before you sign.
Discover the luxury landscape vs standard landscaping difference. Explore how design, materials, and costs create distinct outdoor experiences.
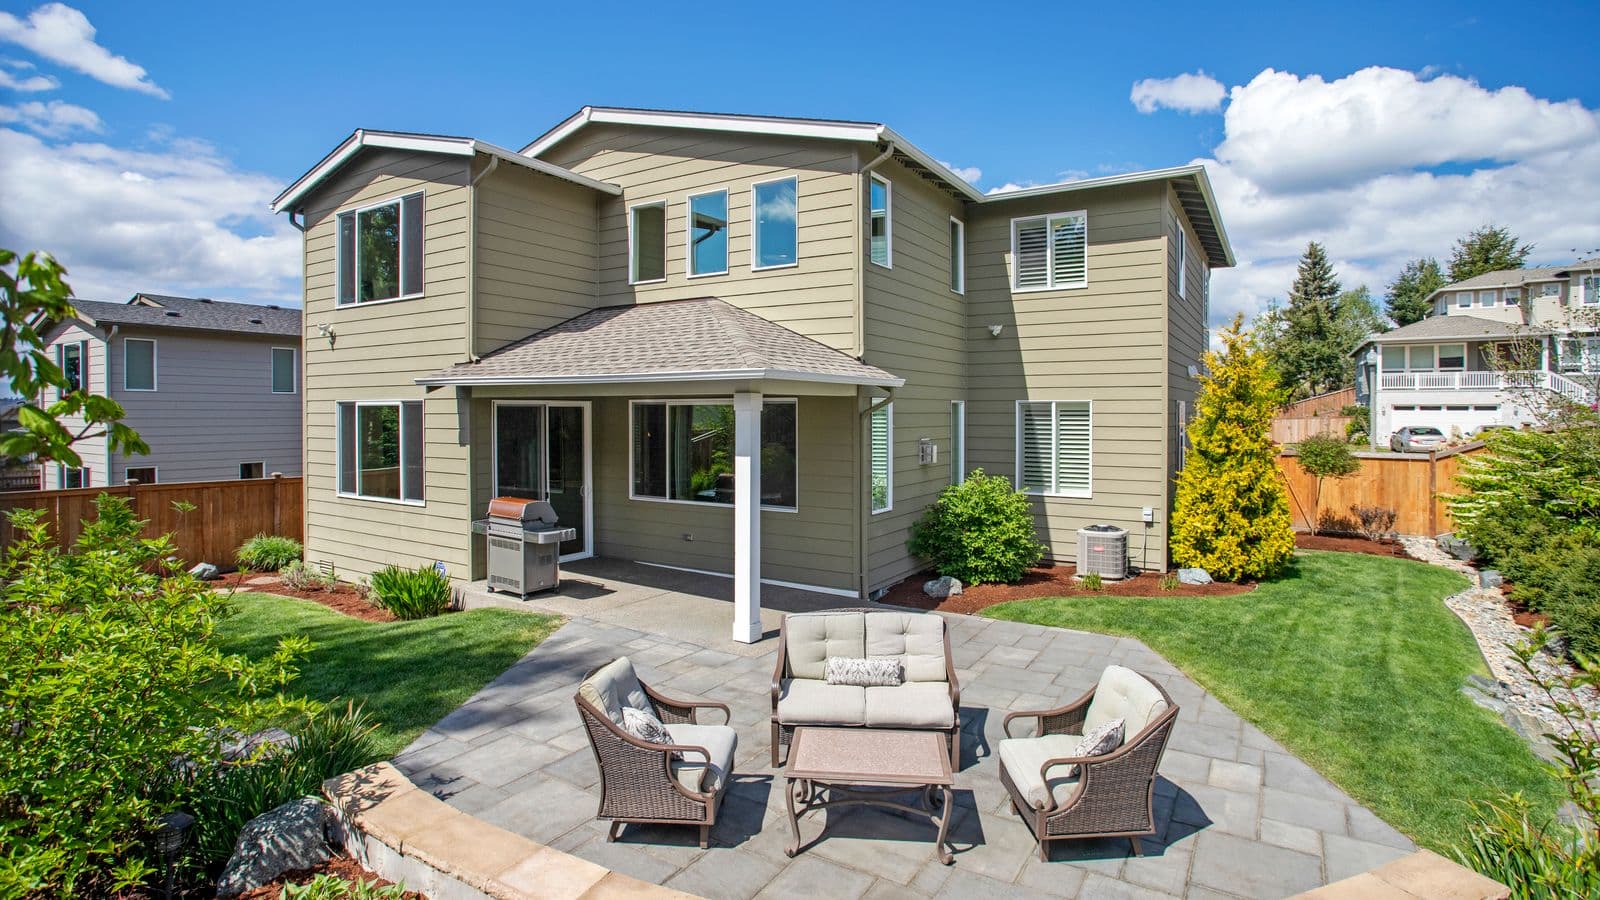
Discover effective backyard entertaining layout examples that enhance your space. Create inviting zones for cooking, dining, and lounging to impress guests.

Discover why every backyard project needs a licensed contractor. Ensure legal protection, quality work, and secure your investment today!
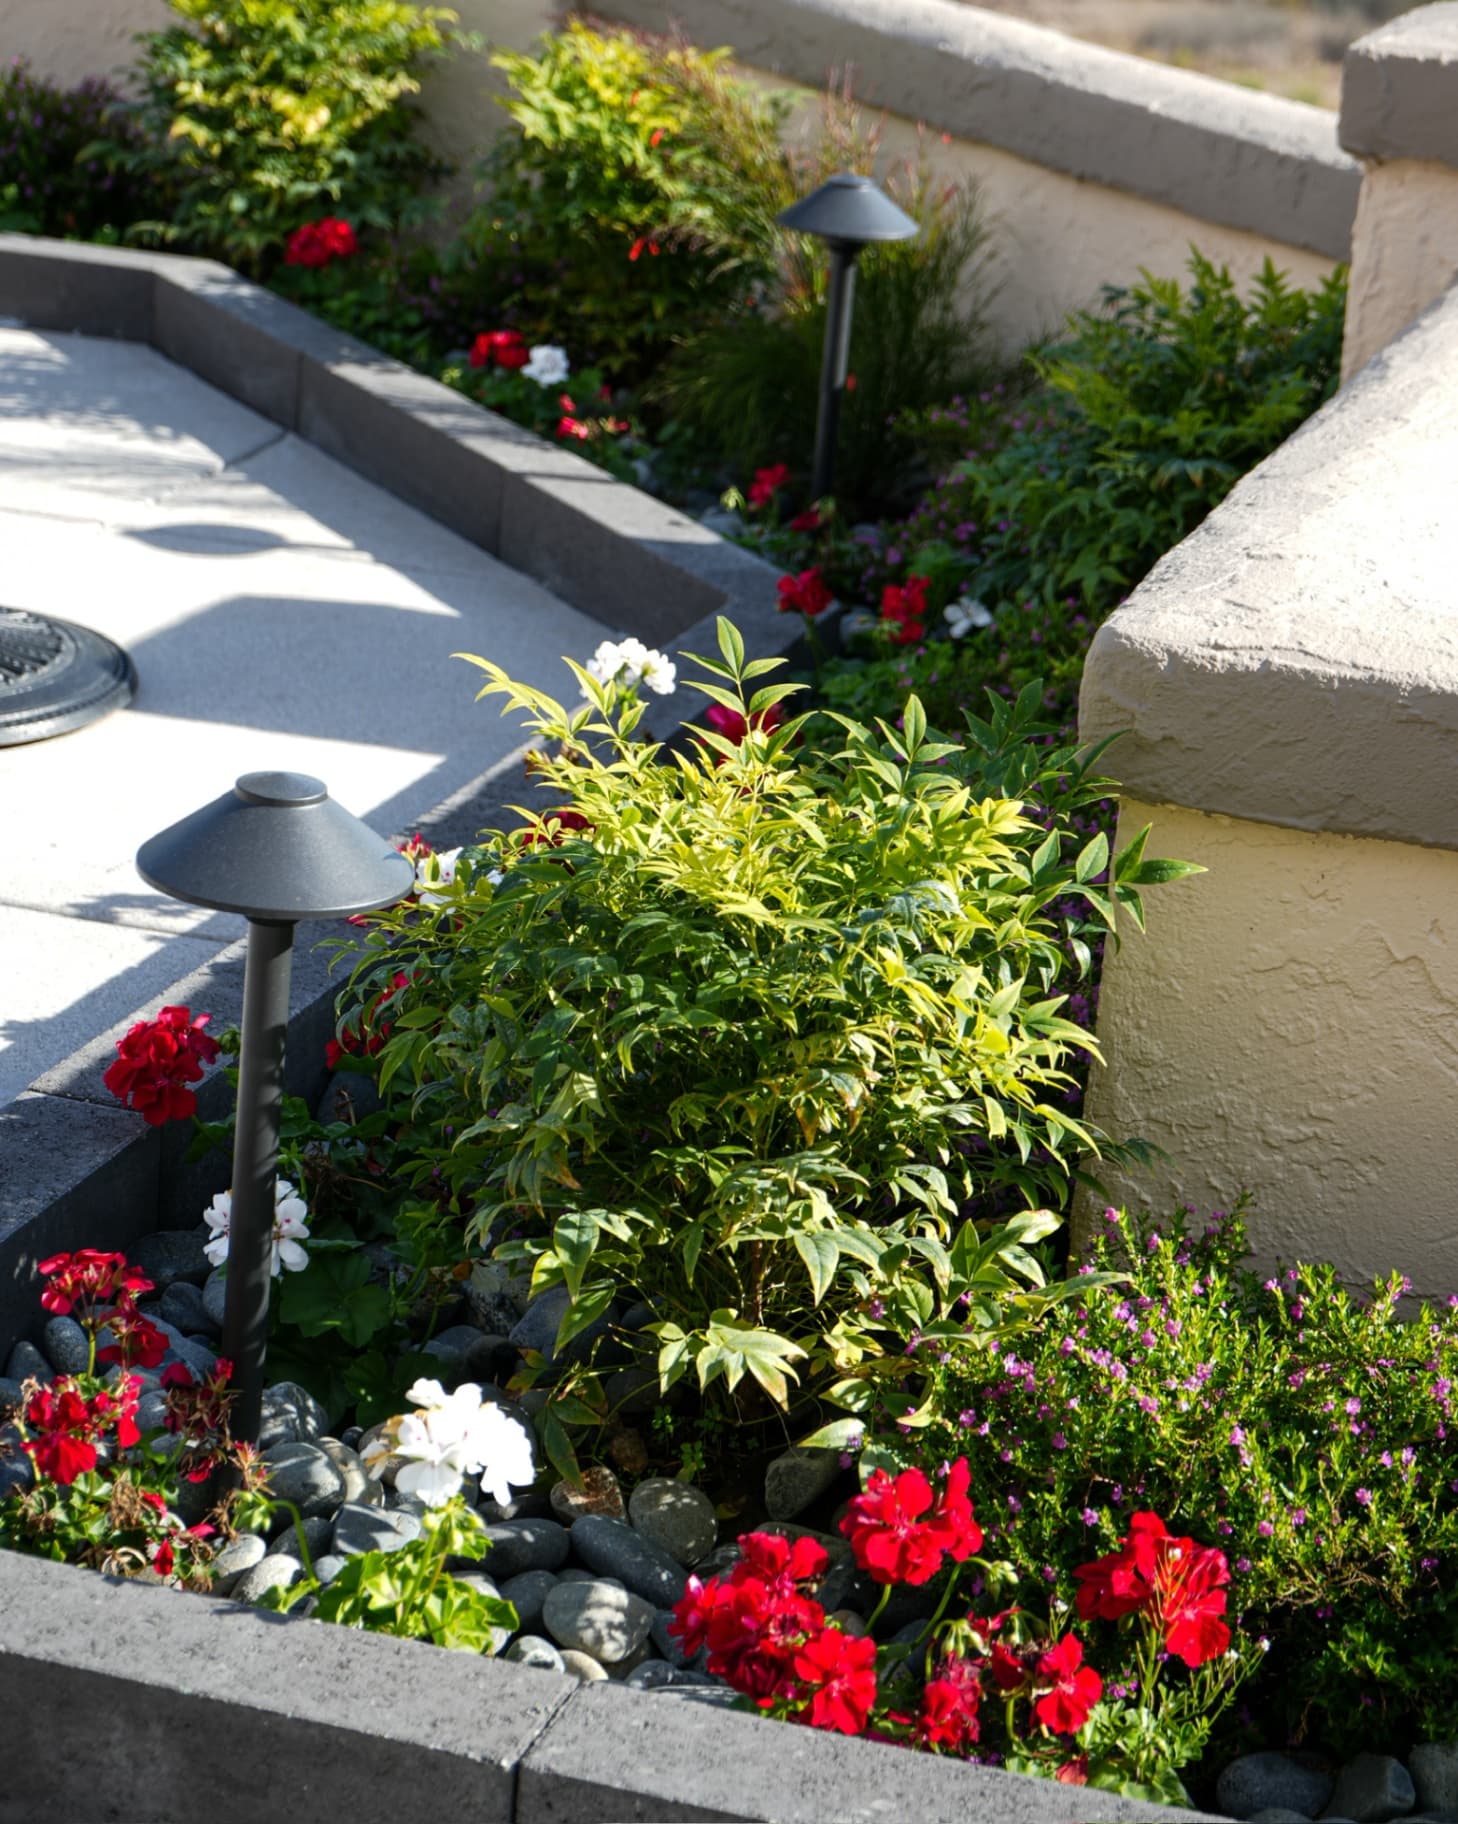
Discover the role of native plants in luxury landscapes. Save water, reduce maintenance, and create beautiful, eco-friendly outdoor spaces.
What a backyard remodel actually costs in San Diego in 2026, broken down by scope and by component, plus what moves the price, whether it adds home value, and how homeowners finance it.
How landscape design is priced in San Diego, why design-build folds the design fee into the build, and what a full landscape project actually costs by scope in 2026.
Before you spend six figures on your backyard, here is how San Diego homeowners separate a design-build firm worth hiring from one to walk away from.

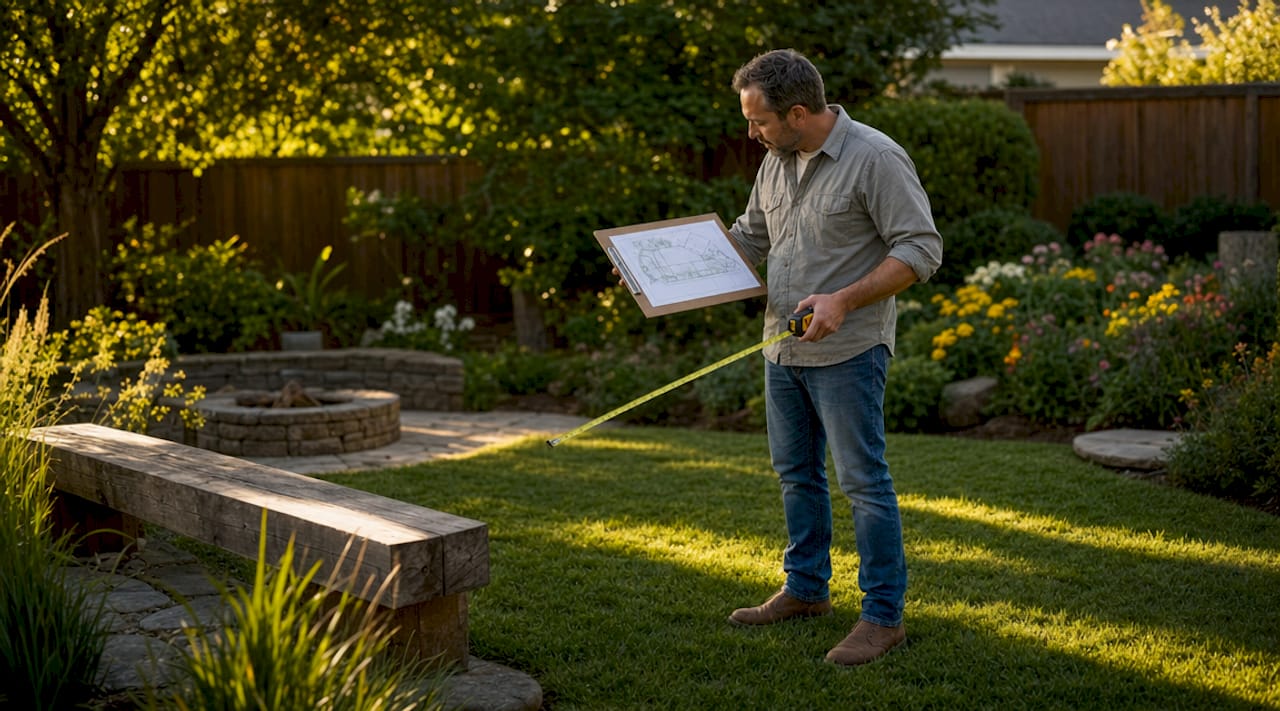
Discover what is backyard design feasibility and learn how to successfully plan your outdoor project to enhance your home's value.
Discover backyard project 3D rendering benefits. Visualize your outdoor renovation with precise details for fewer surprises and better results.
Discover effective backyard landscape drainage solutions to prevent water damage and keep your outdoor spaces usable. Find the right fit today!

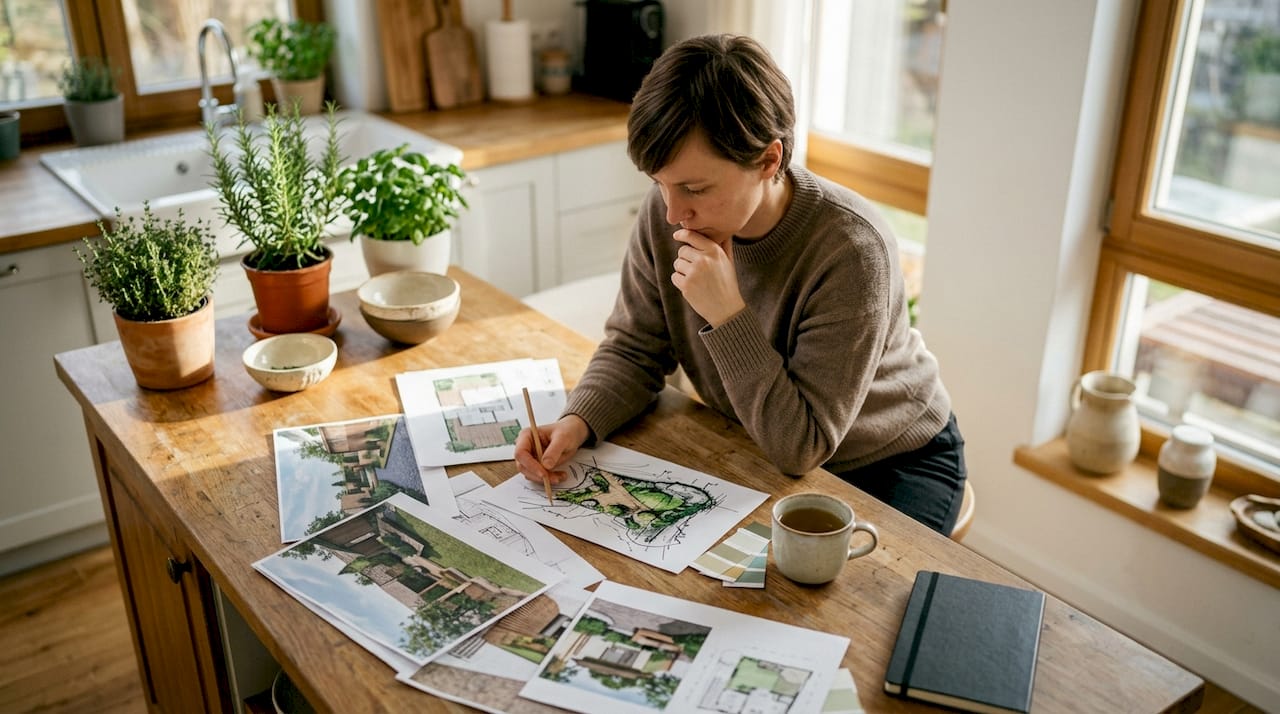
Discover essential landscape design process steps for luxury homeowners. Transform your property seamlessly while avoiding costly surprises.
Discover why backyard design before construction is crucial for control over costs and results. Ensure your outdoor project is a success!
Discover the ultimate backyard privacy landscaping design approach. Transform your yard into a secluded retreat with effective strategies!

Discover what a landscape design plan includes and how it ensures a smooth construction process, guiding your outdoor project from start to finish.

Discover 5 newagedesignandbuild.com alternatives to help you choose the best luxury landscape design-build providers for your outdoor space.

Discover the crucial role of outdoor dining space design in luxury homes. Transform your backyard into a stunning, functional retreat today!
Discover what a full-service landscape company means and how it can transform your outdoor space. Learn to protect your investment today!
Discover what does 3D landscape rendering show homeowners. Visualize your outdoor space before construction for informed decisions!
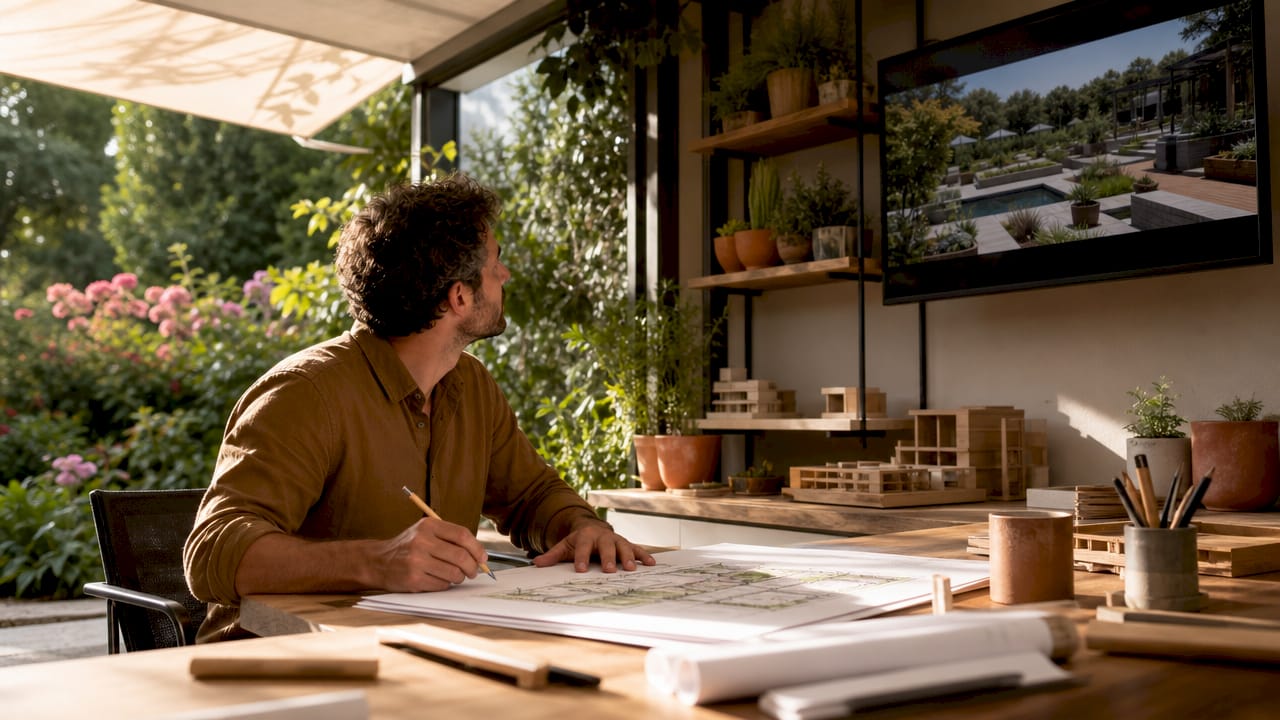
Discover the crucial role of 3D rendering in outdoor design! Enhance communication and visualize your dream spaces before construction starts.

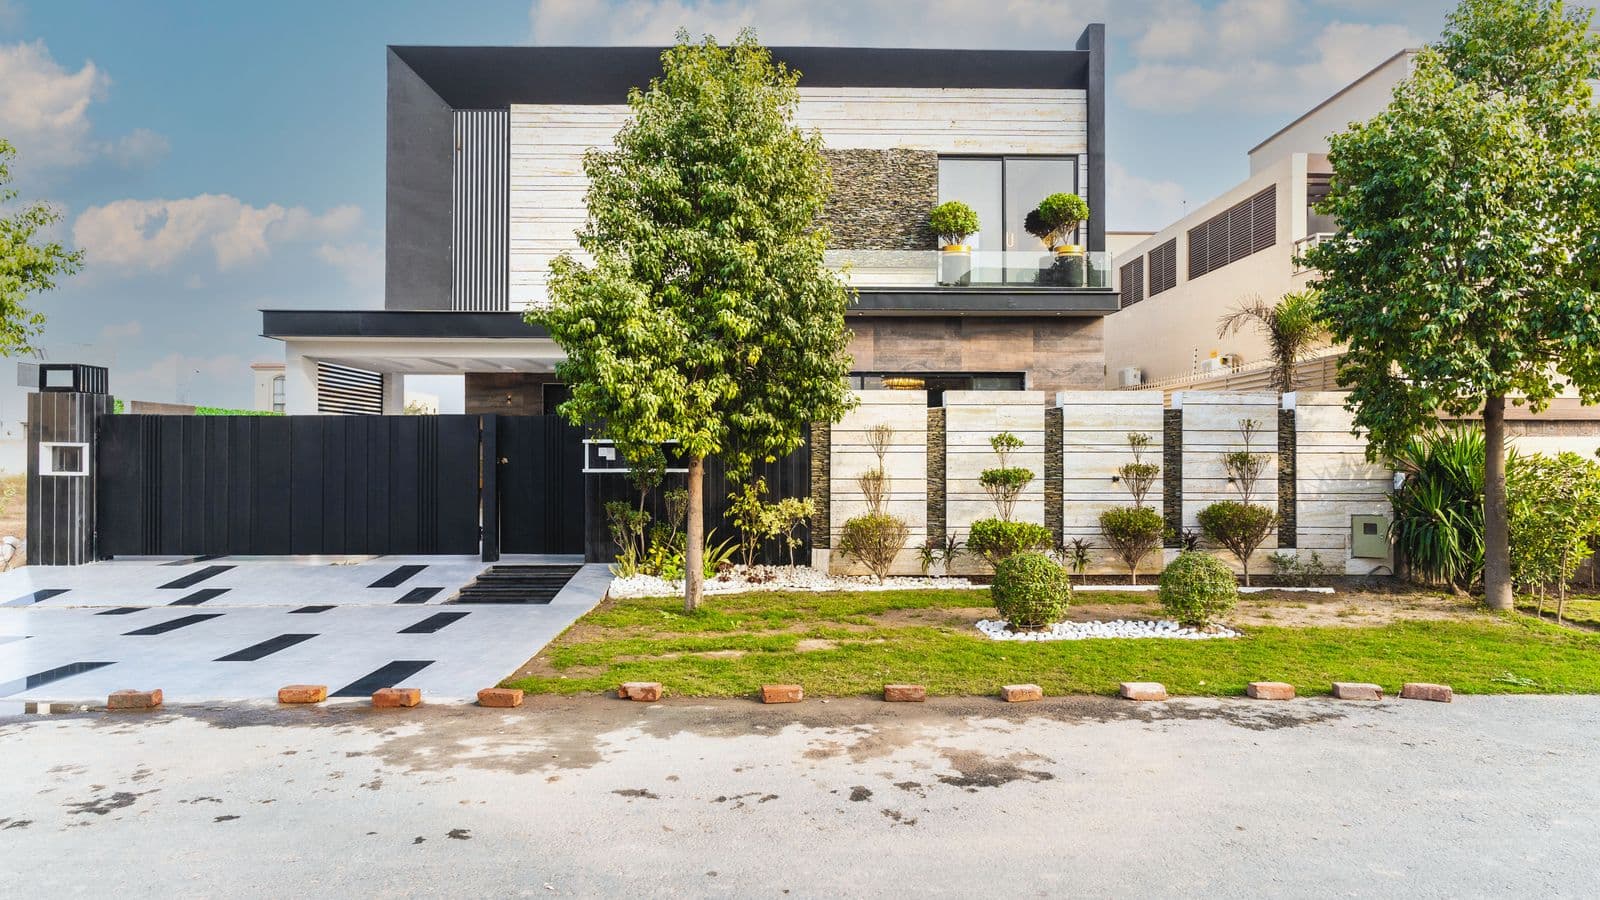
Discover the best backyard design style types for 2026. Transform your outdoor space into a cohesive, beautiful living area with expert tips!

Explore 5 epiclandscapeconstruction.com alternatives providers to help you choose the best luxury landscape design for your outdoor living projects.
Discover what backyard entertainment zone design is and how it can transform your outdoor space into functional, inviting areas for every occasion.

Discover how the design build model landscaping explained can transform your outdoor space with seamless integration, fewer miscommunications, and better...
Discover stunning full yard hardscape examples that enhance luxury outdoor living. Transform your space into a cohesive and valuable retreat!
Discover the perfect hardscape vs softscape backyard balance to transform your outdoor space. Learn how to create harmony and functionality!

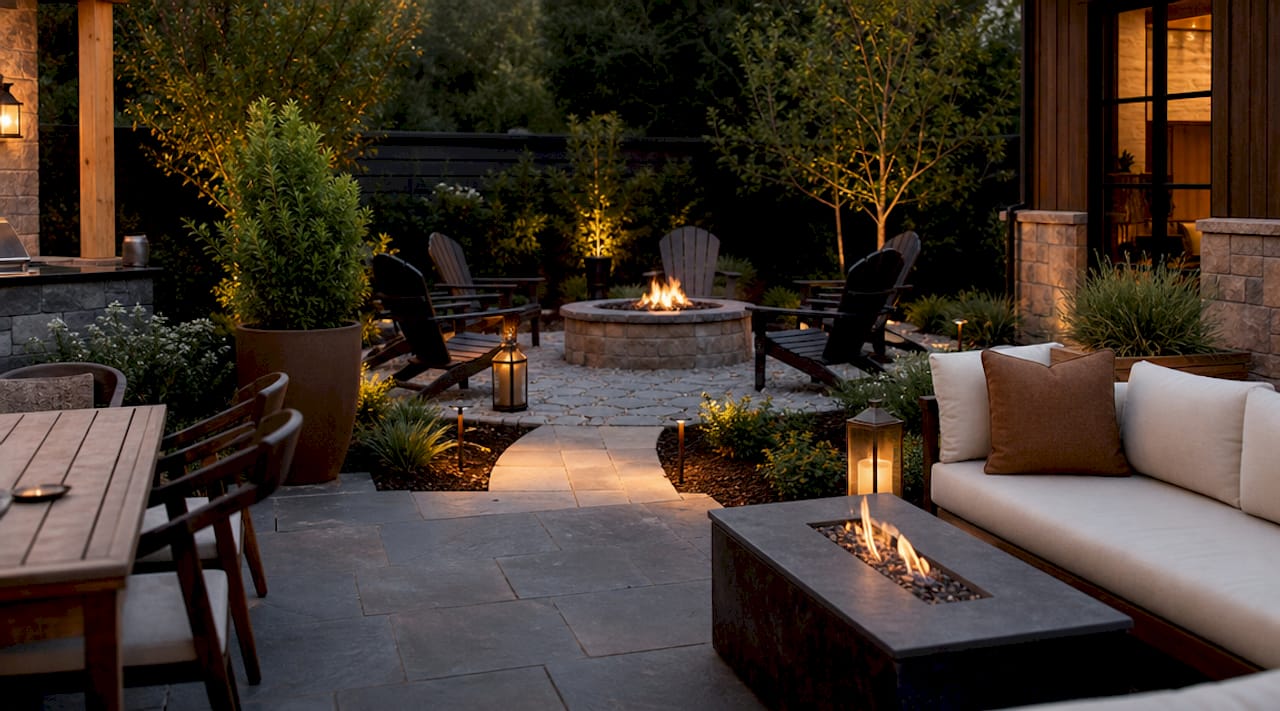
Discover what outdoor living space design is and how it can transform your yard into a functional, valuable extension of your home.
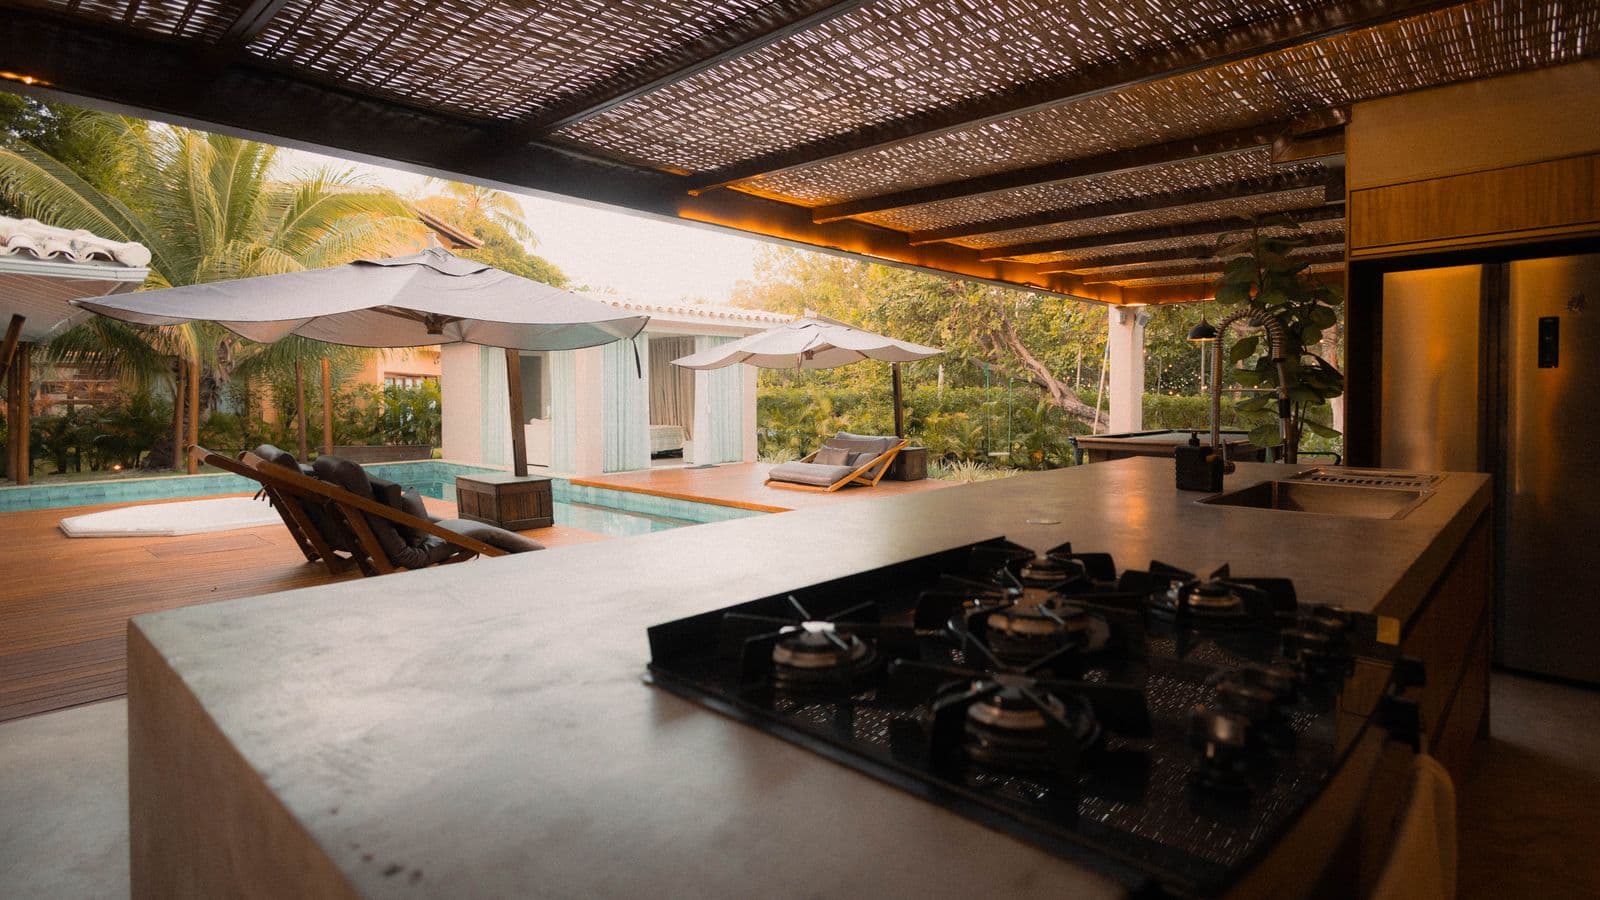
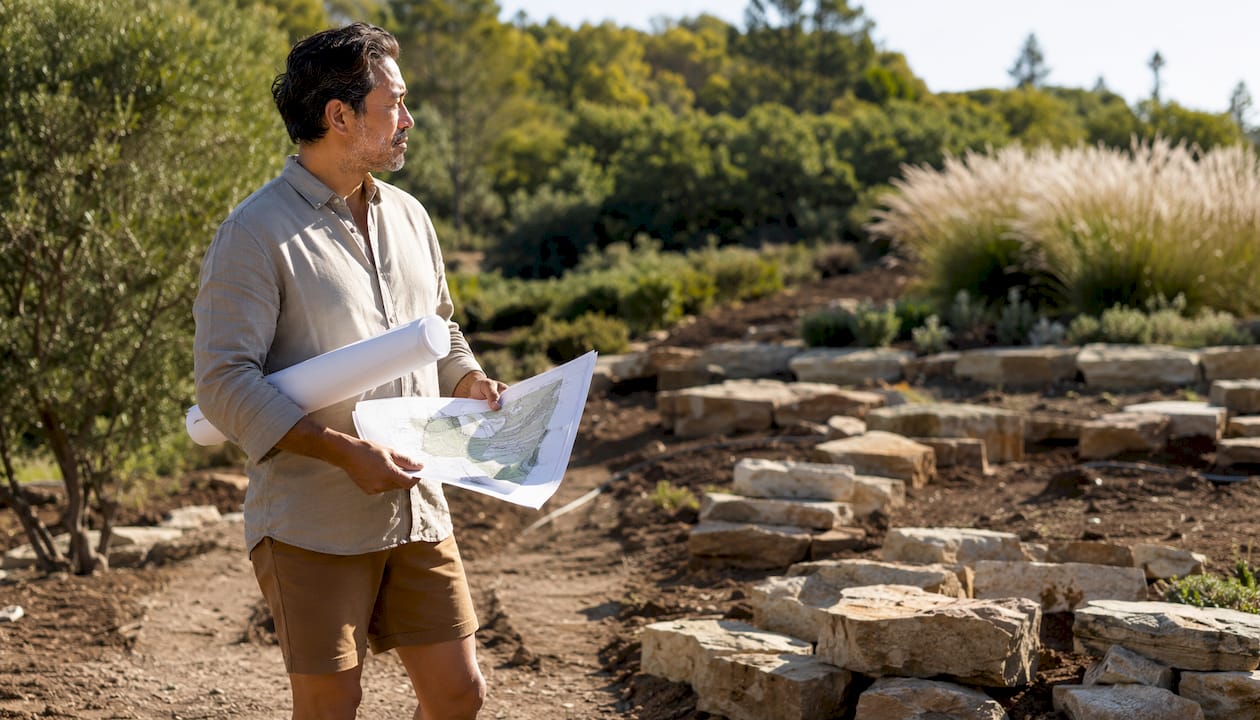
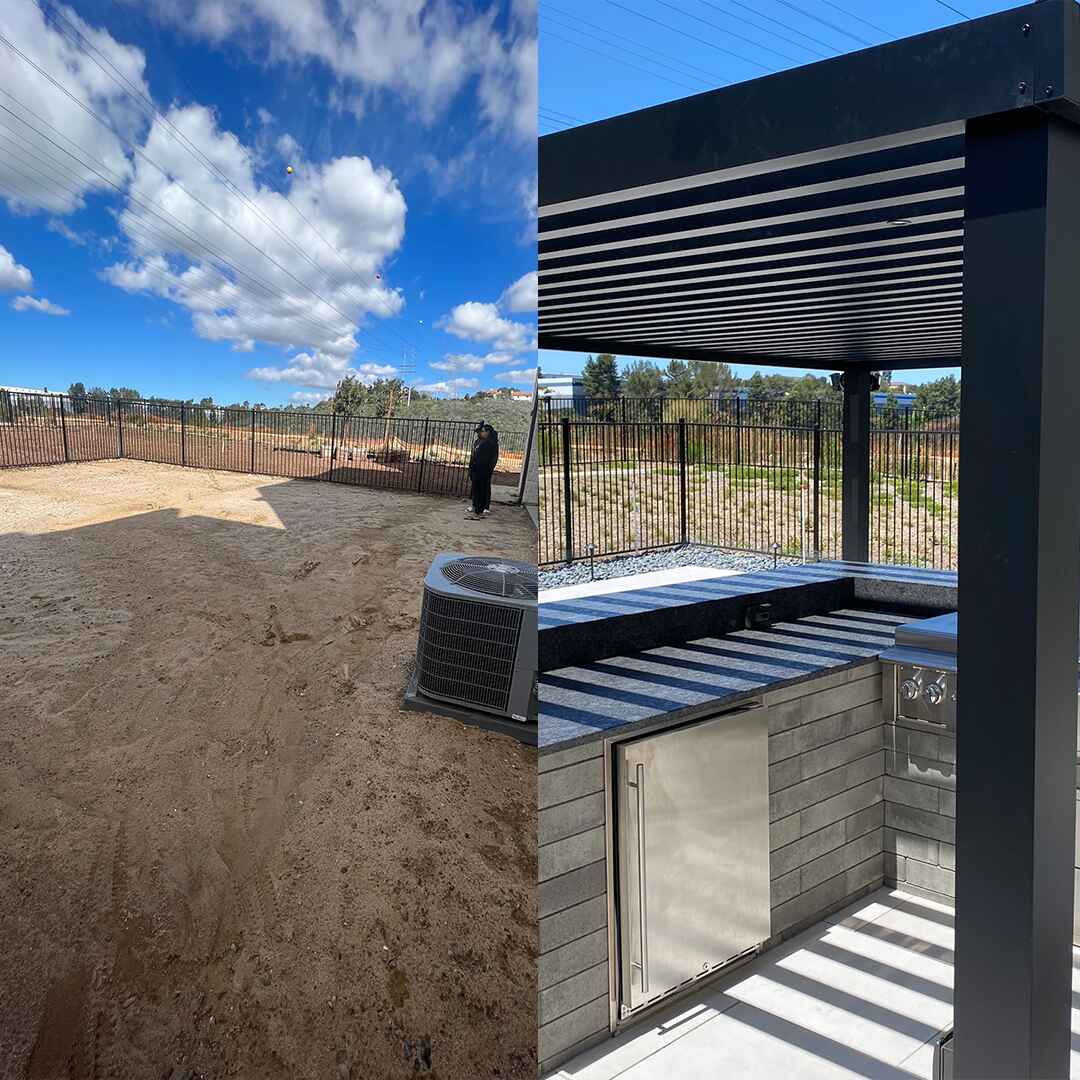
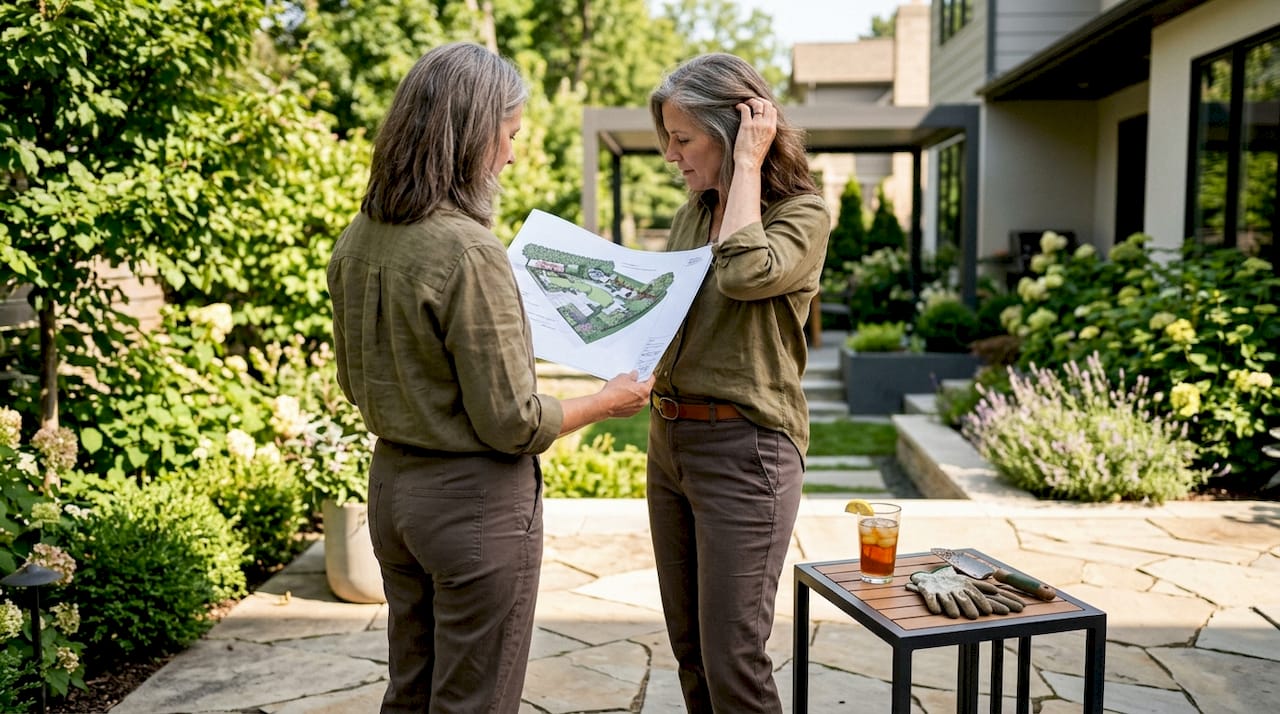
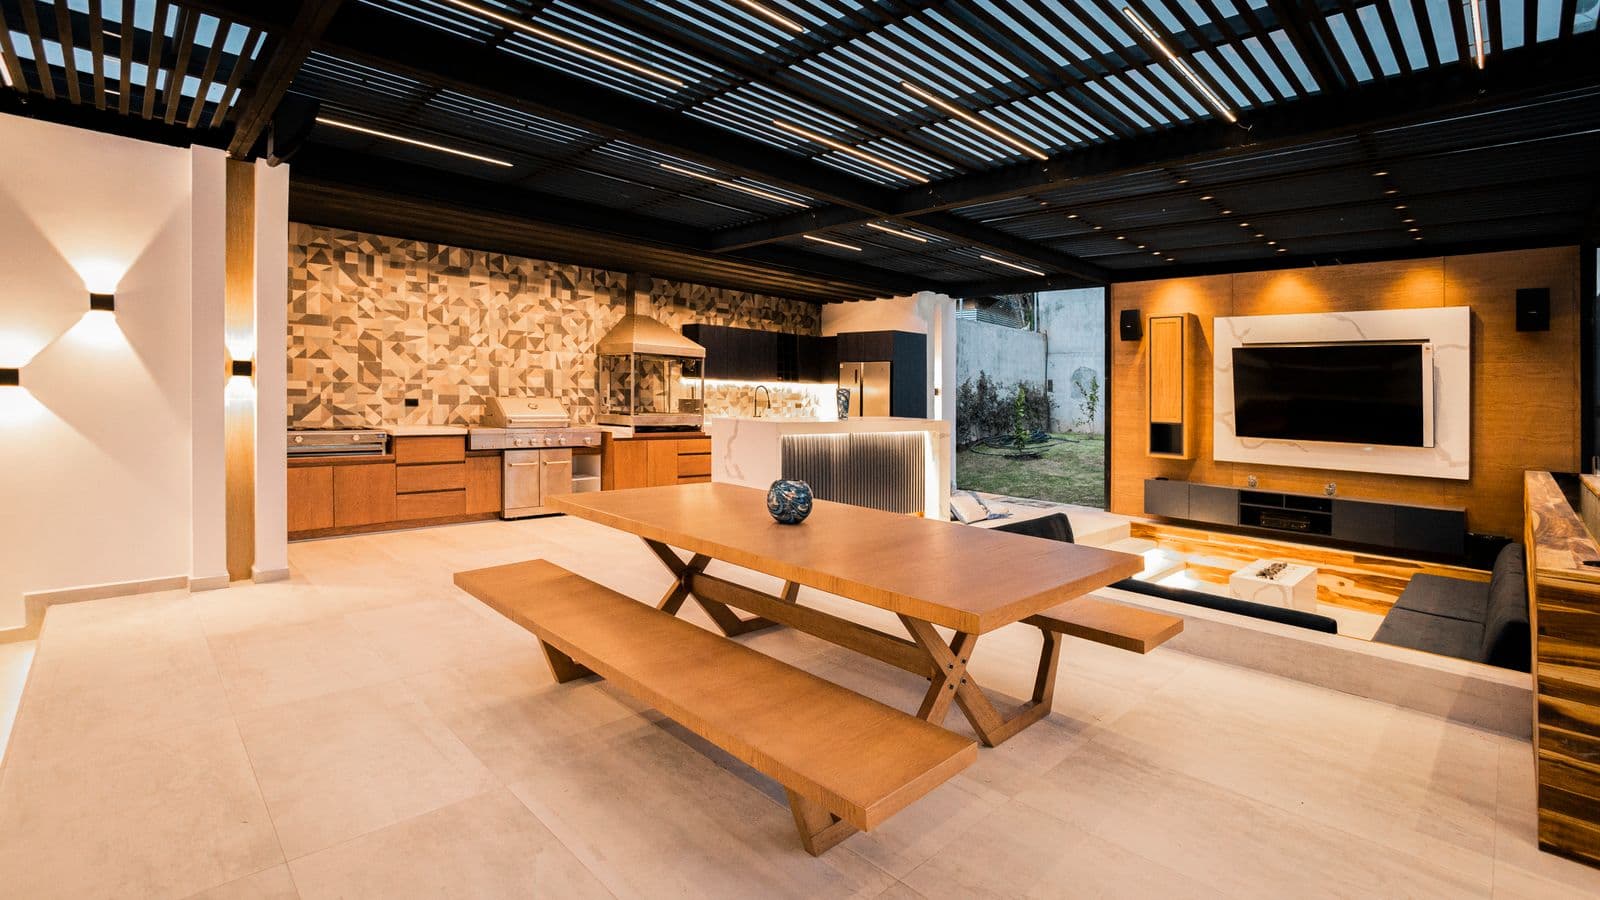
You’ve got the vision. A sprawling stone countertop, a built-in grill sizzling away, a sink for easy cleanup, maybe even a pizza oven and a beverage fridge.

Do You Need a Permit for a Retaining Wall? (2026 Rules) The permit violation letter arrives three weeks after your contractor finishes pouring the footer.
It’s a question our team at Modern Yardz gets almost daily. Homeowners, looking out at their backyard, see untapped potential.

You've invested in your outdoor space, cultivating a personal oasis, and perhaps that includes a robust retaining wall.

Dreaming of an outdoor space that’s more than just a patio?

A retaining wall, often a crucial element of a meticulously designed outdoor space, isn't just a structural necessity; it's an investment in your property'
Every homeowner eventually faces decisions about their outdoor space, and for many, addressing sloped terrain or creating defined garden areas brings up a

It's one of the first, and biggest, questions homeowners face when planning a new driveway or replacing an old one.
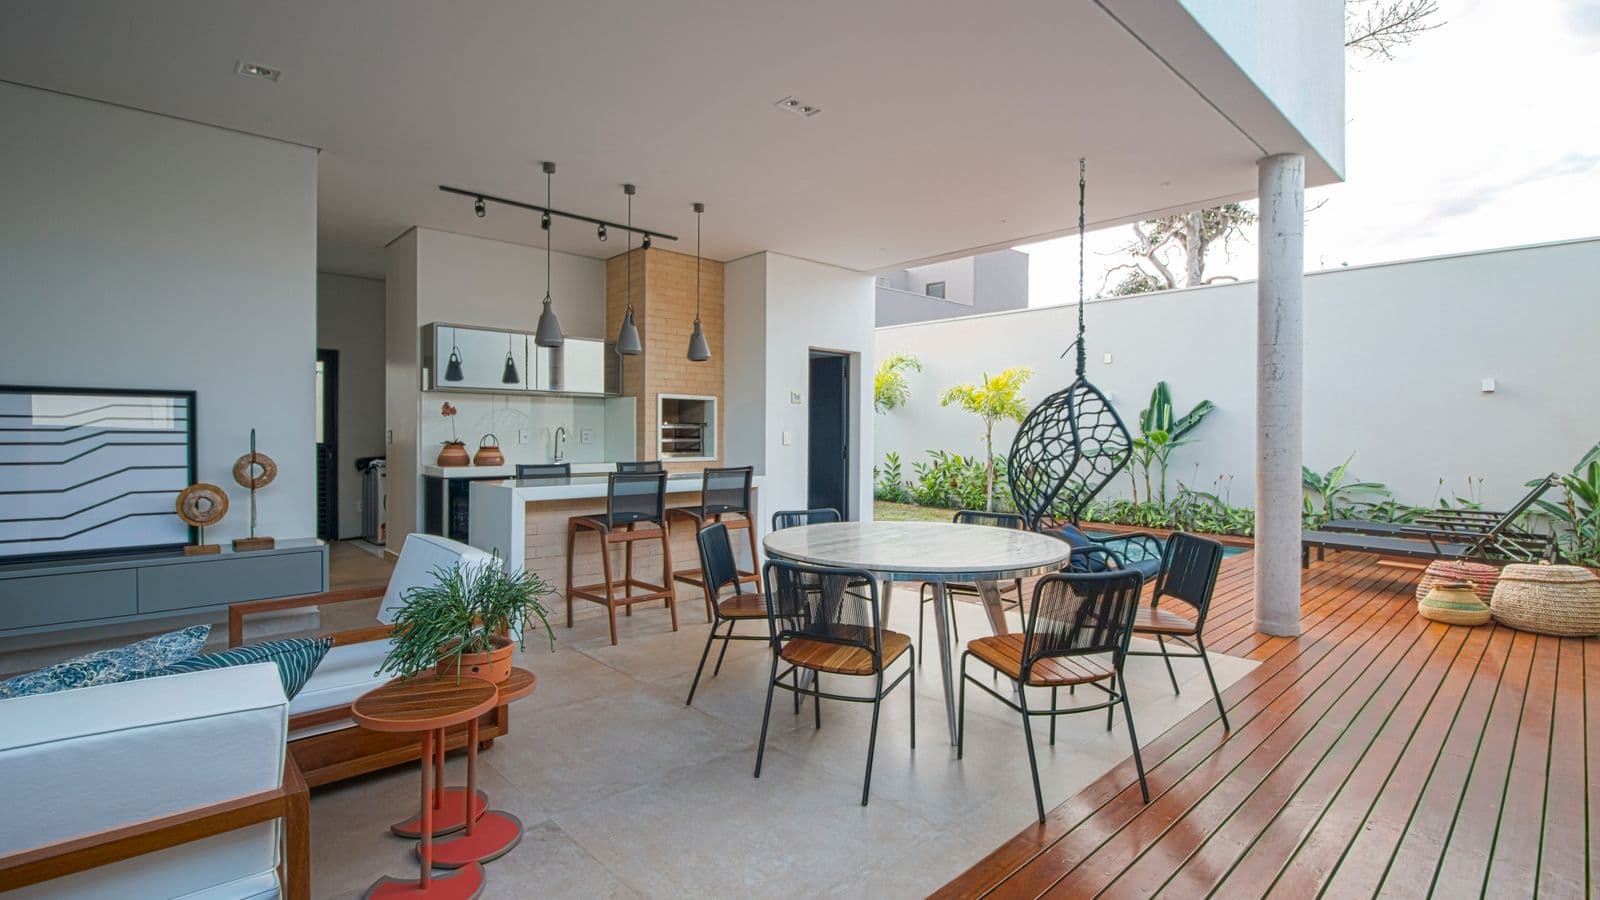
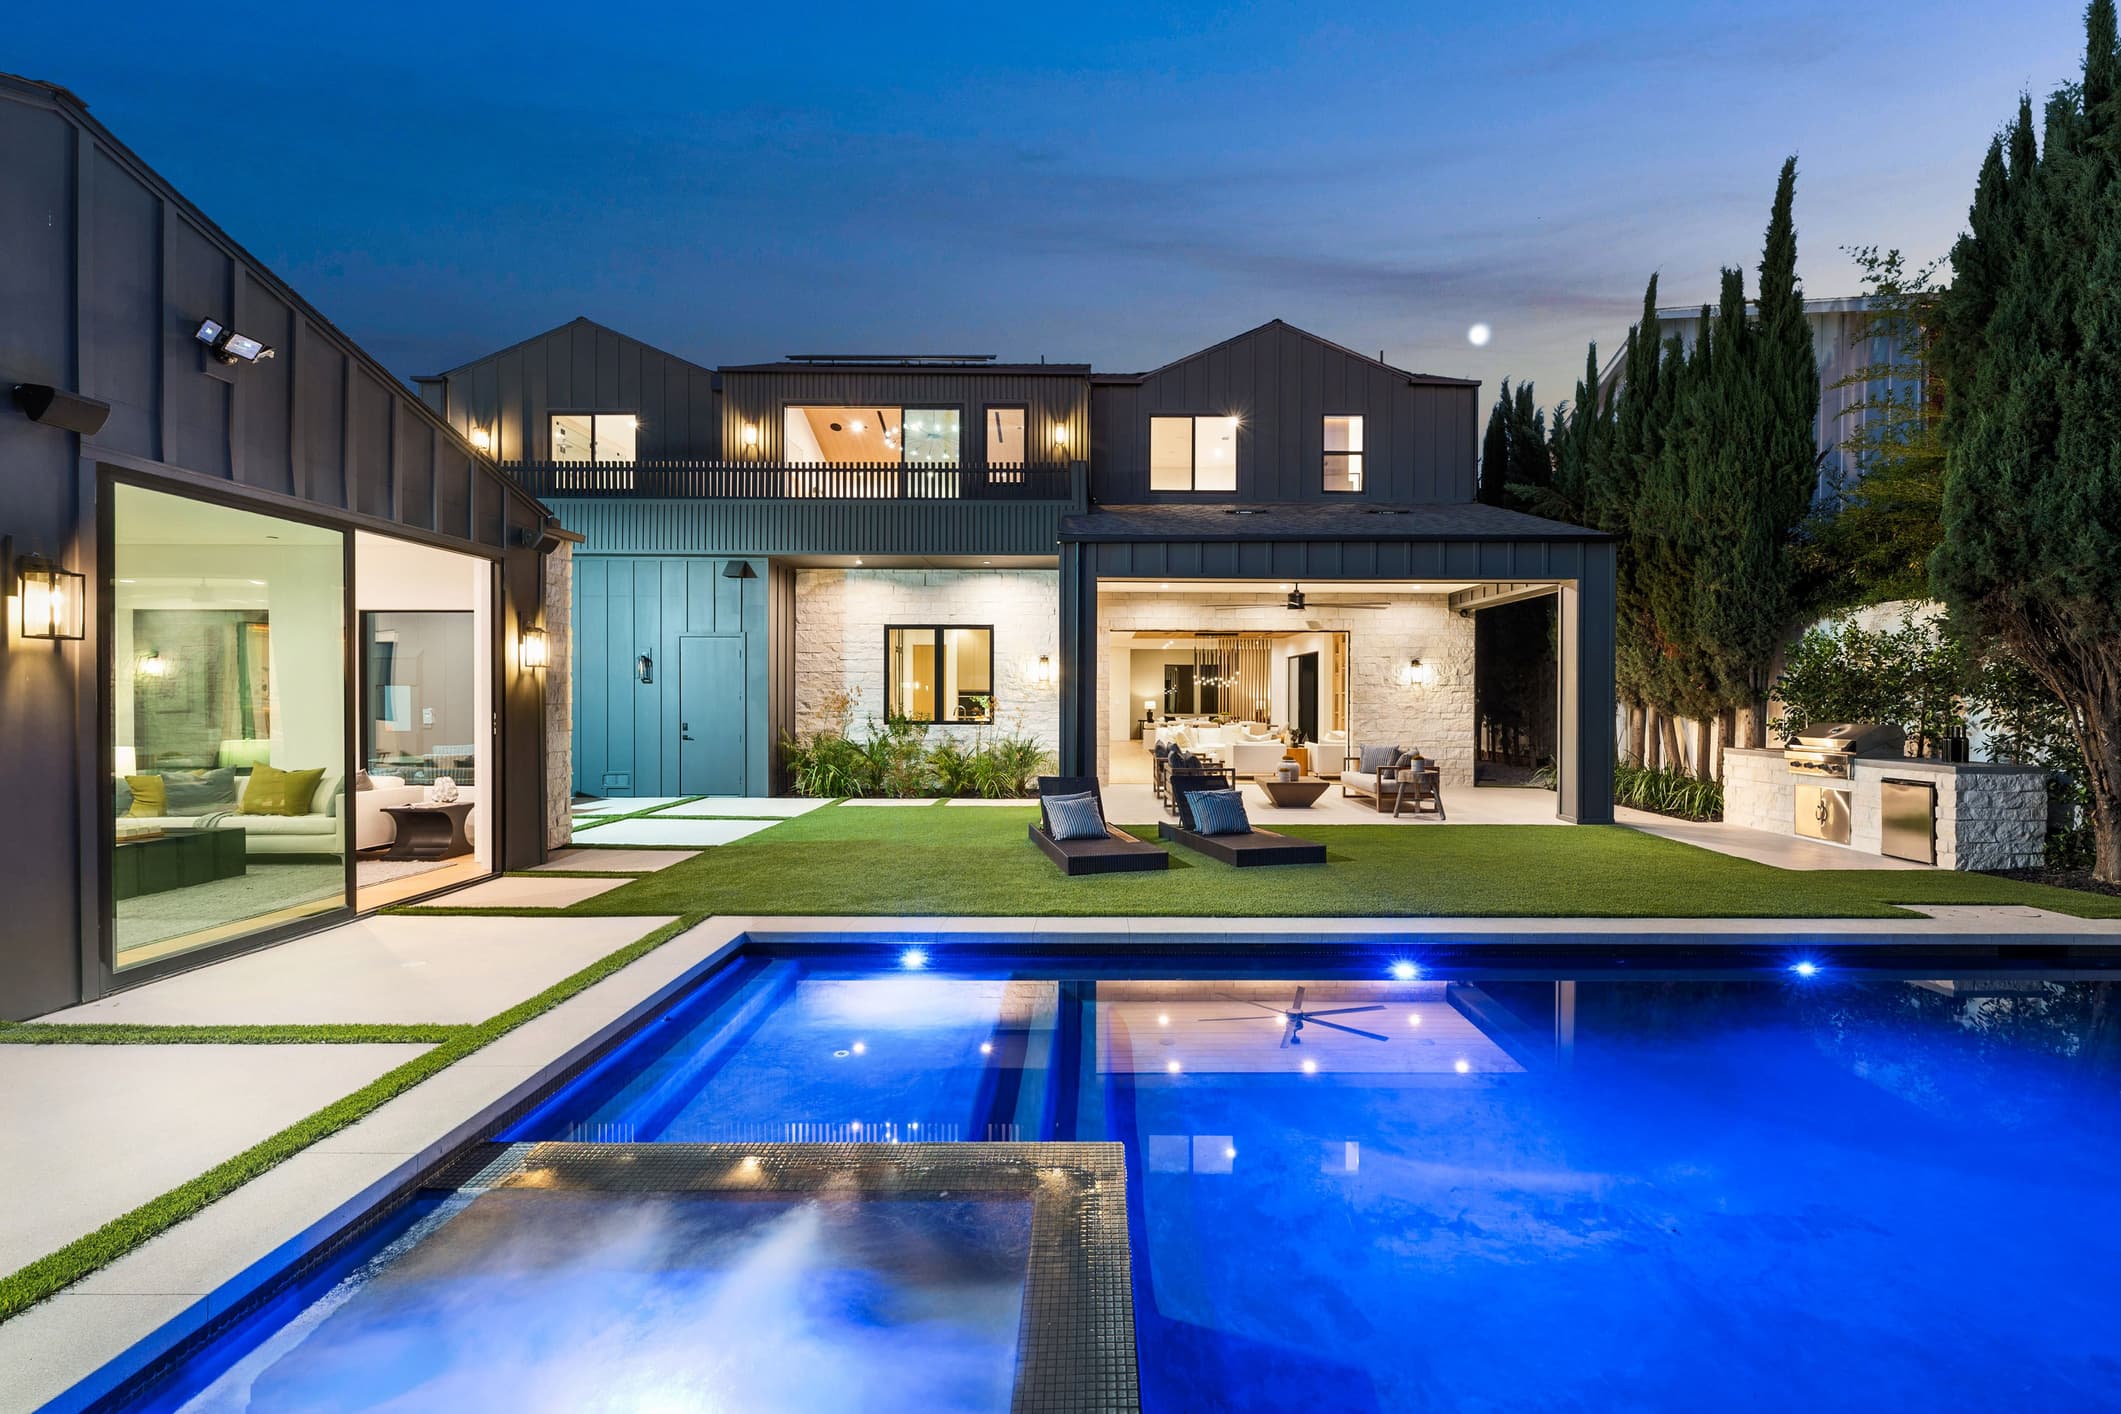
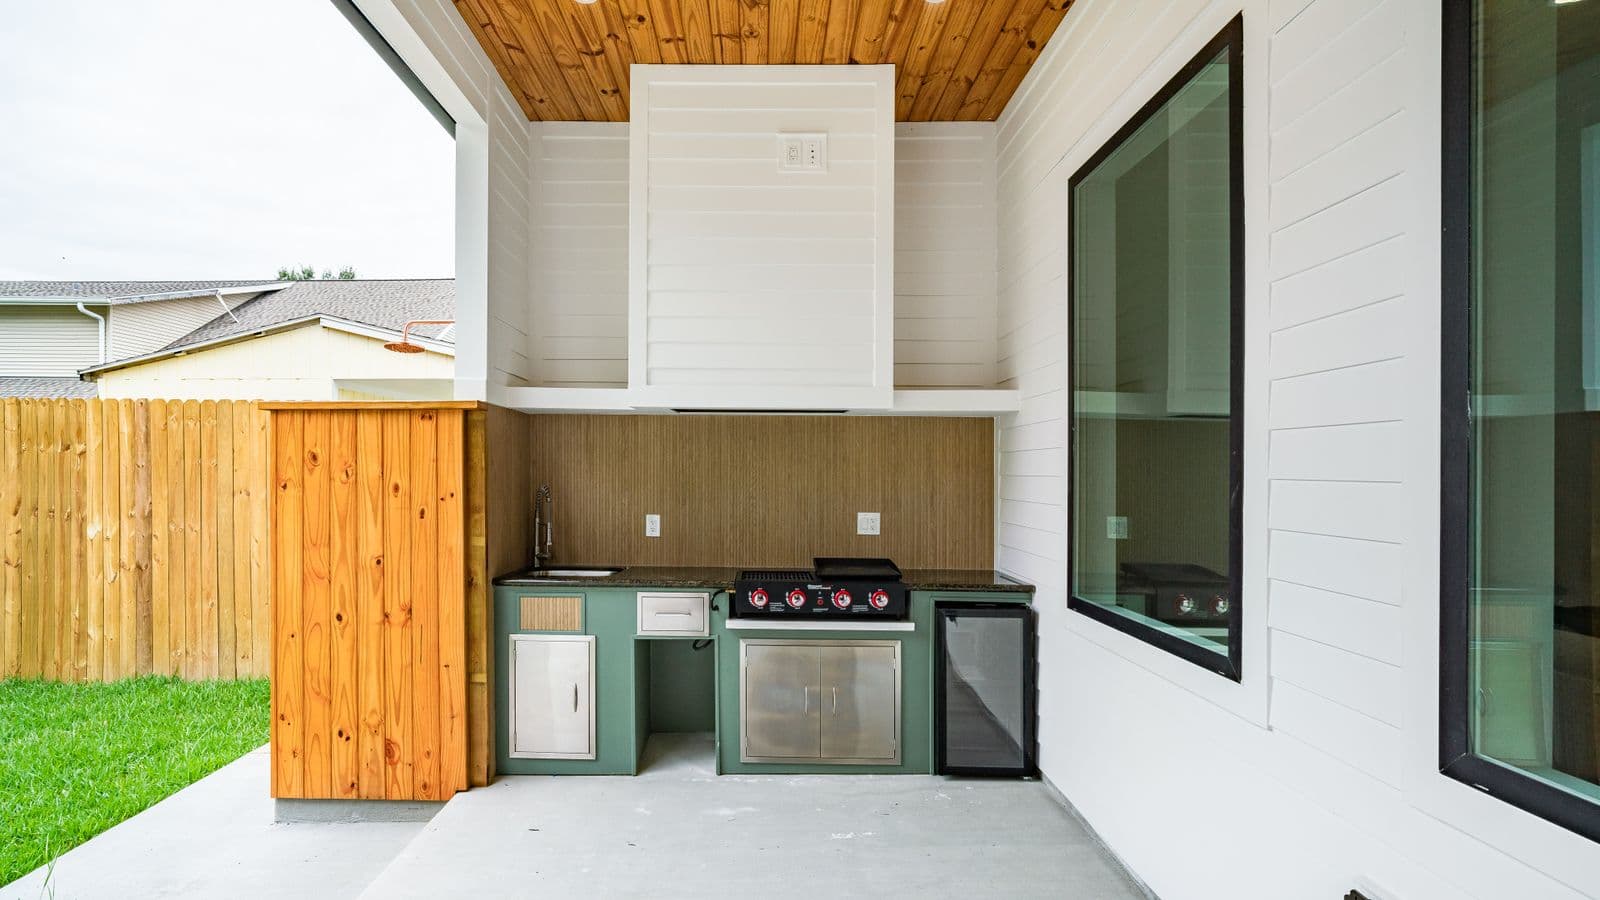
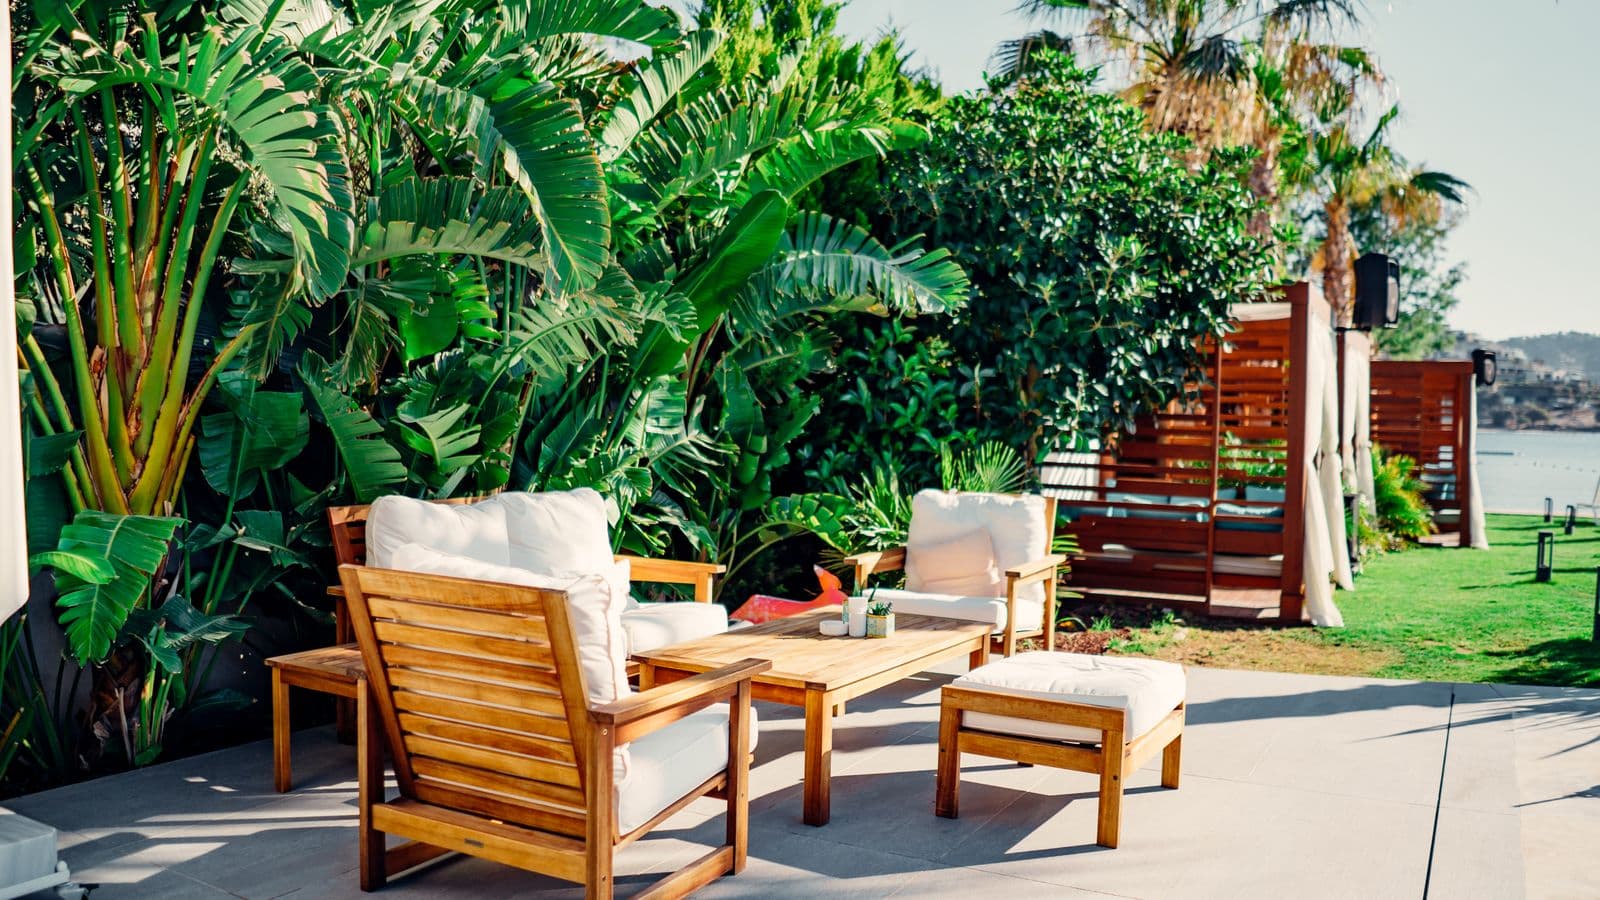
An outdoor kitchen isn't just an addition to your backyard; it's the heart of it.

Building a retaining wall? It's a significant investment, a structural marvel that can utterly transform a sloped yard into usable, beautiful tiers.

The allure of an outdoor kitchen is undeniable.

Every homeowner eventually faces a challenge that brings them to consider a retaining wall.

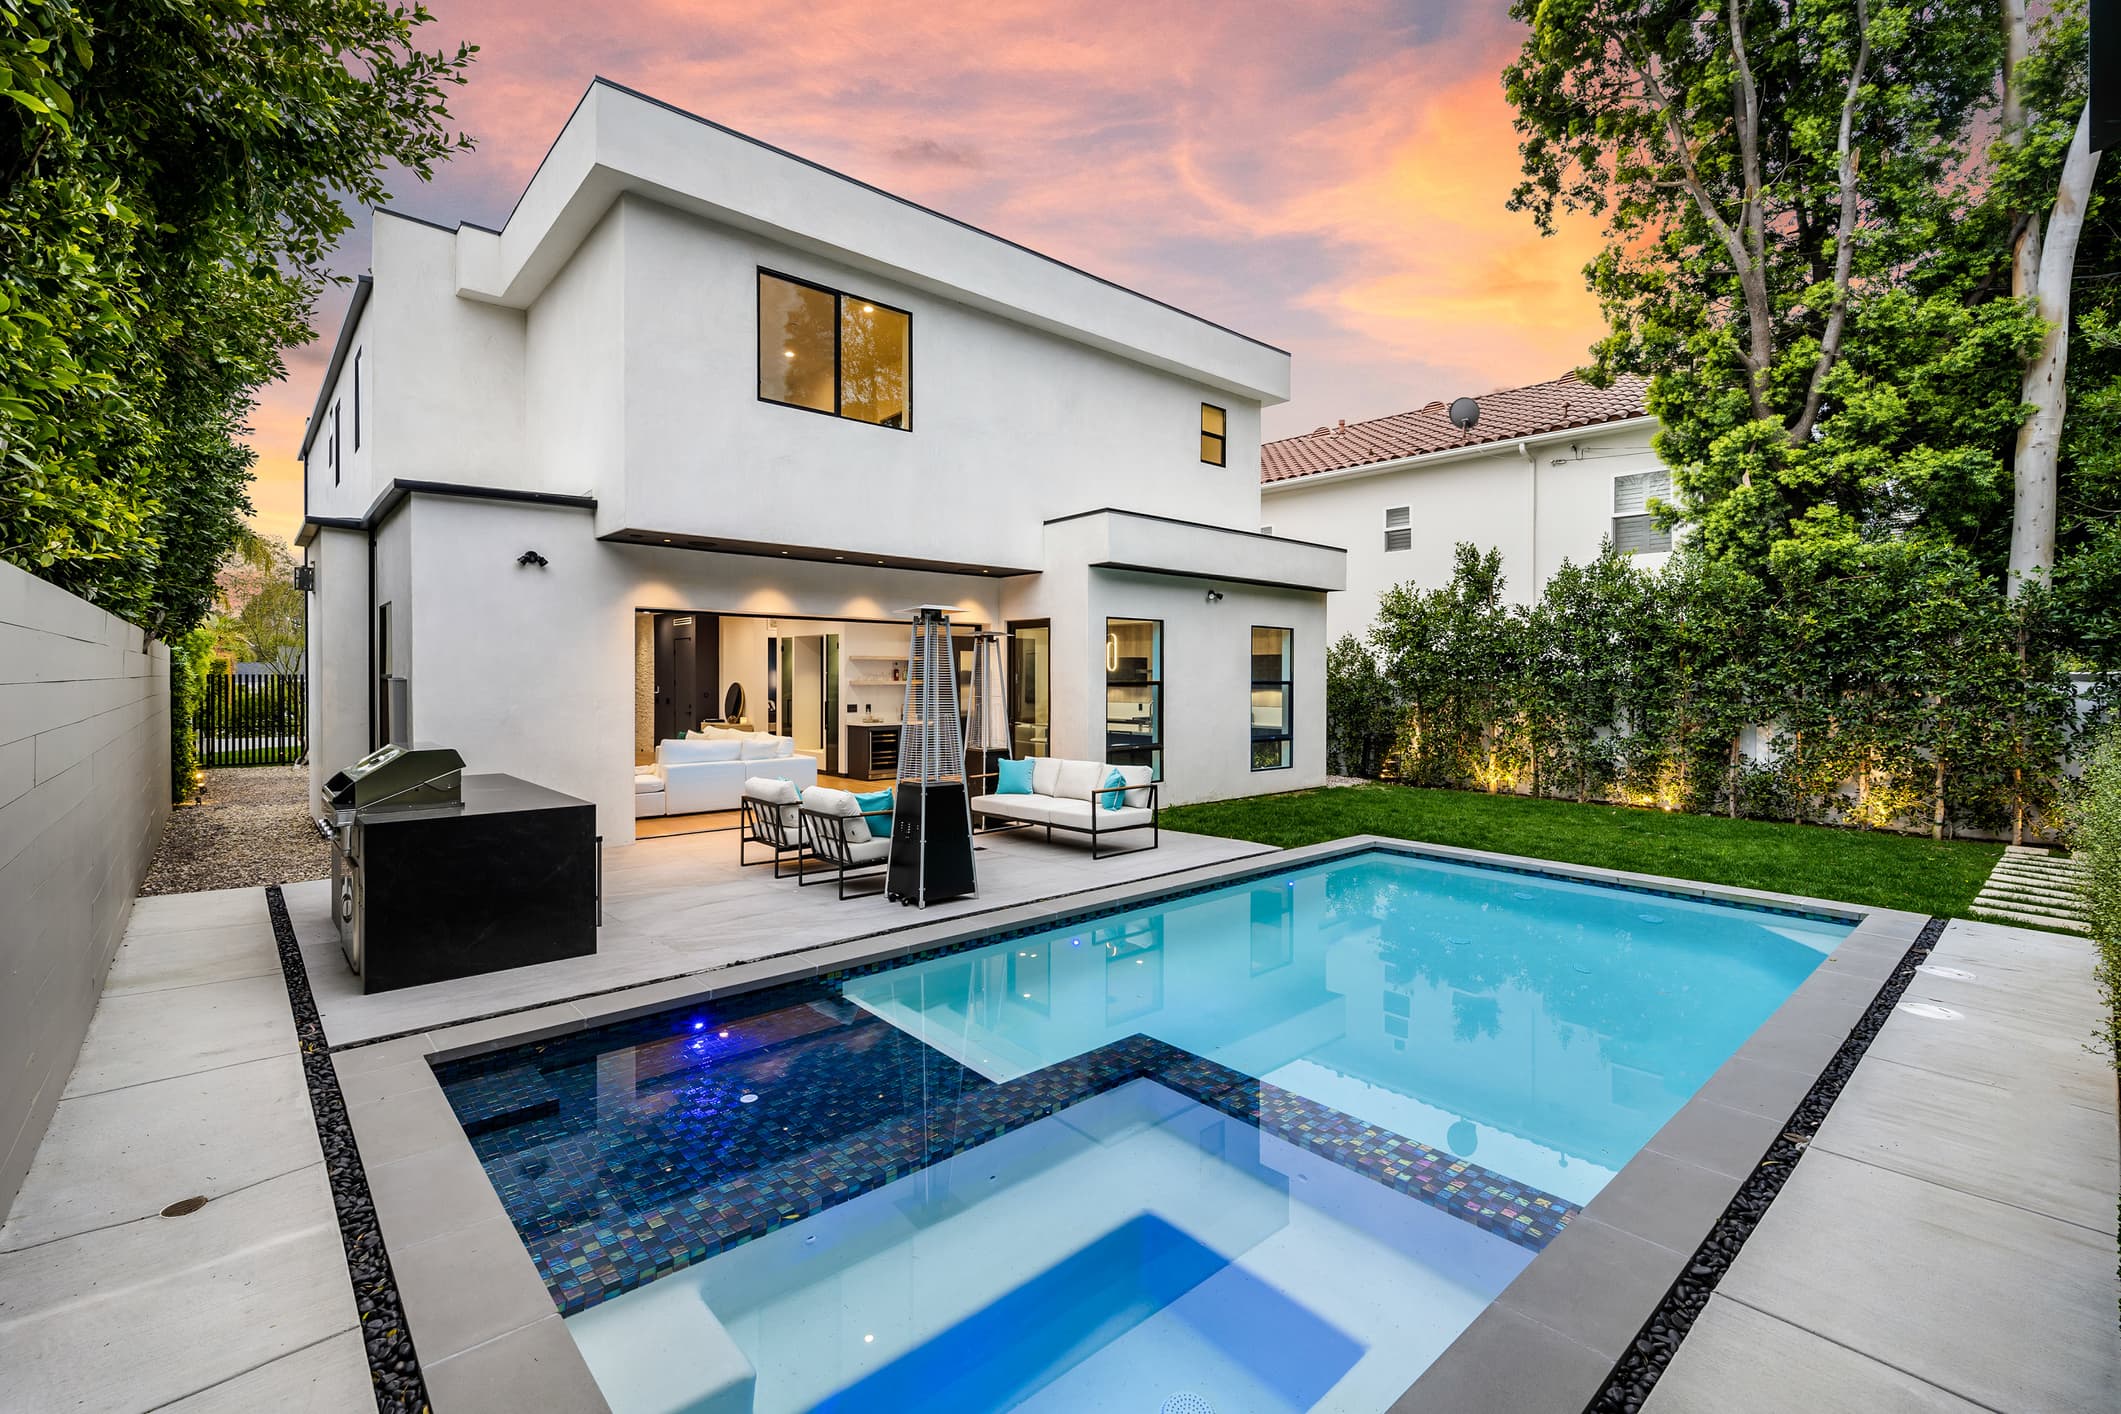
The dream of an outdoor kitchen isn't just about grilling; it's about transforming your backyard into a vibrant, functional extension of your home.

A failing retaining wall isn't just an eyesore; it's a structural liability, a potential hazard, and a ticking clock on your property's integrity.

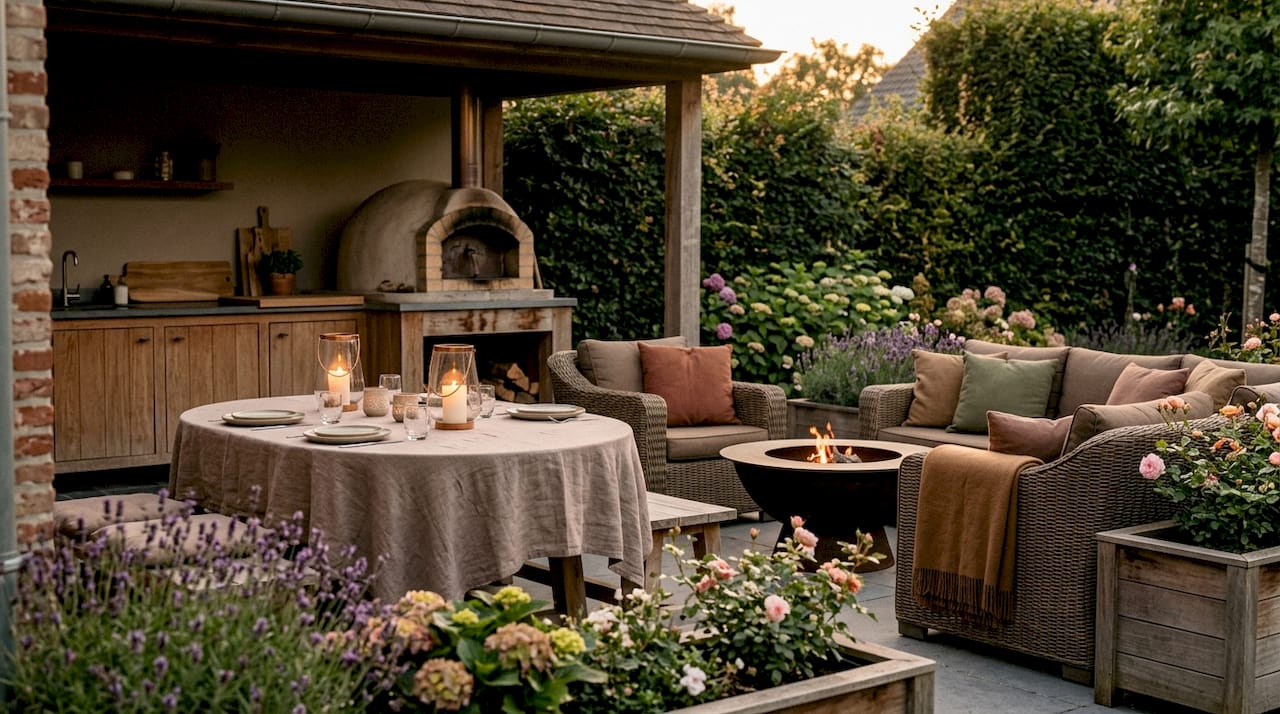
Imagine this: warm breezes, the gentle sizzle of gourmet food, laughter echoing under the stars.

That formidable, sloping part of your yard—the one you might look at with a mix of frustration and bewilderment—doesn't have to be a source of stress.

The dream of an outdoor kitchen often starts with a feeling.

It’s one of the first questions we get from homeowners considering a new hardscape. It makes perfect sense.

You can picture it perfectly. The sizzle of steaks on the grill, the aroma of sautéed vegetables, and the laughter of friends gathered in your backyard oasis.

You’ve pictured it a thousand times. The sizzle of the grill, the clink of glasses, friends and family gathered around, sharing stories under the open sky.

So, you're dreaming of an outdoor kitchen. We get it.
So, How Long Does It Take to Install a Pool? Really. It’s the question we hear more than any other.
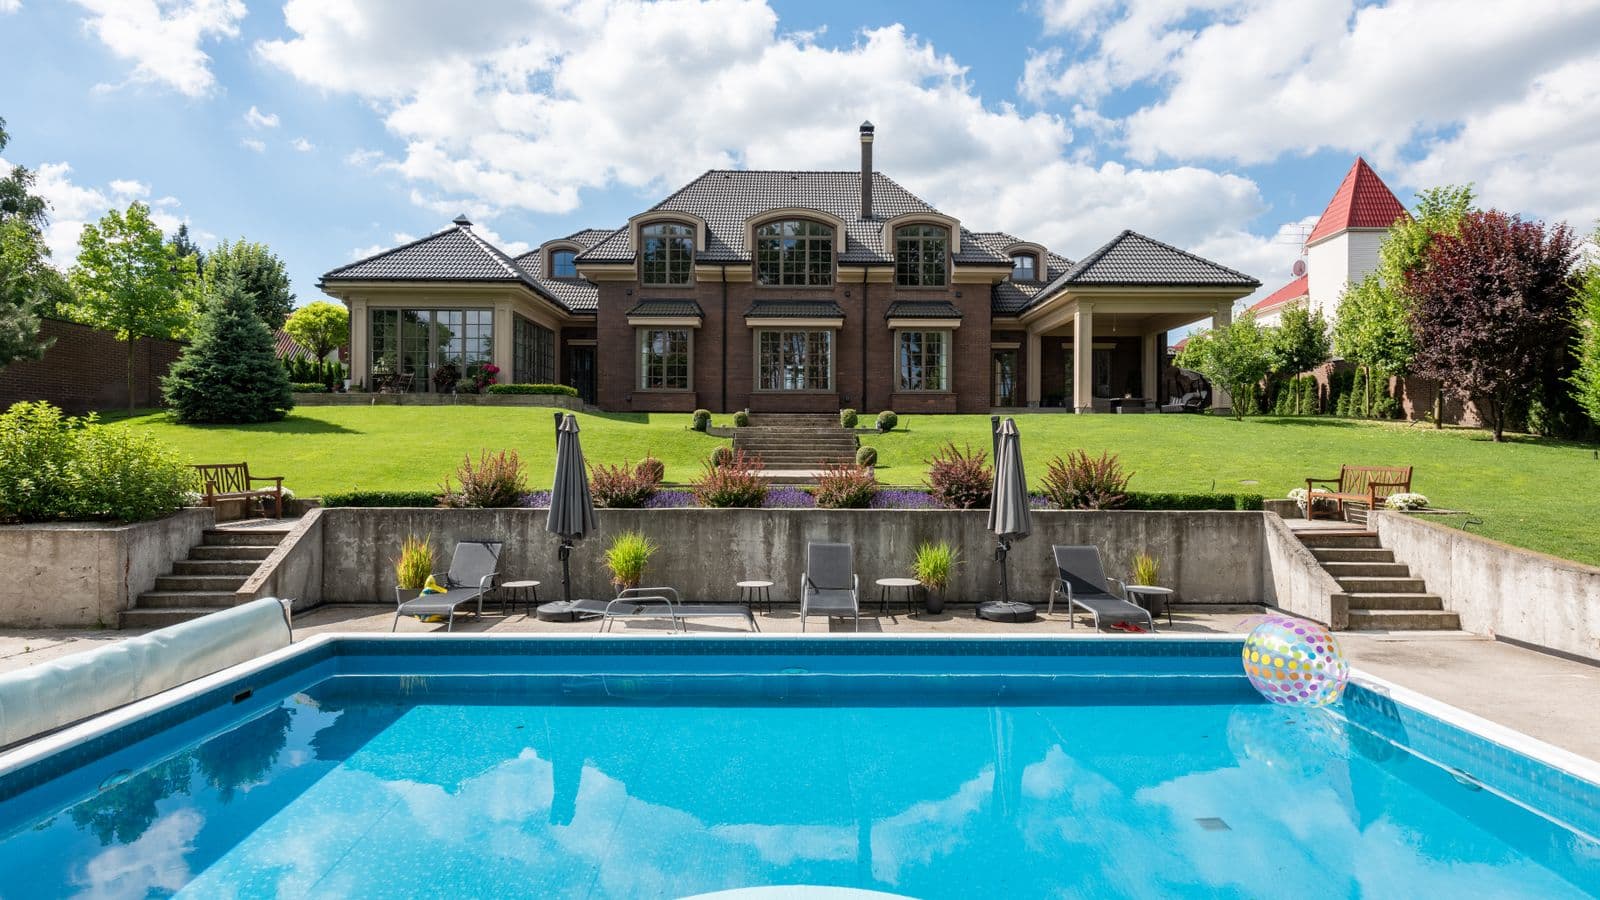
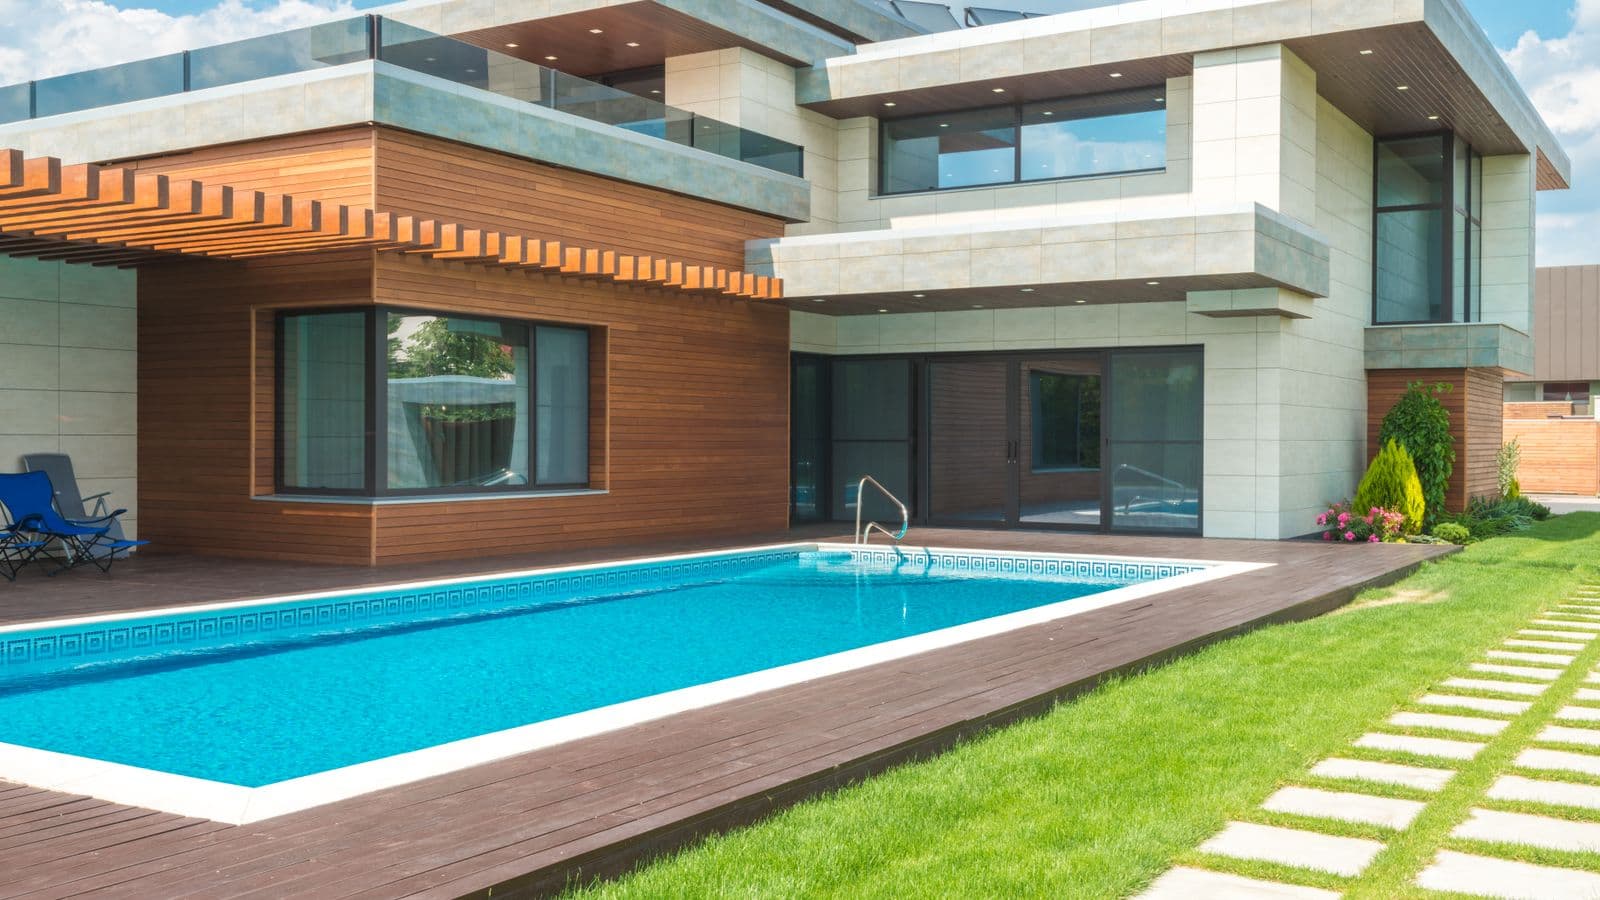
You’re picturing it already, aren't you? Stepping out into your own backyard for a clean, invigorating swim.
It's the question we hear more than any other. It’s whispered at neighborhood barbecues and typed into search bars late at night.
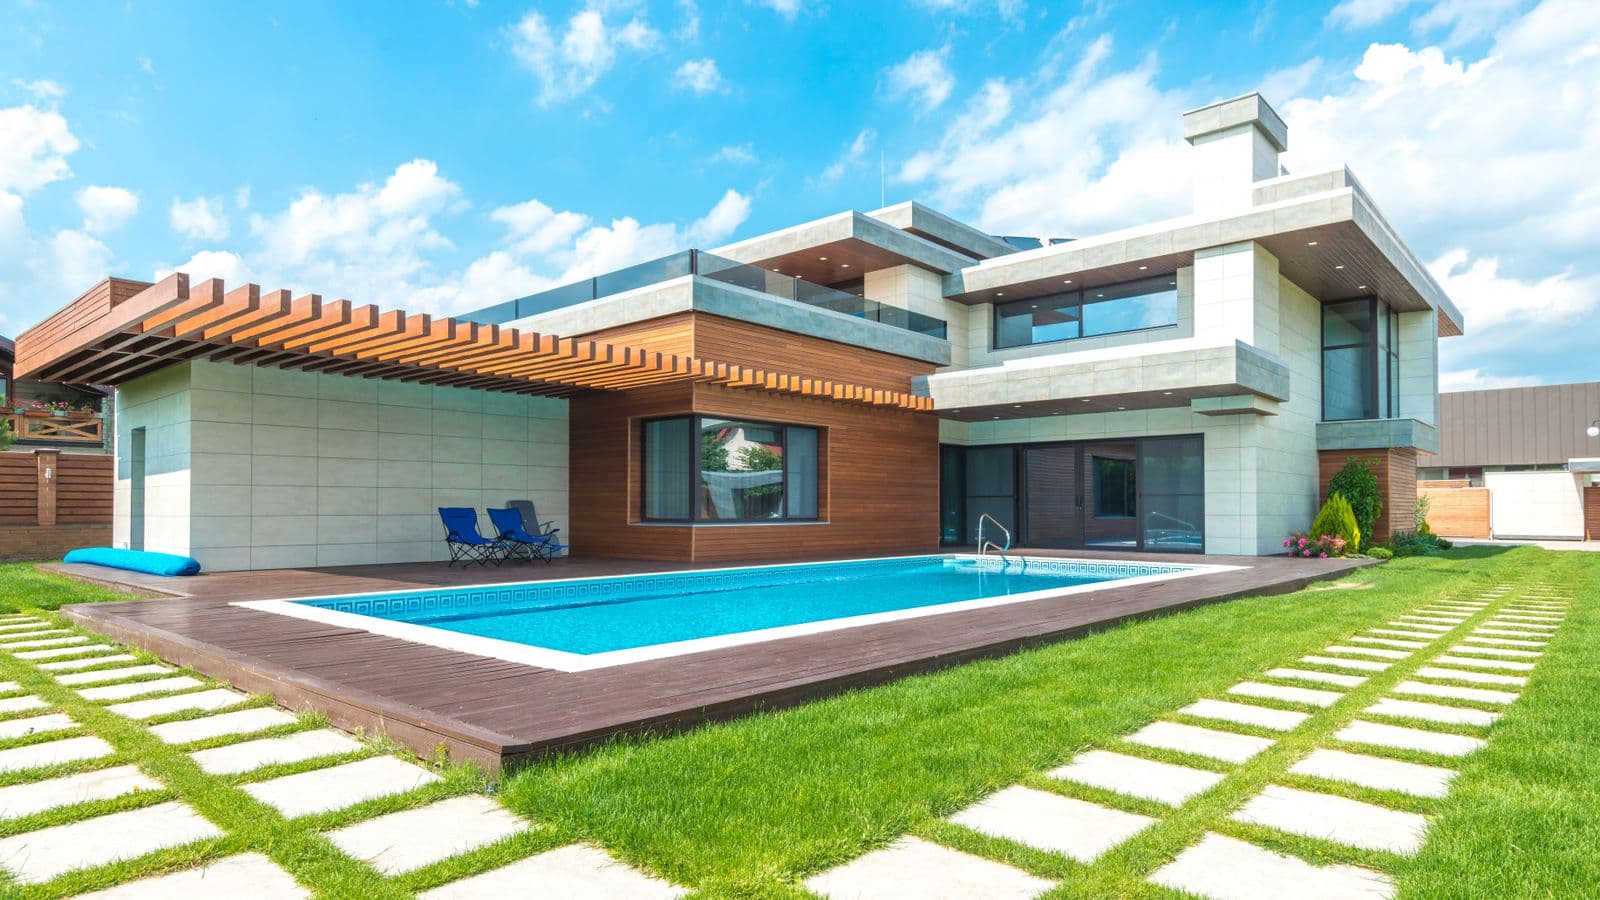
The idea of a personal backyard oasis has shifted. Dramatically. Gone are the days when a sprawling, Olympic-sized pool was the only status symbol.

It’s the quintessential backyard dream, isn’t it? The shimmering blue water, the sound of laughter, the long summer days spent lounging by the edge.

There’s an undeniable romance to butcher block. It’s warm, inviting, and feels alive in a way that cold stone or sterile stainless steel never will.

It’s a look we see in design magazines and on dream-home shows all the time: a sprawling, luminous marble countertop anchoring a gorgeous outdoor kitchen.

The dream of an outdoor kitchen often starts with a single, beautiful image in your mind.
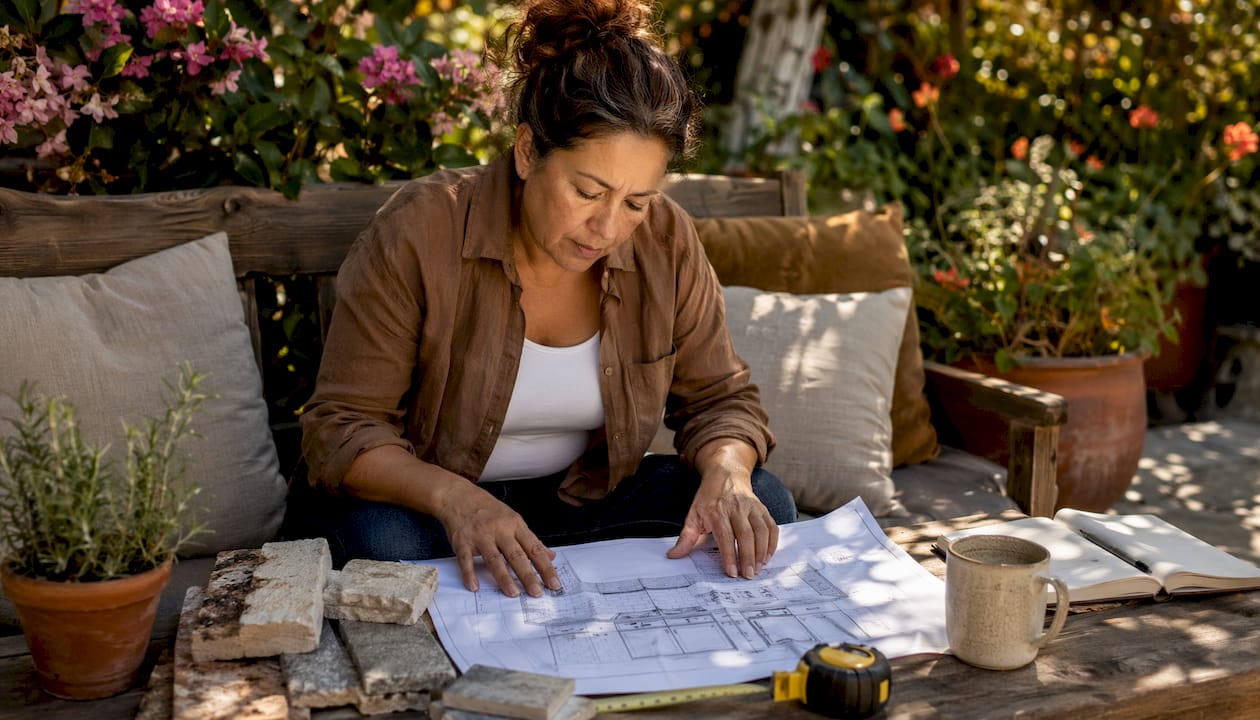
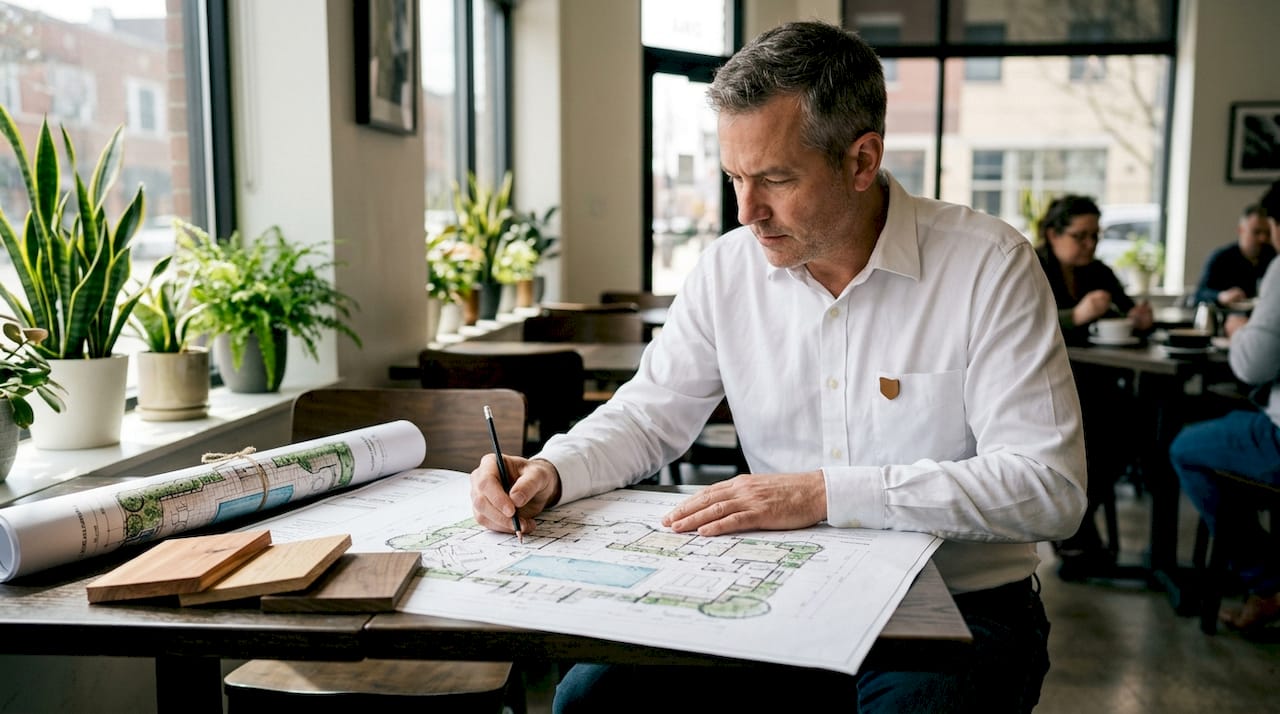
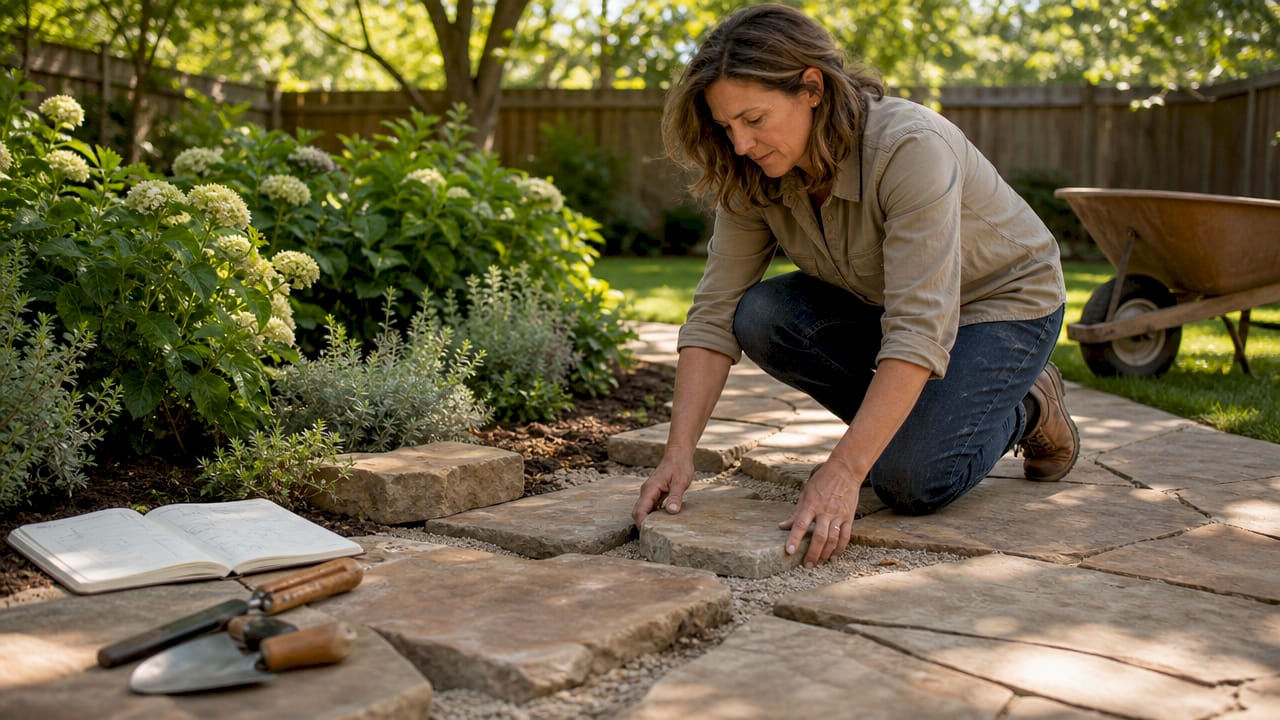
Planning an outdoor kitchen is one of the most exciting projects a homeowner can undertake.

The dream of an outdoor kitchen is a powerful one, isn't it?
It’s the question we hear almost every day from homeowners across San Diego.
So, you’re thinking about a new concrete patio. It’s one of the most common—and transformative—projects we handle for homeowners across San Diego County.
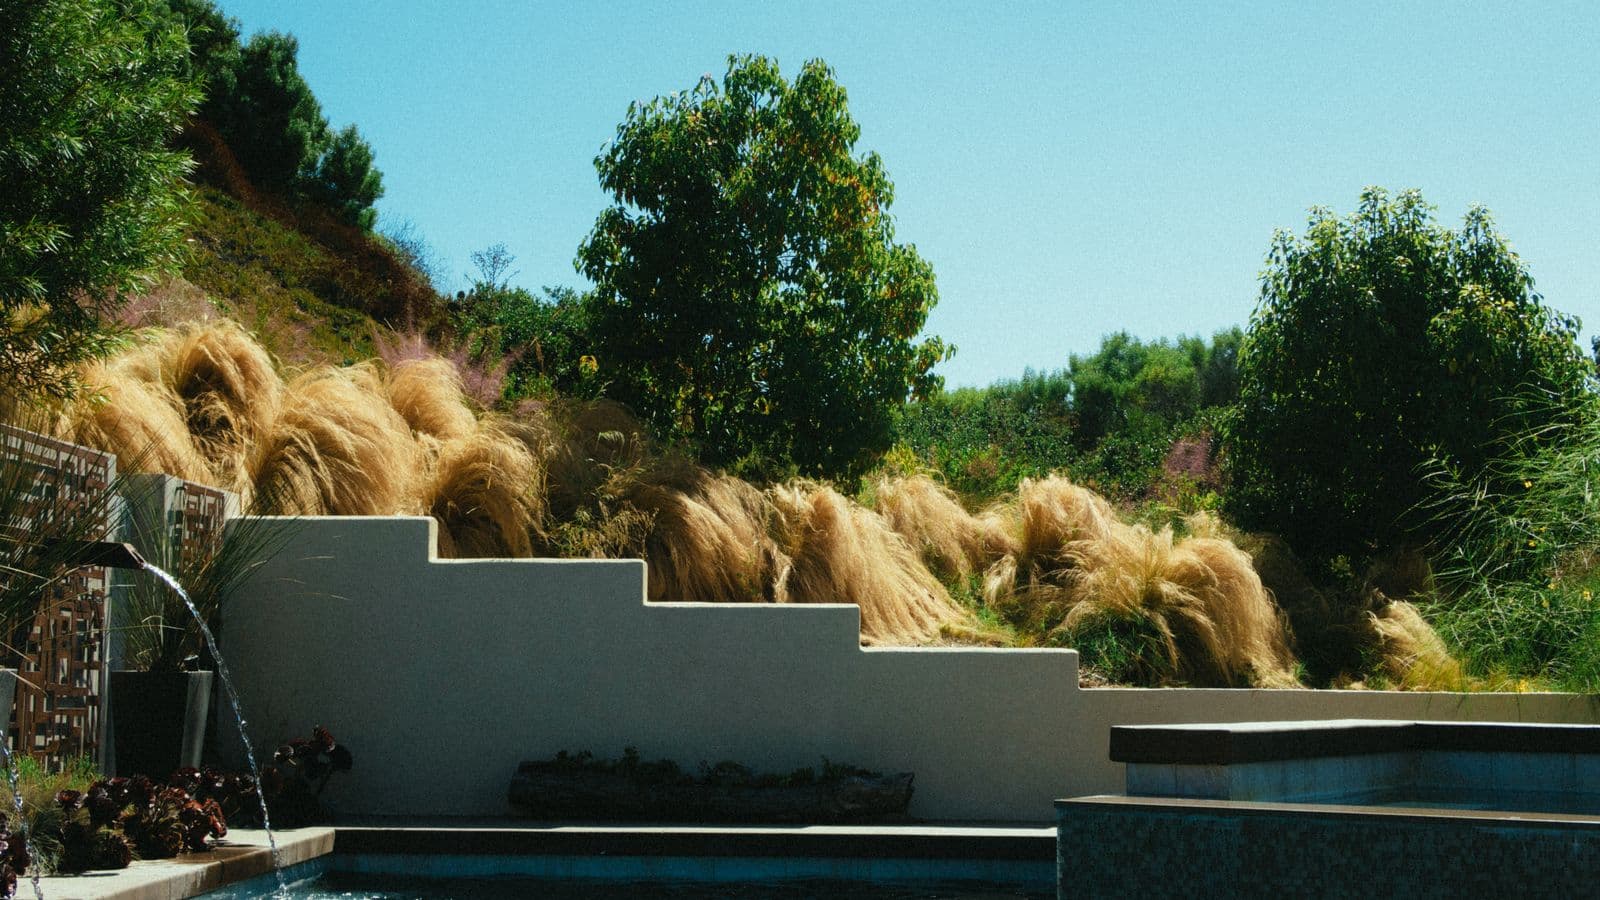
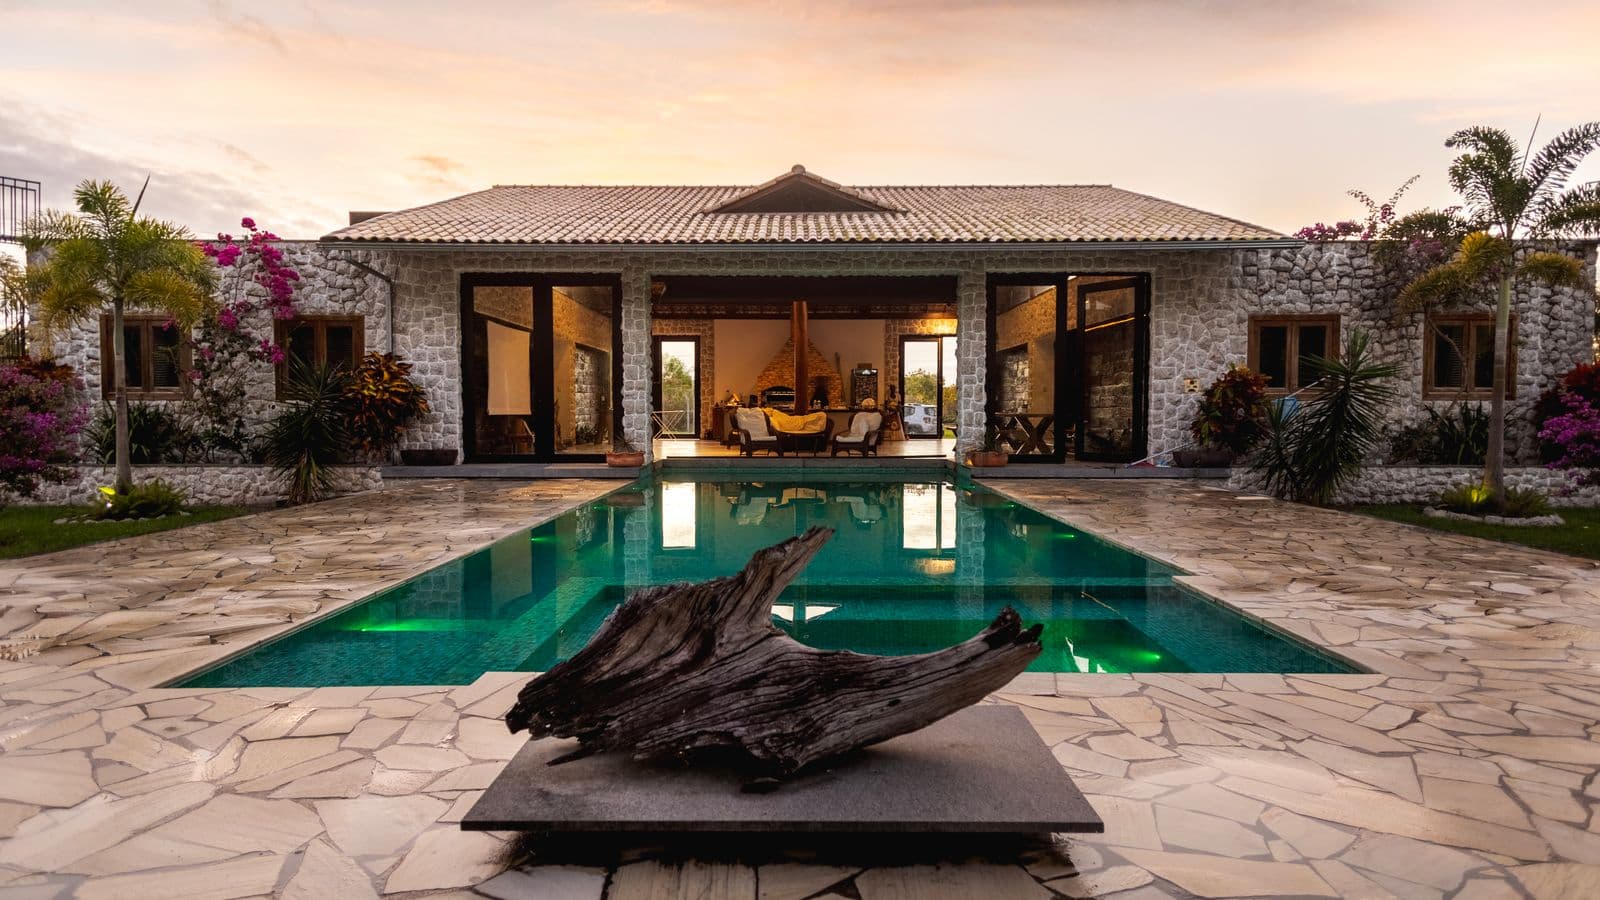
So, you’re dreaming of a new outdoor space. A place to host summer barbecues, enjoy a quiet morning coffee, or just watch the kids play.
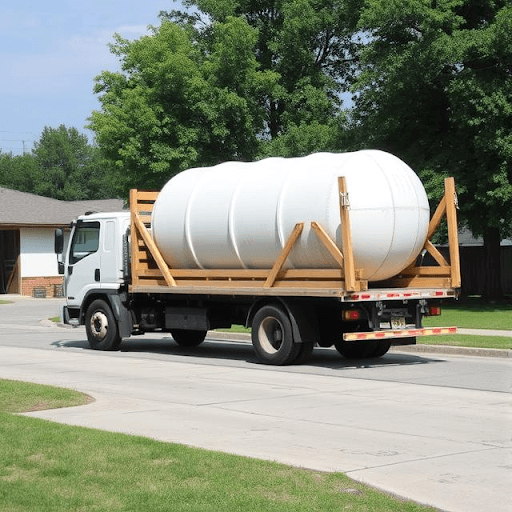
A standard cubic yard of concrete weighs roughly 4,000 pounds, about two tons, and knowing that figure keeps your deliveries, pours, and structural loads on track.
So, Does Artificial Grass Get Hot? Let's Be Direct. It’s the question we hear all the time, especially here in sunny San Diego.
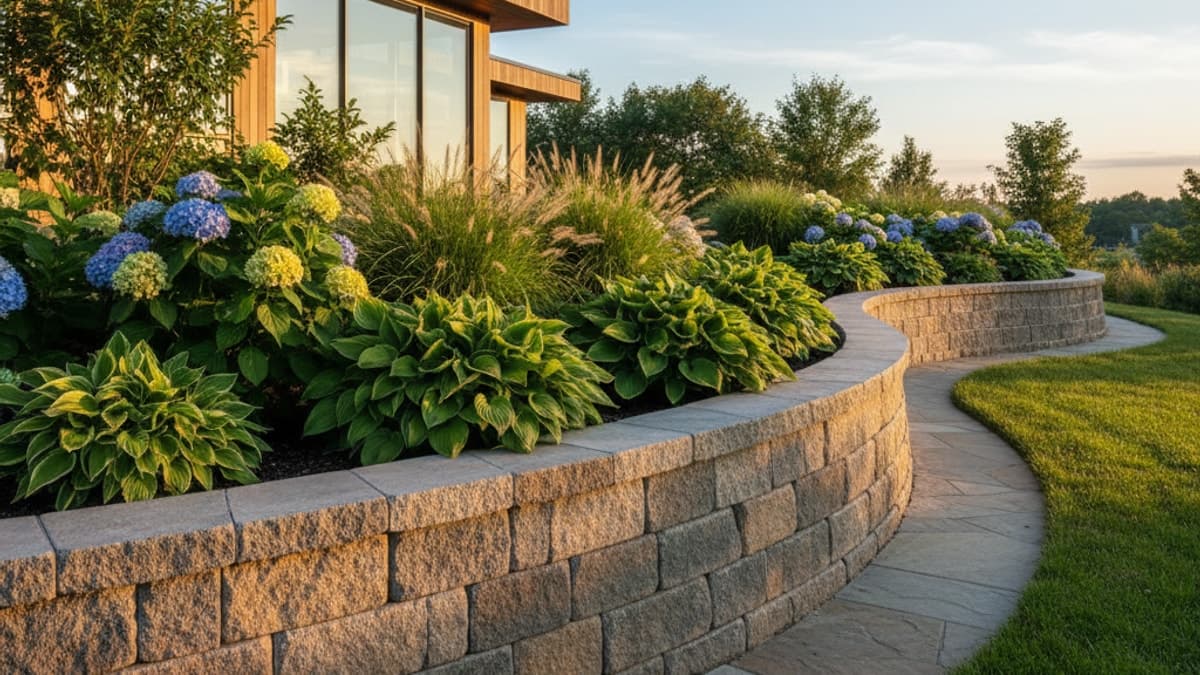
A retaining wall holds back soil on sloped terrain, prevents erosion, creates flat usable space, and manages drainage. In San Diego — with expansive clay soils inland and hillside lots common — wall costs run $25–$120 per square foot installed depending on material.
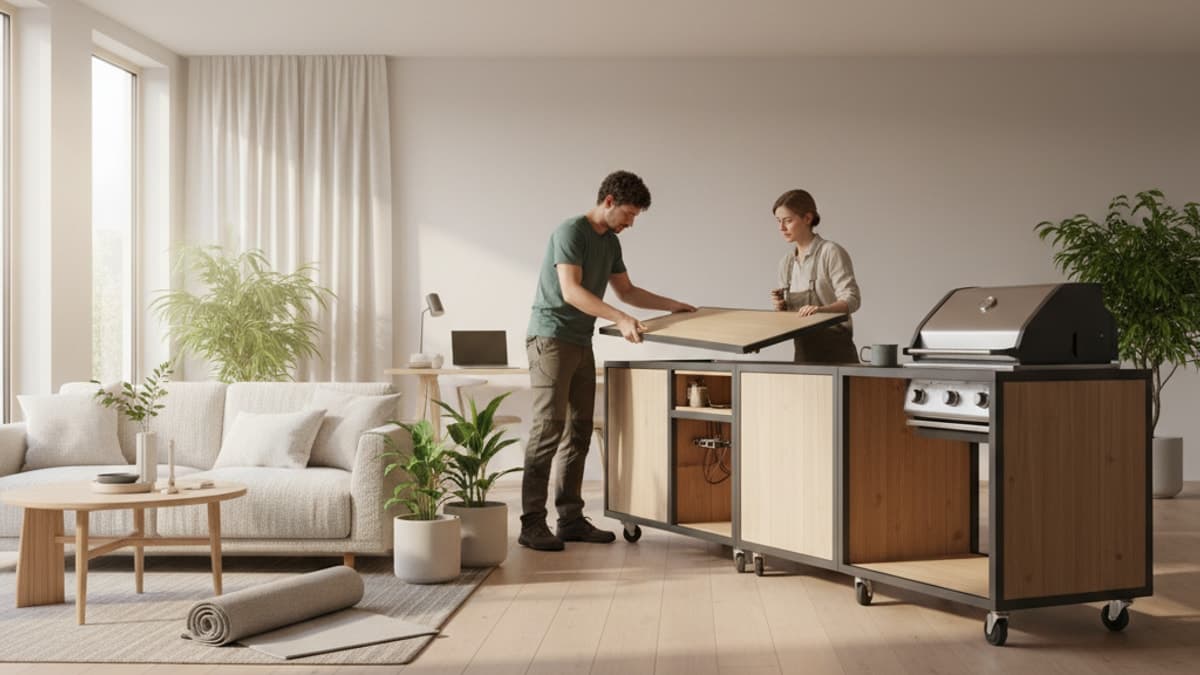
Yes, modular outdoor kitchens can be moved — but only certain types, and only with proper planning. Three system categories exist, with relocation costs ranging from $0 (rolling carts) to $12,000+ (semi-permanent stone-faced modules).

California homeowners are often very concerned about their zone 0 defensible space plants.

What to clear from the first five feet around your home, how often to do it, and where a professional is worth it.
Building a patio on a sloped or hilly yard presents unique challenges that a flat-ground project doesn't have.

When you’re looking to create a fire-safe yard, choosing the right materials is the single most important decision you can make for your non combustible ma

The latest sustainable zone 0 landscaping trends are focused on blending environmental responsibility with crucial wildfire safety.

The approach to fire safety in California is not one-size-fits-all, especially when it comes to the crucial Zone 0 around your home.

Creating a beautiful yet fire-safe landscape around your home is a critical step for any California resident, especially when you are looking for effective
Here are some of the most popular options you can consider for your home: - Pergola: This classic structure features an open, slatted roof that provides pa
If you're wondering how to enclose a patio, the first thing to think about is all the wonderful benefits you'll gain.
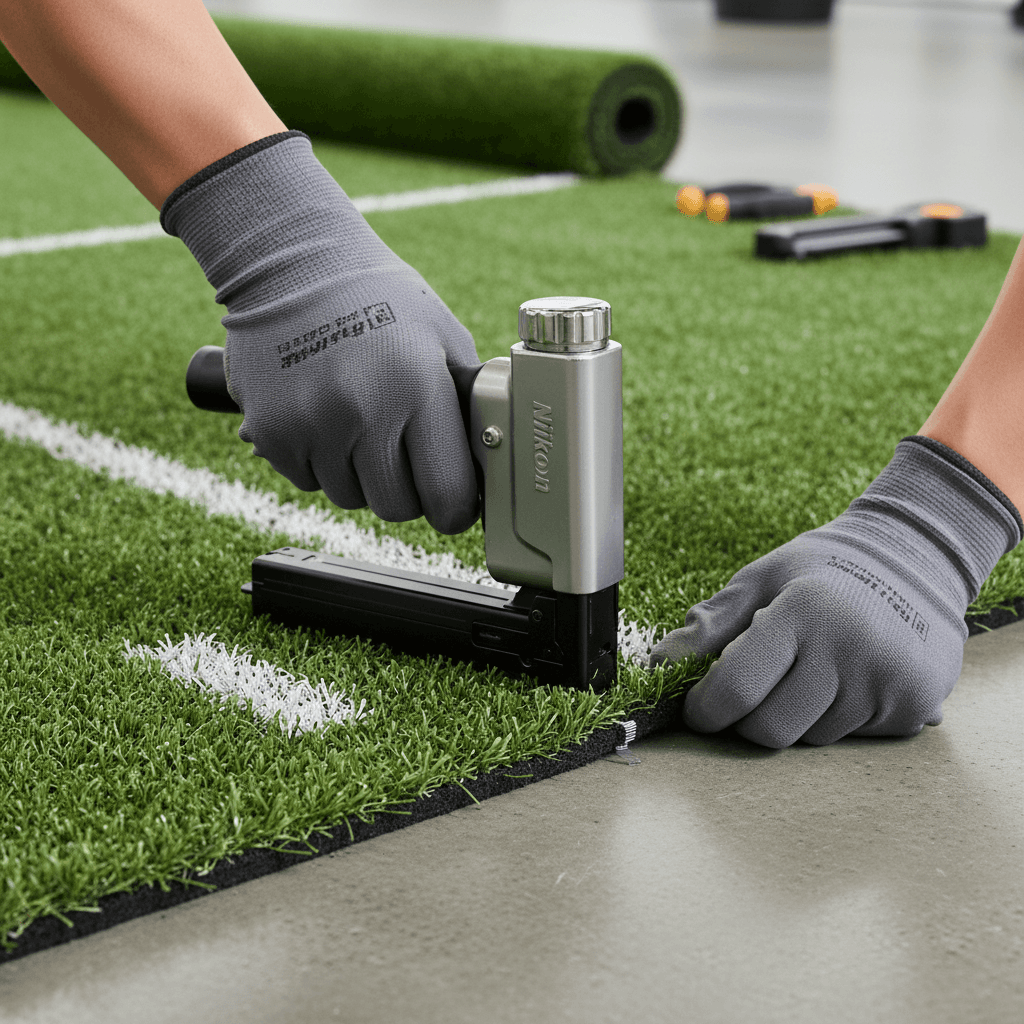
Yes, you can staple down gym turf — but only on a wooden subfloor. Concrete (most San Diego garage gyms) requires full-spread adhesive. Carpet, tile, and vinyl don't hold either method. Here's the install-method decision framework.
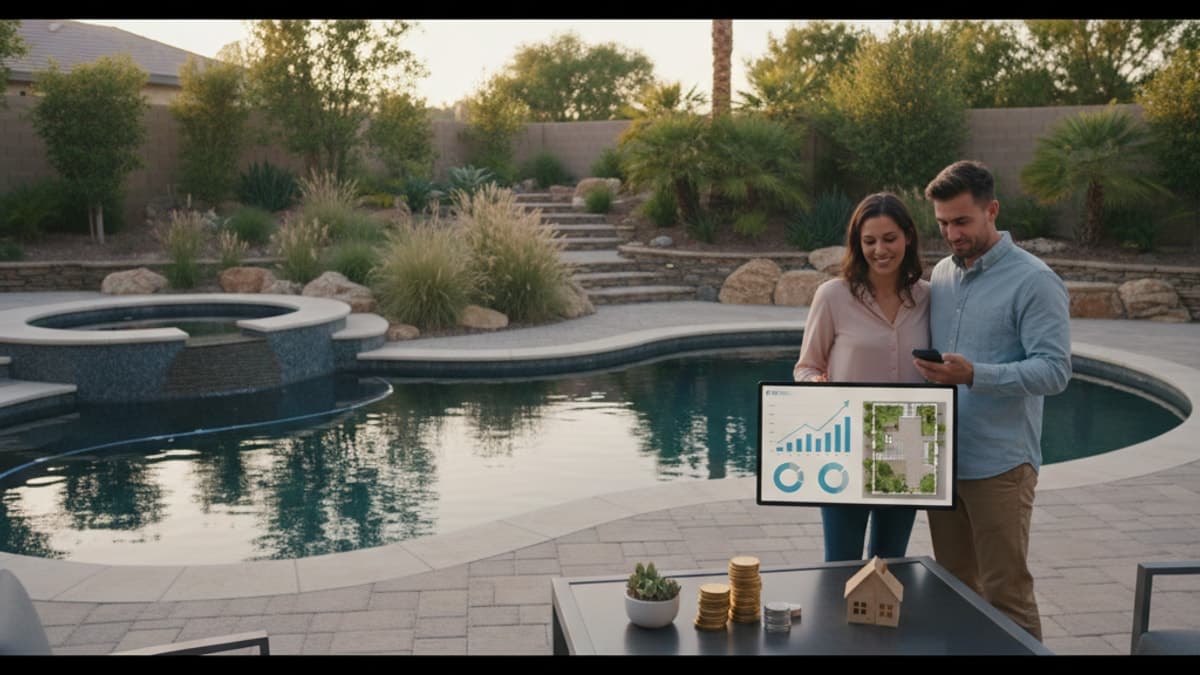
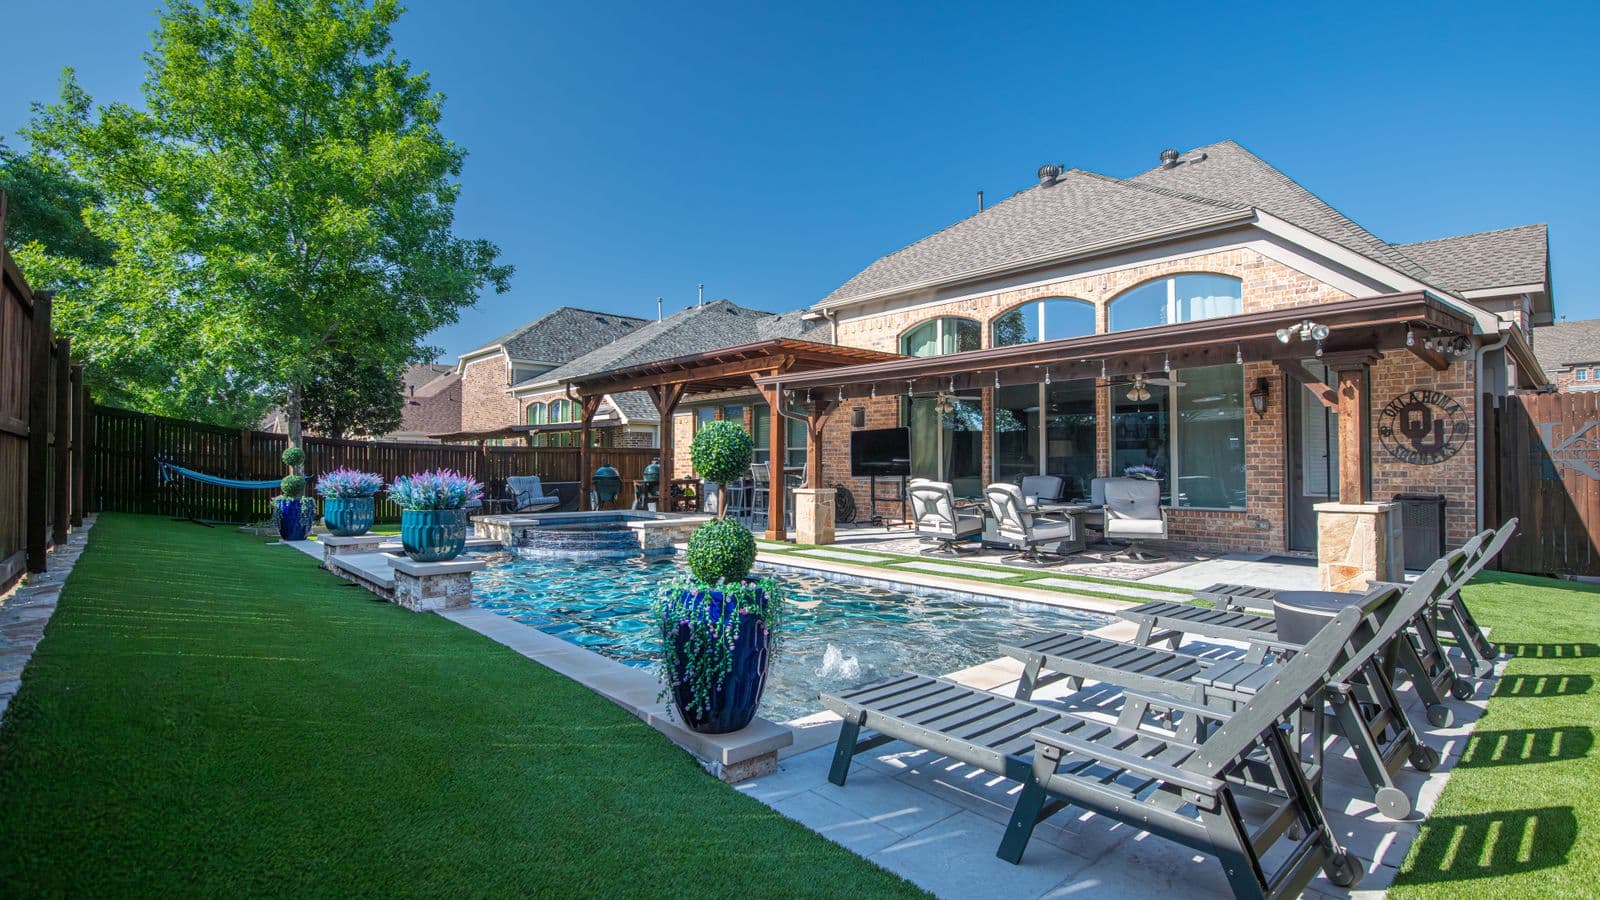
Yes, you can finance a pool and landscaping together — and you should. A full pool-plus-landscape transformation in San Diego runs $70,000–$250,000+ all-in. The pool itself is usually only 40–55% of that. Five financing vehicles cover most projects.

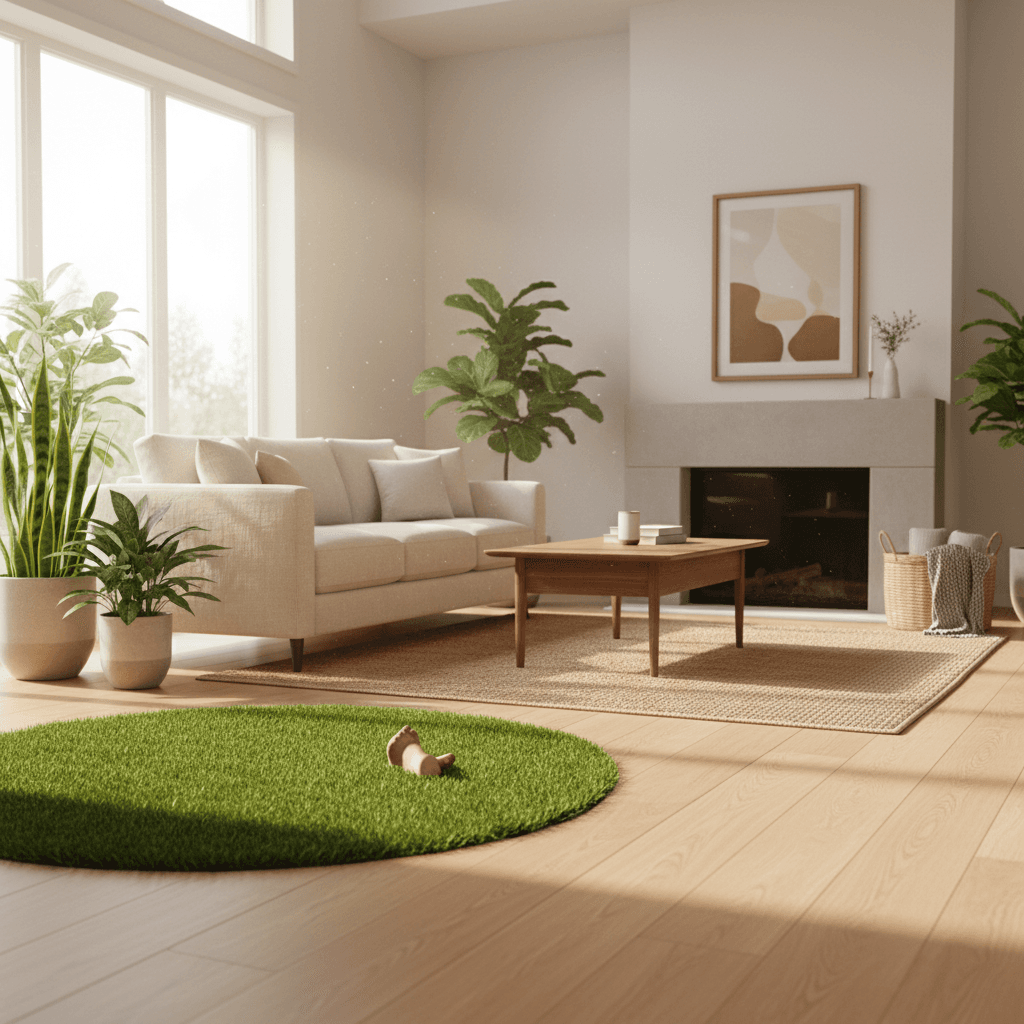
Yes, dogs can pee on artificial grass without damaging it — if the install is built for it. Three things separate a 10-year pet-friendly lawn from a smelly nightmare: permeable backing, antimicrobial infill, and a deeply-drained base. Total premium: $1,000–$2,000.

If you're noticing cracks, uneven surfaces, or a general leaning, you're probably asking, "What causes a raised stone patio to sink or shift?" Knowing the
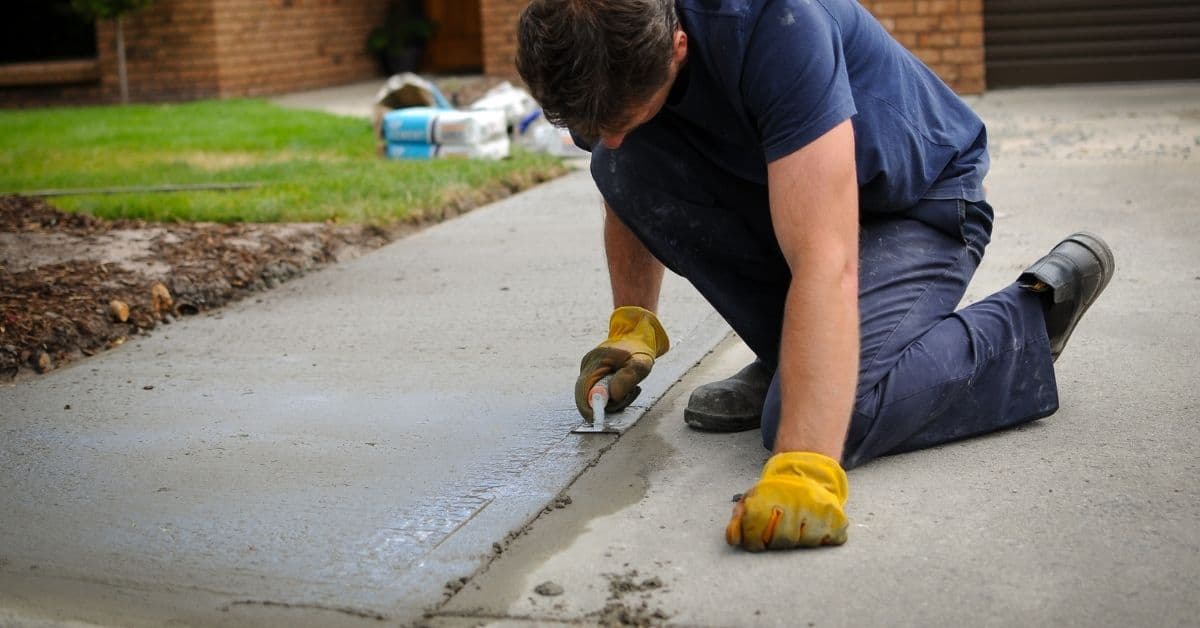
The black strip in your concrete driveway is an expansion joint — flexible filler that absorbs thermal movement so slabs don't crack each other. In San Diego, replace every 5–10 years; DIY runs $15–$50, pro $150–$400.
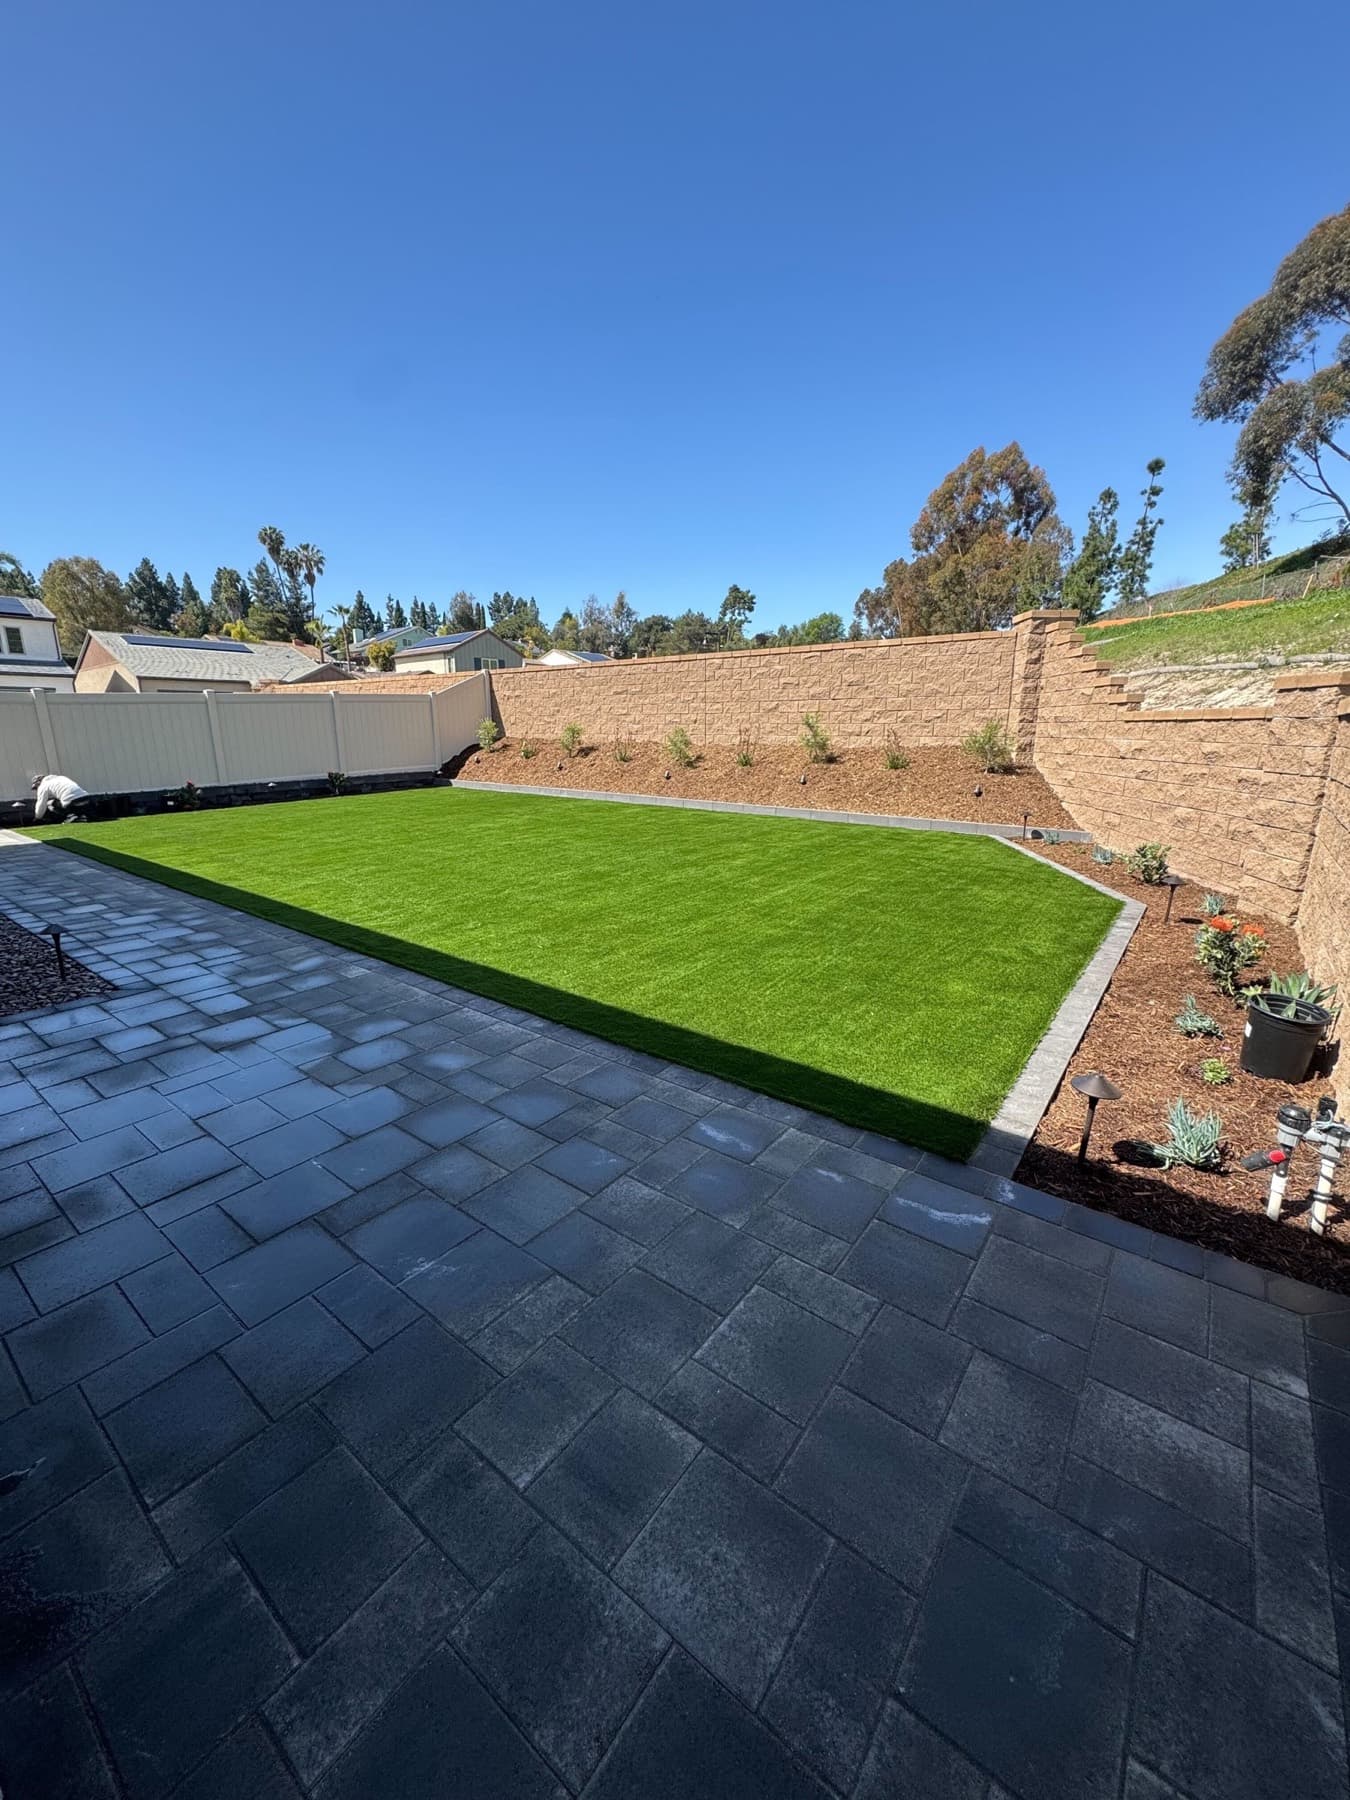
Artificial turf in San Diego runs $8–$20 per square foot installed in 2026. A typical 500-square-foot lawn lands at $4,000–$10,000 all-in. Here's the full breakdown by turf grade, base prep, infill, and what separates a 5-year install from a 20-year one.
California's Zone 0 rule under AB 3074 phases in through 2026, requiring a 5-foot non-combustible buffer around your home. Most high-impact upgrades cost $0–$500. Here's the priority list with real San Diego costs.

A 20×20 concrete patio in San Diego runs $2,800–$10,000 installed in 2026. Here's the full breakdown by finish, what's included in a real quote, and the hidden costs homeowners miss.
Reading is great. Building is better. Tell us about your space and we'll send back a real plan — not a templated quote.
Book My Free Consultation→