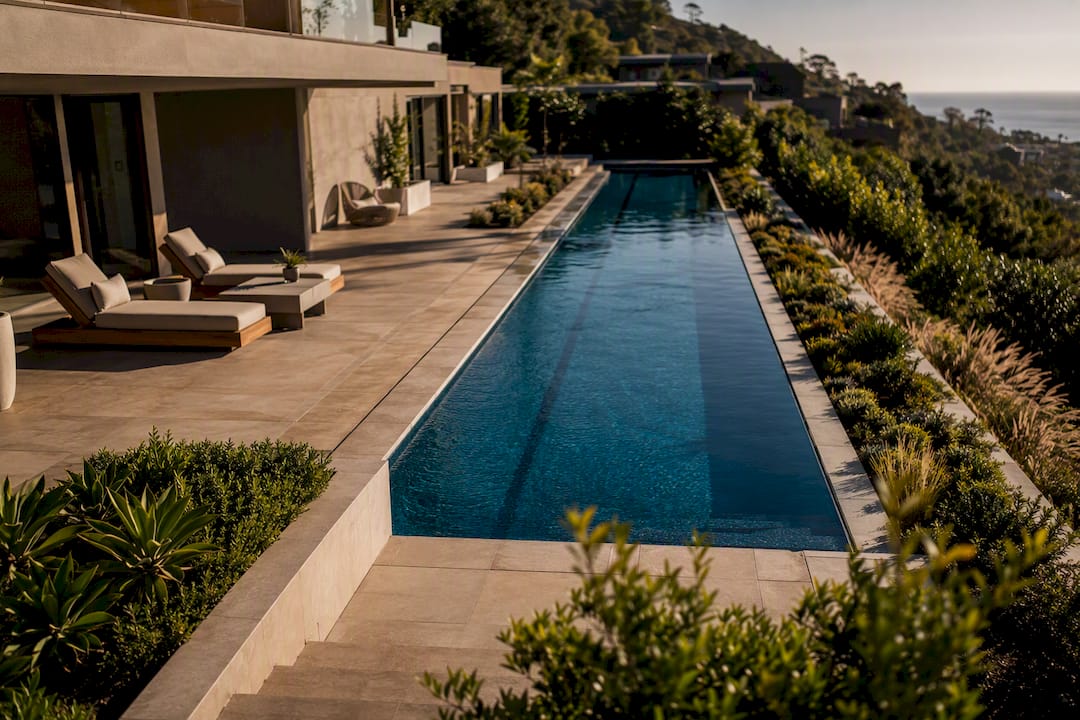
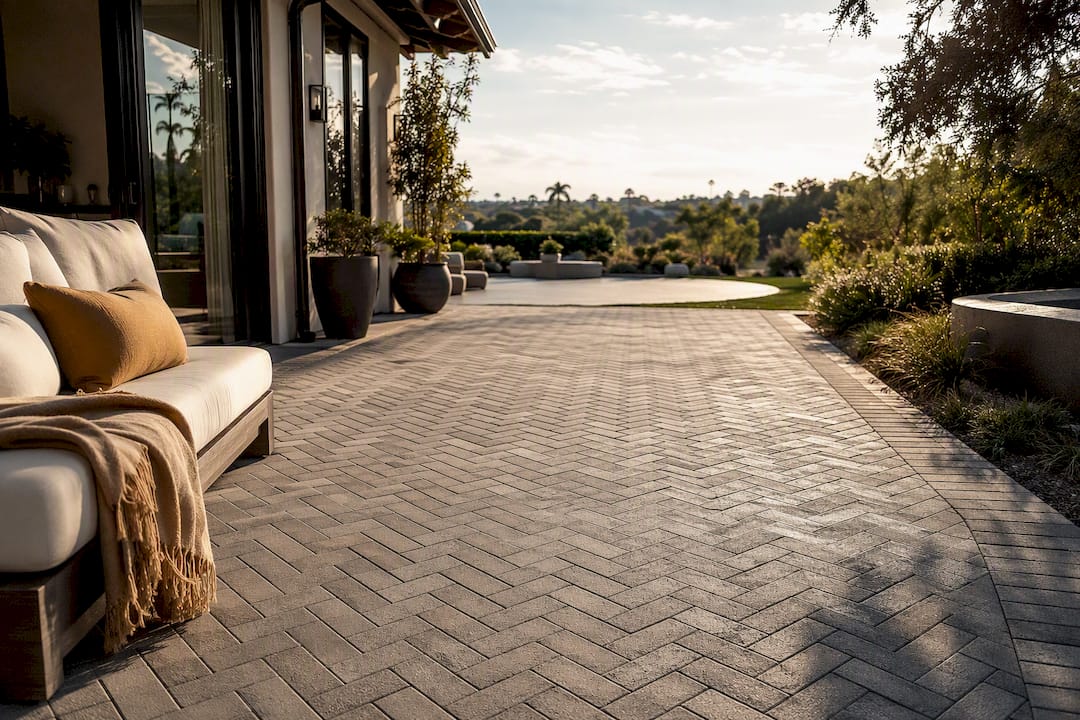
The Outdoor Living Environment Concept Explained
Discover the outdoor living environment concept explained. Transform your space with functional design that boosts value and enhances year-round enjoyment.
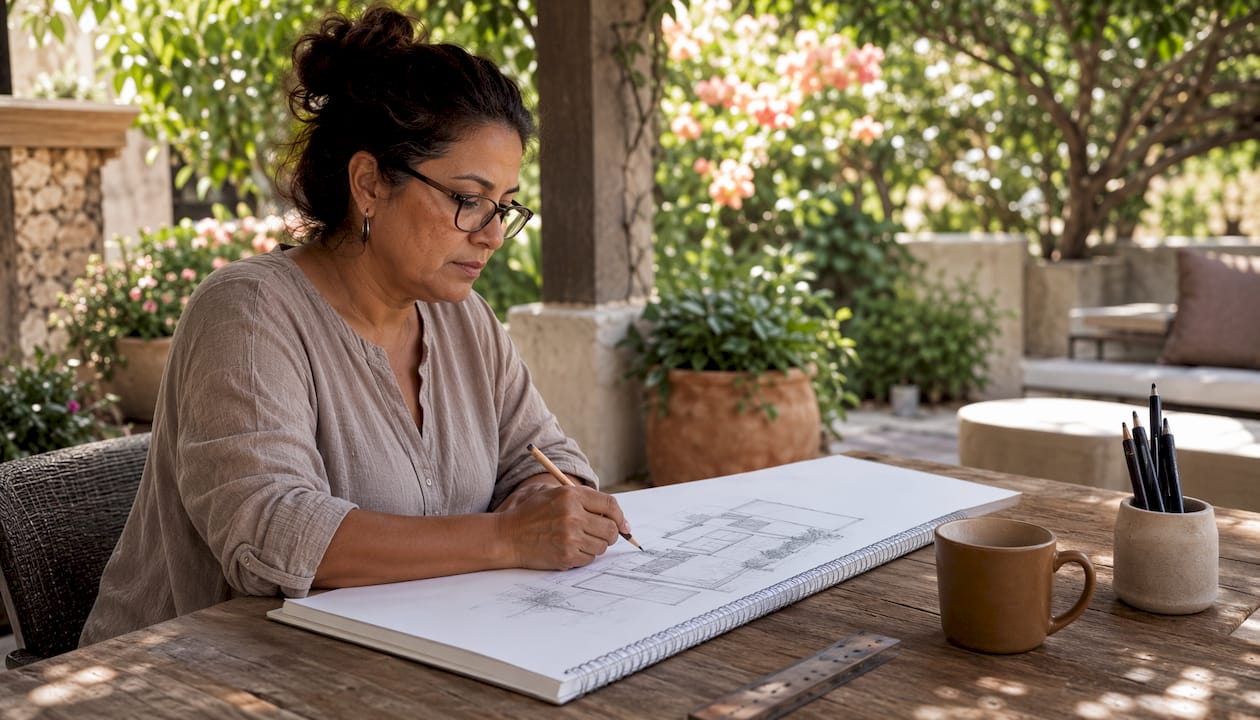
An outdoor living environment is a designed, habitable extension of your home: a set of purpose-driven outdoor rooms, materials, systems, and plantings organized to perform like interior space. Unlike a basic patio, which is simply a paved surface, a true outdoor living space integrates functional zones, permanent structures, utilities, and planting into a cohesive environment you actually live in. When designed and built correctly, it expands your usable square footage, supports year-round entertaining, and can increase your property's value by 8%–15%.
Table of Contents
- What is an outdoor living environment, and why does it matter?
- How do you zone an outdoor space into functional rooms?
- What design fundamentals should guide your layout?
- How do you choose materials and furniture that last?
- How does lighting extend and define an outdoor space?
- What does a well-designed outdoor kitchen actually require?
- How should you use planting to shape the space?
- How do you design an outdoor space for year-round use?
- What do outdoor living projects actually cost, and how long do they take?
- Patio vs. outdoor living space: what are the real differences?
- How do you start? A planning checklist for homeowners
- What should the design-build process look like?
- Key Takeaways
- Why the design comes before everything else
- Modern Yardz brings the full design-build process under one roof
- Useful sources and further reading
What is an outdoor living environment, and why does it matter?
The phrase "outdoor living environment" describes something more specific than landscaping and more intentional than a backyard makeover. It refers to a designed system of spaces, structures, surfaces, and plantings that together create habitable rooms outside the walls of your home. The outdoor room concept organizes a property into three categories: a public area, a service area, and a living space, with the living space as the primary lifestyle focus.
The distinction from a basic patio matters for both function and value. A poured concrete slab with two chairs is a surface. An outdoor living environment has a defined overhead plane (pergola, patio cover, or tree canopy), a considered ground plane (natural stone, travertine, or porcelain pavers), vertical elements that create enclosure (planting, seat walls, screens), and systems that make the space usable after dark and across seasons (lighting, heating, water, gas).
The practical benefits homeowners consistently report:
- More usable square footage without a costly interior addition
- A dedicated space for entertaining that keeps gatherings out of the house
- Documented health and wellbeing benefits from regular time in well-designed outdoor spaces
- Measurable resale value: patios often recover up to 95% of their cost, and outdoor kitchens can return 100%–200% depending on design and climate
- Lifestyle flexibility across times of day and seasons
Buyers and appraisers increasingly treat well-built outdoor structures like interior square footage. Appraisers and industry data show well-executed outdoor living spaces can add 8%–12% of value to a home; permanence and material quality are the main drivers of that value.
Pro Tip: The most common misconception is that adding features creates an outdoor living environment. A fire pit surrounded by gravel, a freestanding umbrella, and a portable grill are features. An outdoor living environment is a designed system where those elements relate to each other spatially, structurally, and functionally.
How do you zone an outdoor space into functional rooms?
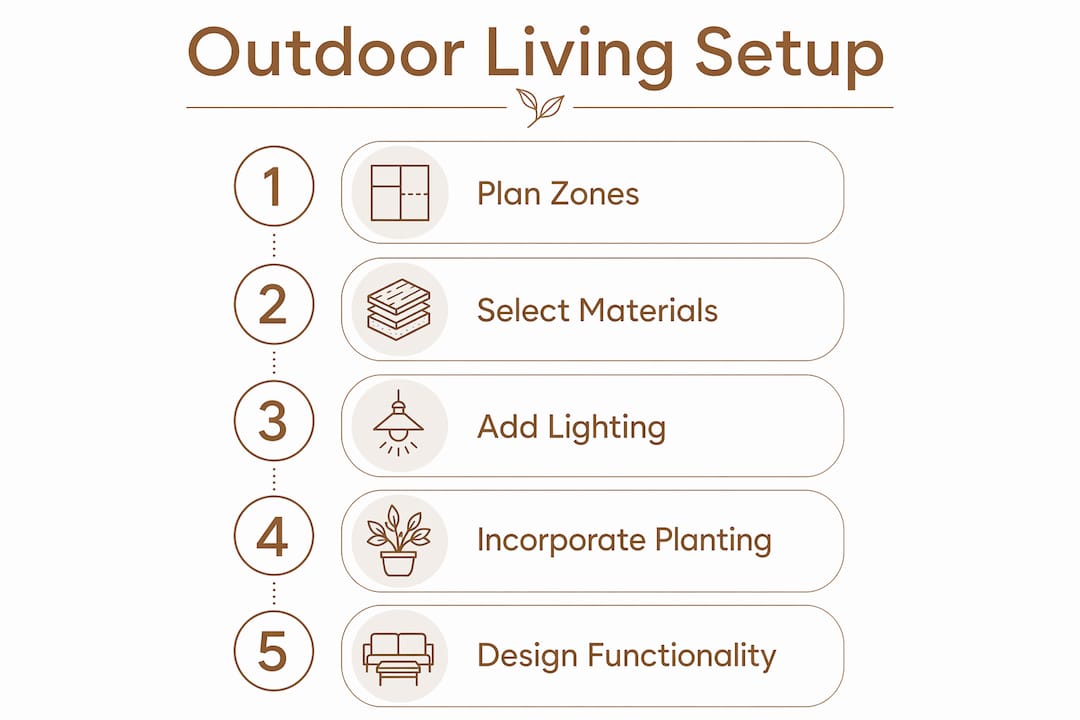
The outdoor room framework treats your property the way an architect treats a floor plan: every area has a defined purpose, a ground plane, a vertical edge, and an overhead element that together make it feel like a room. The three primary zones are the public area (arrival, front yard, entry sequence), the living space (entertaining, dining, lounging, pool), and the service area (storage, mechanical equipment, utility access).
Within the living space, most well-designed properties include several sub-zones: a main seating cluster, a dining area, a cooking station, a fire feature, and a quieter retreat corner. Each sub-zone has its own scale and atmosphere, yet they read as a single environment because of a consistent design language across materials, planting, and lighting.
Luxury in outdoor design is defined by intent and choreographed sightlines, sun orientation, and lighting scenes — not by feature quantity. A space with three well-placed elements and a coherent material palette will outperform a space with ten features and no organizing logic.
Essential elements and the role each plays:
- Seating area: The social anchor of the living zone; scale it for your typical guest count plus 20%
- Shade structure or pergola: Defines the overhead plane, controls sun exposure, and makes the space feel enclosed enough to occupy comfortably
- Fire feature: Extends evening use and creates a focal point; gas fire pits and linear fire bowls work well as architectural centerpieces
- Water feature: Adds ambient sound and visual movement; pools, fountains, and sheer descent walls each serve different spatial roles
- Outdoor kitchen: Keeps the host connected to guests; position it at the edge of the seating zone, not isolated in a corner
- Lighting: Separates a daytime patio from a fully usable evening environment
- Planting: Creates enclosure, privacy, microclimate, and the softness that hardscape alone cannot provide
- Pathways: Choreograph movement between zones and signal transitions from one room to the next
Pro Tip: Before drawing a single line, sketch your property from above and mark where you naturally walk, where you pause, and where the sun hits at 8 AM and 6 PM. That behavioral map is more useful than any inspiration image.
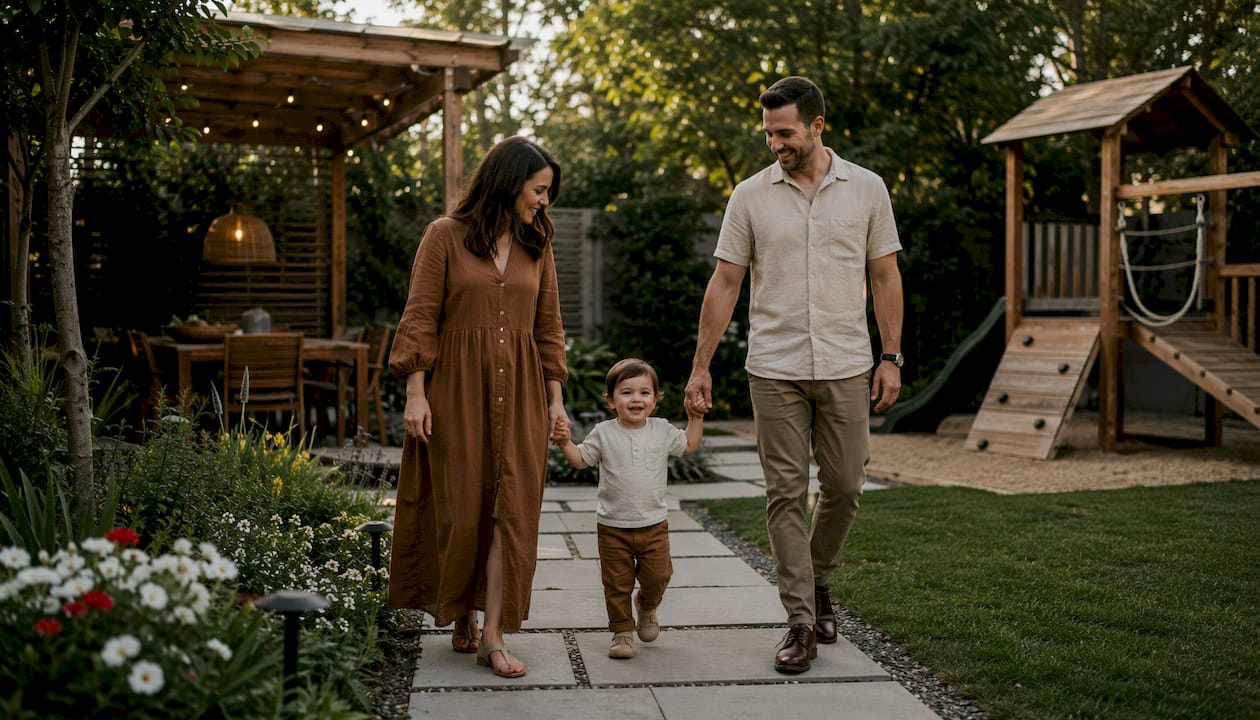
A morning retreat functions differently from an evening entertaining space. A well-zoned property supports both without compromise, because the zones are sized and positioned around how you actually use your time, not around what looks good in a photograph.
What design fundamentals should guide your layout?
Start with purpose, not materials. The single most useful question before any layout decision is: How do I want to use this space, and when? A family that entertains large groups on weekend evenings needs different adjacencies than a couple who wants a quiet morning coffee spot and an occasional dinner for six. Design experts consistently identify the most common mistake as treating the yard as a collection of features rather than designing around human behavior and spatial zoning.
A professional landscape architect will recommend an architecture-first master plan so that functional zones relate cohesively before any construction begins. The layout decisions that follow from that plan include:
- Entry and arrival sequence. How someone moves from inside the house to the outdoor space should feel intentional, not abrupt. A threshold element (a change in paving material, a pergola opening, a planting frame) signals the transition.
- Sun orientation. Identify where morning and afternoon shade fall. Position seating to take advantage of natural shade; use structures to fill the gaps.
- Adjacency of kitchen, dining, and seating. The cook should be able to hold a conversation with seated guests without crossing the space. Keep prep, cook, and serve within a tight triangle.
- Utility access. Gas, water, and electrical rough-ins must be planned before hardscape is laid. Retrofitting utilities through finished stone is expensive and disruptive.
- Sightlines from the house. The view from your primary interior rooms shapes how the outdoor space feels even when you are not in it. Frame that view intentionally.
- Circulation width. Main pathways between zones should be at least 4 feet wide; primary arrival paths, 5–6 feet.
Pro Tip: Walk your property at the times you plan to use it most. Note where you naturally stop, where the light is best, and where wind or noise is a problem. Those observations should drive zone placement more than any template layout.
The arrival sequence from interior to exterior is one of the most overlooked design moments in residential projects. When it is choreographed well, the transition changes pace and atmosphere deliberately. When it is ignored, the outdoor space feels like an afterthought regardless of how well the rest is executed.
How do you choose materials and furniture that last?
Material selection determines both the long-term maintenance burden and the perceived quality of the finished environment. The right choice depends on your climate, your design language, and how much ongoing upkeep you are willing to do.
Material recommendations by use and climate:
- Natural stone and travertine pavers: Excellent UV stability, natural thermal comfort underfoot, and a finish that ages well. The hallmark choice for luxury builds in Southern California and warm climates generally. Requires sealing every 2–3 years.
- Porcelain pavers: Near-zero maintenance, highly stain-resistant, and available in large-format slabs that read as contemporary. Less thermal mass than natural stone; can be slippery when wet if the wrong finish is specified.
- Powder-coated aluminum furniture: Rust-proof, lightweight, and available in finishes that closely mimic wrought iron or steel. The practical default for coastal and humid climates.
- Teak and ipe wood: Naturally rot-resistant hardwoods that weather to a silver-gray if left untreated, or hold their warm tone with annual oiling. Avoid pressure-treated pine for visible elements in a luxury build.
- Concrete pavers: Durable and cost-effective for large areas; prone to fading and staining over time without proper sealing. Better suited to service zones than primary entertaining areas.
For furniture, scale matters as much as material. Pieces that look right in a showroom often read as too small once placed on a full patio. A primary seating cluster for six to eight people typically requires a 12-by-16-foot minimum footprint to feel comfortable. Choose cushions rated for outdoor UV exposure (solution-dyed acrylic fabrics like Sunbrella hold color significantly longer than standard outdoor fabrics), and plan for covered storage or a dedicated cushion cabinet.
Pro Tip: Specify sealed iron fittings and powder-coated aluminum hardware on all built-in elements from the start. Retrofitting rust-resistant hardware after the fact costs far more than specifying it correctly the first time.
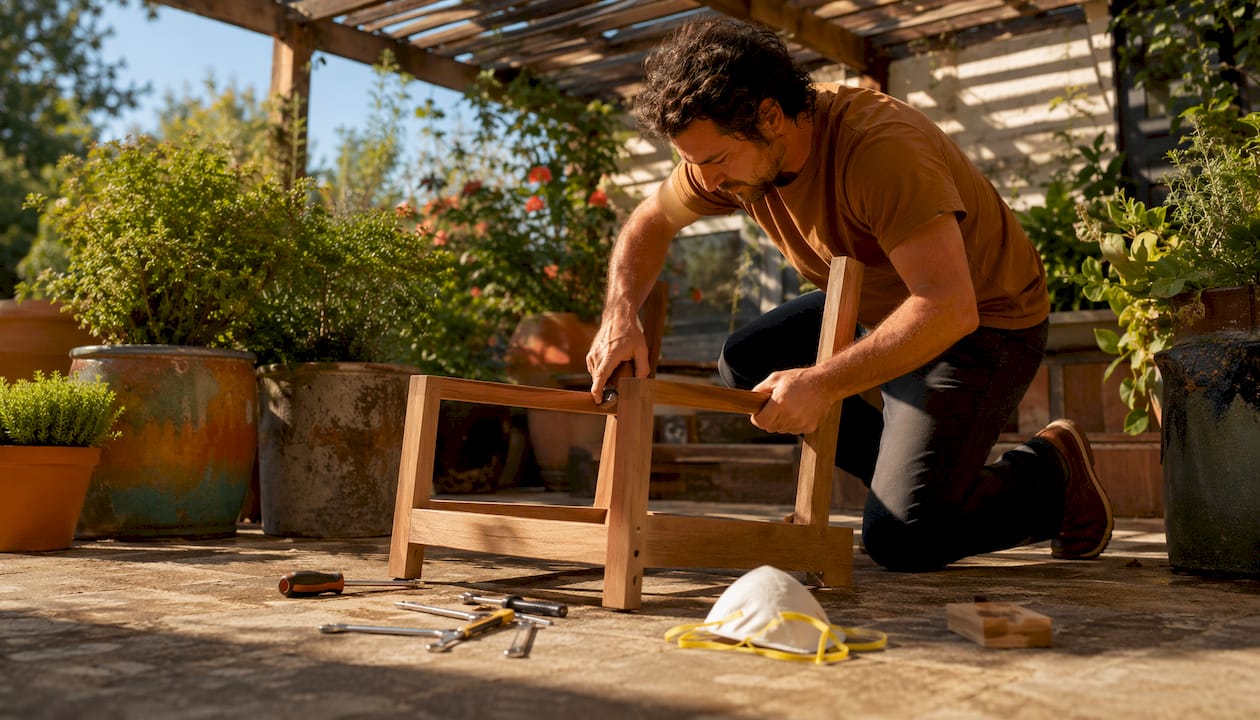
A consistent material palette of two to three primary hardscape materials and one to two accent materials is the most effective way to make a multi-zone environment feel unified. More than that and the space reads as assembled rather than designed.
How does lighting extend and define an outdoor space?
Lighting is the single element that most dramatically changes how long and how often an outdoor space gets used. A well-lit environment at 9 PM functions as a fully realized room. The same space with only a single overhead fixture feels like a parking lot.
The four lighting layers every outdoor environment needs:
- Task lighting: Focused illumination at the grill, prep counter, and dining table. Pendant lights over an outdoor kitchen island and recessed fixtures in a pergola ceiling are the most common applications.
- Ambient lighting: Soft, diffuse light that fills the space without glare. Wall sconces, string lights on a pergola, and low-profile post lights all contribute to ambient warmth.
- Accent lighting: Directional fixtures that highlight architectural features, specimen plants, water features, and textured stone walls. Up-lighting a mature olive tree or grazing light across a travertine wall adds depth and drama.
- Safety and path lighting: Low-level fixtures along steps, grade changes, and pathways. These serve a functional purpose but should be specified to complement the overall lighting design, not contradict it.
Color temperature shapes the atmosphere more than most homeowners expect. Fixtures in the 2700K–3000K range (warm white) create an inviting, residential feel. Cooler temperatures (4000K+) read as commercial and tend to flatten the space visually. For most outdoor living environments, staying at or below 3000K throughout is the right call.
Zoning your lighting into programmable scenes through a low-voltage control system (Lutron and similar platforms integrate well with outdoor applications) means a dinner setting, a late-night conversation mode, and an arrival sequence can each be called up with a single command. That level of control is not a luxury add-on; it is what separates a finished environment from a collection of fixtures.
What does a well-designed outdoor kitchen actually require?
An outdoor kitchen is one of the highest-returning investments in an outdoor living environment, but only when it is designed as a permanent architectural element rather than a modular unit placed on a patio. Outdoor kitchens can return 100%–200% at resale depending on design quality and climate, but that return depends on permanence, material quality, and integration with the surrounding space.
Layout and safety considerations:
- Small footprint (linear, 8–12 feet): A built-in grill, side burner, undercounter refrigerator, and 6–8 linear feet of counter. Suitable for a couple or small family; fits within a 10-by-12-foot covered area.
- Mid-scale L-shape or U-shape (12–20 feet): Adds a prep sink, bar seating for 4–6, and storage. Requires a covered structure overhead and a dedicated gas line.
- Full outdoor kitchen (20+ feet): Pizza oven, multiple cooking stations, full refrigeration, dishwasher, and a bar. Requires a dedicated electrical circuit, gas line, water supply, and drainage. Plan for a minimum 16-by-20-foot covered footprint.
The work triangle principle (prep, cook, clean) applies outdoors just as it does inside. Keep the sink within 4–5 feet of the primary prep surface, and position the grill so the cook faces the seating area rather than a wall or fence.
Ventilation is non-negotiable for any covered outdoor kitchen. A built-in grill under a solid roof requires a rated outdoor exhaust hood. Minimum clearances between a grill and overhead combustible materials are set by the appliance manufacturer and local code; in California, most jurisdictions follow the California Mechanical Code, which requires a minimum 36-inch clearance from the cooking surface to any combustible overhead element.
Pro Tip: Plan your garbage and recycling station before finalizing the kitchen layout. A pull-out cabinet or a dedicated alcove keeps waste out of sightlines and prevents the most common functional complaint about outdoor kitchens: nowhere to put anything mid-cook.
For outdoor dining design adjacent to the kitchen, allow at least 36 inches of clearance between the table edge and any wall or structure so guests can pull chairs out comfortably.
How should you use planting to shape the space?
Planting does more structural work in an outdoor living environment than most homeowners realize at the planning stage. Trees, shrubs, groundcovers, and containers collectively define enclosure, create privacy, moderate temperature, and establish the design language of the space.
The five planting layers and what each contributes:
- Canopy trees: Provide overhead shade, reduce ambient temperature by several degrees, and create the sense of a room with a ceiling. In San Diego, California sycamore, coast live oak, and Brisbane box are reliable choices.
- Mid-level shrubs (6–15 feet): Create privacy screening, define zone edges, and add seasonal interest. Pittosporum, Podocarpus, and native toyon work well in Southern California's Mediterranean climate.
- Understory plants (2–6 feet): Fill the visual layer between shrubs and groundcover; agave, lavender, and rosemary are drought-tolerant and low-maintenance in warm climates.
- Groundcover: Covers soil between hardscape and planting beds; reduces weed pressure and softens paving edges. Dymondia margaretae is a popular low-water option for San Diego.
- Container planting: Adds flexibility and seasonal color; useful for framing entry points, softening corners of structures, and introducing fragrance near seating areas.
For California homeowners, drought-tolerant and California-native planting is both ecologically responsible and practically smart. Native species are adapted to the state's dry summers and wet winters, require less supplemental irrigation once established, and support local pollinators. The California Native Plant Society maintains regional plant lists organized by county that are a reliable starting point for any planting plan.
Planting also shapes microclimate in ways that reduce the need for mechanical systems. A row of tall shrubs on the prevailing wind side of a seating area can reduce felt temperature by 5–10 degrees. A canopy tree positioned to shade the western exposure of a patio eliminates the need for a shade sail or additional structure in that zone.
Pro Tip: Use planting to choreograph sightlines, not just fill space. A well-placed specimen tree or a dense shrub screen can frame a view, conceal a fence, or create the sense of enclosure that makes a seating area feel private without adding any built structure.
For container gardening in tighter zones or on paved surfaces, choose containers large enough to support root development (18 inches minimum diameter for most shrubs) and use a well-draining potting mix to prevent waterlogging.
How do you design an outdoor space for year-round use?
Year-round usability is not automatic. It requires deliberate design decisions made early in the planning process, before any hardscape is laid or structures are permitted.
Seasonal strategies by climate type:
- Mild Mediterranean (San Diego, coastal Southern California): The primary challenge is summer afternoon heat and occasional Santa Ana wind events. Louvered pergolas with automated slats handle both: close them against afternoon sun in July, open them fully on a cool January morning. Integrated patio heaters extend comfortable use on winter evenings when temperatures drop into the low 50s.
- Temperate (Pacific Northwest, mid-Atlantic): Rain and overcast skies are the limiting factor. A solid-roof patio cover or alumawood structure with gutters and drainage keeps the space usable through wet seasons. Retractable screens on a pergola add wind protection.
- Cold-winter (Midwest, Northeast): Covered structures, outdoor fireplaces, and radiant heating underfoot extend the season into fall and early spring. Furniture selection and storage planning matter more here; pieces that cannot be left out year-round require a dedicated storage solution.
- Hot-humid (Southeast, Gulf Coast): Shade and air movement are the priorities. Deep overhangs, ceiling fans rated for damp locations, and misting systems extend comfortable use through summer. Pest management is a practical consideration; integrated pest control strategies for mosquitoes and other insects are worth building into the seasonal maintenance plan.
- Arid (Southwest, inland California): Shade structures are non-negotiable. Evaporative cooling misters and deep-rooted shade trees reduce ambient temperature significantly. Drainage design matters less for rain but more for irrigation runoff.
Year-round usability checklist:
- Covered structure over the primary seating and dining area
- Integrated or ceiling-mounted patio heaters in the covered zone
- Retractable or fixed wind screens on the prevailing wind exposure
- Proper site drainage (minimum 2% grade away from structures and the house foundation)
- Lighting designed for evening use across all seasons
- Furniture and cushion materials rated for the local climate
- Durable, low-maintenance finishes on all built elements
What do outdoor living projects actually cost, and how long do they take?
Realistic cost and timeline expectations prevent the most common source of project disappointment: a scope that was never properly defined before construction began.
Ballpark cost ranges by project type
| Project Type | Typical Range | Primary Cost Drivers |
|---|---|---|
| Focused hardscape upgrade (patio, pavers, seat walls) | $25,000–$60,000 | Site prep, material grade, drainage |
| Covered outdoor living room (pergola, lighting, fire feature) | $50,000 | Structure type, electrical, finish level |
| Outdoor kitchen (mid-scale, covered) | — | Appliances, utilities, stone work |
| Custom pool and spa | $80,000–$300,000+ | Pool type, finish, automation, water features |
| Full outdoor living transformation | $150,000–$300,000+ | All of the above, combined |
Hardscape patios often recover 80%–110% of their cost at resale, and covered outdoor living rooms may appraise at 50%–70% of indoor square-foot value in some markets. Integration with the home's architecture matters more than spending level alone.
Typical project timeline
A full design-build project from first consultation to final walkthrough typically runs 4–8 months, broken down roughly as follows:
- Design and planning (4–8 weeks): Site survey, 2D plans, 3D renderings, material selections, client approvals
- Permitting (4–12 weeks): Varies significantly by jurisdiction; San Diego County permits for pools and structures can run 8–12 weeks
- Construction (8–20 weeks): Depends on scope; a focused hardscape project may complete in 6–8 weeks; a full outdoor living build with a pool runs 16–20 weeks
Budgeting priorities:
- Allocate for site work, grading, and drainage before any visible finish. Invisible engineering determines long-term success; a beautifully finished patio on a poorly graded site will fail within a few years.
- Specify structural and utility elements (gas, water, electrical conduit) at the beginning. Retrofitting these through finished hardscape is expensive.
- Build a 10%–15% contingency into any project budget for unforeseen site conditions, material lead times, and scope refinements.
Patio vs. outdoor living space: what are the real differences?
The distinction is functional, not cosmetic. A patio is a surface. An outdoor living space is a system.
Three typologies that illustrate the range:
Modest patio upgrade: Existing concrete replaced with travertine or porcelain pavers, a freestanding pergola added for shade, string lighting installed overhead, and a small fire table positioned at the seating cluster. Total investment: $25,000–$50,000. This is the entry point to a true outdoor living environment: the space now has a defined overhead plane, a quality ground plane, and a light source that extends its hours of use.
Mid-scale entertaining-focused outdoor living room: A covered alumawood or louvered pergola over a primary seating and dining area, a built-in outdoor kitchen with grill and bar seating, a gas fire feature as the focal point, landscape lighting throughout, and a planting plan that creates privacy on two sides. Total investment: $80,000–$150,000. This typology is where most San Diego homeowners in the $1.5M–$4M property range land.
Full resort-style backyard: Custom pool and spa, full outdoor kitchen, covered living room with louvered pergola, fire feature, premium paver system throughout, landscape design with mature specimen planting, and a fully programmed lighting system. Total investment: $200,000–$300,000+. At this level, the outdoor environment functions as a private resort and contributes meaningfully to the property's appraised value.
Pro Tip: When gathering inspiration images for a designer meeting, sort them by element (pools, kitchens, pergolas, planting) rather than by overall style. A designer can extract your material and spatial preferences far more efficiently from organized references than from a single mood board.
How do you start? A planning checklist for homeowners
The most productive first meeting with a designer happens when you arrive with a clear picture of how you live, not just what you like. These steps prepare you to move efficiently from concept to signed contract.
Before your first call, gather:
- A site survey or property plot plan showing property lines, setbacks, and existing structures
- Photographs of the space from every angle, including views from inside the house looking out
- A list of how you use (or want to use) the space: morning coffee, weekend entertaining, children's play, lap swimming, working from home outdoors
- Notes on what is not working: too hot in the afternoon, no privacy from neighbors, no shade, no place to cook
- A rough sense of your investment range (not a hard number, but a tier: focused upgrade, mid-scale transformation, or full build)
- Inspiration images organized by element type
Questions to ask every designer or contractor:
- Do you produce 2D architectural plans and photo-realistic 3D renderings before construction begins?
- Who manages permitting, and how do you handle permit delays?
- Is your firm licensed and insured in California? (Request the contractor license number and verify it at the California Contractors State License Board)
- Do you use subcontractors, or does your own crew perform all work?
- What does your change-order process look like, and how are changes priced?
- What warranties do you provide on labor and materials?
- What is the payment schedule, and what milestones trigger each payment?
Pro Tip: Lock zoning, utility routing, and drainage design early. These are the decisions that are most expensive to change mid-construction. Finish selections (paver color, furniture fabric, lighting fixtures) can be refined later; underground infrastructure cannot.
The design-before-construction principle is not a formality. It is the mechanism that prevents the most common and costly project failures: scope creep, utility conflicts, and spaces that look right on paper but do not function in real life.
What should the design-build process look like?
A qualified luxury design-build firm delivers a defined set of deliverables at each project stage. Knowing what to expect protects you from firms that skip critical steps.
Stage-by-stage deliverables:
- Concept and programming: Site visit, lifestyle interview, preliminary zone sketch, rough scope and investment range
- Schematic design: Scaled 2D site plan showing all zones, structures, planting areas, and utility locations
- 3D rendering and approval: Photo-realistic renderings showing materials, planting, and lighting as they will appear at completion. No construction should begin before you have approved these.
- Permitting: Engineered plans submitted to the relevant jurisdiction; permit tracking and response to plan-check comments
- Construction: Phased build sequence (grading and drainage first, utilities second, hardscape third, structures fourth, planting and lighting last), with regular site communication
- Final walkthrough: Punch-list review, system demonstrations (lighting controls, pool automation, irrigation), and warranty documentation
The design-build model eliminates the handoff problem that causes most luxury project failures: when the designer and the builder are different firms, the translation from drawing to construction introduces errors, substitutions, and accountability gaps that the homeowner absorbs. One team, one contract, one point of contact from concept through completion is the standard you should insist on.
Contract items to insist on:
- Clear change-order language specifying how scope additions are priced and approved in writing
- Warranty terms for both labor and materials, stated explicitly by element (hardscape, pool, structures, planting)
- Grading and drainage specifications written into the scope, not left as a verbal understanding
- A phased payment schedule tied to construction milestones, not calendar dates
Pro Tip: Ask to see the 3D rendering of a completed project alongside a photograph of the finished build. The closer those two images match, the more reliable the firm's design-to-construction translation process is.
Modern Yardz has completed 2,900+ projects across San Diego County under California Contractor License #1082881, maintaining a 5.0-star rating by operating under a single-team, zero-subcontractor model with 3D rendering approval before any construction begins.
Key Takeaways
A well-designed outdoor living environment functions as a permanent architectural extension of your home, delivering measurable lifestyle value and documented resale returns when built with quality materials and proper site engineering.
| Point | Details |
|---|---|
| Definition and scope | An outdoor living environment is a system of zones, structures, surfaces, utilities, and planting — not a patio with furniture. |
| Design-first principle | Approve 2D plans and 3D renderings before construction begins; invisible engineering (grading, drainage, utilities) determines long-term success. |
| ROI and resale value | Thoughtfully planned outdoor spaces can increase home value by 8%–15%; patios often recover up to 95% of cost at resale. |
| Seasonal planning | Year-round usability requires covered structures, integrated heating, proper drainage, and climate-appropriate materials specified from the start. |
| Modern Yardz | San Diego's luxury design-build firm with 2,900+ completed projects, 3D rendering approval before construction, and zero subcontractor handoffs. |
Why the design comes before everything else
There is a version of outdoor living that gets built every day in San Diego: a contractor pours a patio, drops in a prefab kitchen island, installs a pergola kit, and calls it done. The space looks reasonable in photographs. Within two years, the drainage is failing, the kitchen island is delaminating, and the pergola is racking because it was never properly anchored to a footing. The homeowner spent real money and got a surface, not an environment.
The concept of outdoor living as an intentional extension of the home is not a marketing phrase. It is a design and engineering discipline. The spaces that hold their value, get used daily, and photograph well five years after completion share one characteristic: they were designed before they were built. Zones were mapped to human behavior. Materials were selected for the specific climate and maintenance tolerance of the owner. Utilities were roughed in before the first paver was set. The arrival sequence was choreographed so the transition from inside to outside feels deliberate.
What most homeowners underestimate is how much the invisible work matters. Grading, drainage, and buried conduit are not glamorous line items. They are the reason a $200,000 outdoor environment still looks and functions like new a decade later, while a $60,000 shortcut is being torn out and redone. Permanence is the investment thesis. Everything else is finish selection.
Modern Yardz brings the full design-build process under one roof
For San Diego homeowners in La Jolla, Rancho Santa Fe, Del Mar, Coronado, and Carmel Valley, Modern Yardz delivers the complete outdoor living environment from first consultation through final walkthrough: custom pools and spas, outdoor kitchens, premium travertine and natural stone paver systems, louvered pergolas, fire features, landscape design, artificial turf, and landscape lighting, all under one contract with one team and zero subcontractor handoffs.
Every project begins with photo-realistic 3D renderings you approve before construction starts. Permitting, material procurement, and phased construction are managed by a single point of contact. The result is a finished environment that matches the rendering and performs as designed for years.
With 2,900+ completed projects and a 5.0-star rating, Modern Yardz operates exclusively in the luxury segment of the San Diego market. View completed projects in the Modern Yardz portfolio, or schedule a free consultation to discuss your property and project goals.
Useful sources and further reading
- Homeowner Garden Design Series: Creating Outdoor Rooms — Oklahoma State University Extension; foundational reference on the outdoor room framework and ground/vertical/overhead plane concepts
- Outdoor Room Concept: Making the Most of Your Outdoor Living Space — Michigan State University Extension; practical explanation of the three-zone model
- Why Outdoor Living Spaces Have Become the Highest-ROI Home Upgrade — Programming Insider; cost recovery data for patios, outdoor kitchens, and covered structures
- Do Outdoor Structures Add Home Value? — Billings Gazette; appraisal and permanence data for outdoor living investments
- The Investment Case for Premium Hardscape — Citadel Spaces; hardscape cost recovery and integration guidance
- California Contractors State License Board — Verify contractor license status before signing any contract
- California Native Plant Society — Regional native plant lists organized by county; useful for drought-tolerant planting plans
- How to Design Outdoor Living Spaces — The Landscape Library; behavioral design principles and common planning mistakes
What to bring to your first designer meeting: a scaled site plan or plot map, photographs from all angles including interior views looking out, a written list of how you use the space now and how you want to use it, inspiration images sorted by element type, and a clear sense of your investment tier. The more specific your brief, the faster and more accurately the design process moves.
Recommended
Start Your Free Design Consultation
Tell us about your project and we'll be in touch within 24 hours. No pressure, no obligation.
Ready to design your dream yard?
Tell us about your project. We'll send back a real plan, not a templated quote.
Book My Free Consultation→