Outdoor Kitchen Layout Design: Your Complete 2026 Guide
Discover what outdoor kitchen layout design means and learn how to create a functional, inviting cooking space for your home. Dive in!
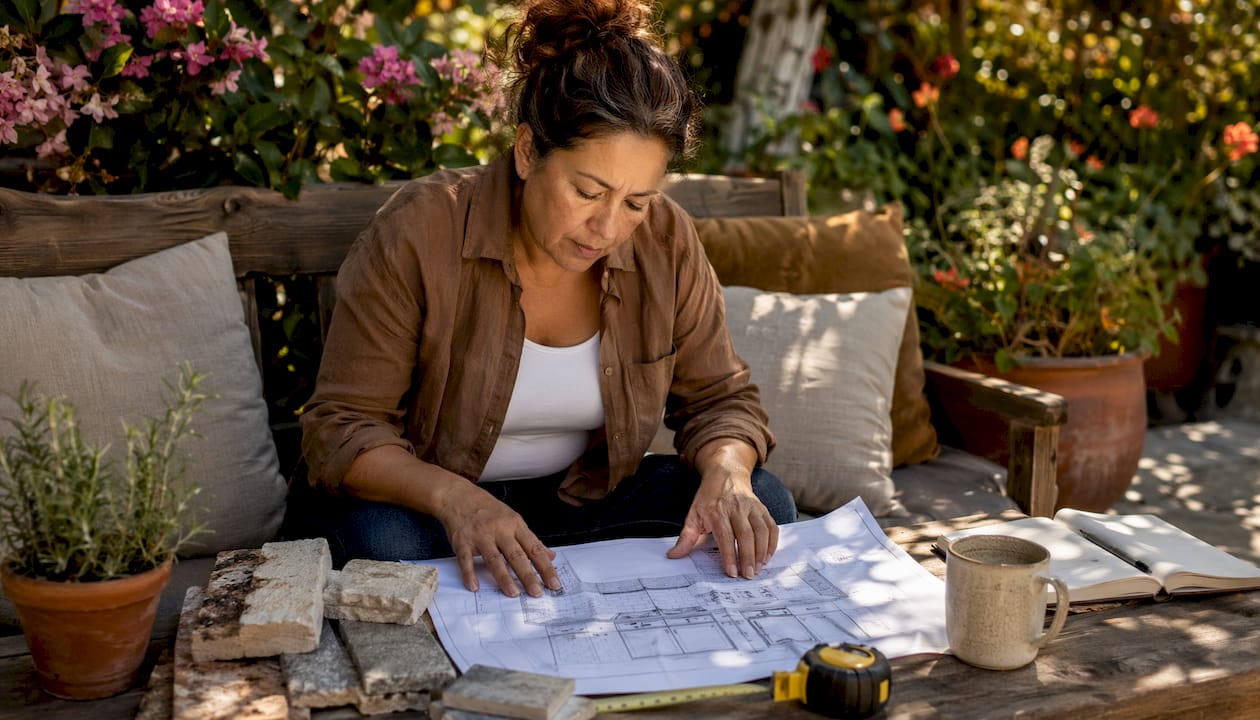
What outdoor kitchen layout design actually means
Outdoor kitchen layout design is the strategic arrangement of cooking, prep, storage, cleanup, and social zones in an outdoor space to maximize function, safety, and flow. It is not simply choosing a grill and placing it on a patio. The layout determines where every appliance, counter, and utility connection lives, and how smoothly a cook can move between tasks while guests gather nearby.
A well-planned layout addresses four core questions: where does food travel from storage to plate, how do guests move without crossing the cook's path, where do gas, water, and electrical lines run, and how does the kitchen connect visually to the home's architecture?
The key elements every layout must account for include:
- Cooking zone: grill, side burner, pizza oven, or smoker as the spatial anchor
- Prep zone: continuous countertop, ideally 36 inches minimum, positioned between the refrigerator and the grill
- Storage zone: refrigerator, dry storage, and cabinetry kept away from direct heat
- Cleanup zone: sink and trash positioned at the end of the workflow, not back through the cooking area
- Social zone: bar seating or dining area physically separated from the cook's work path
- Lighting and ventilation: task lighting over work surfaces, ambient lighting for dining, and exhaust or open-air clearance for covered builds
- Aisle widths: at least 42 inches for a single cook, 48 inches when two people work simultaneously
Common outdoor kitchen configurations and how each one works
## 1. Straight-line layout
A single island running 6–12 feet along one wall or fence line. The work triangle flattens into a work line here, which functions well for one cook as long as the run stays under 12 feet. Beyond that, the walk between the grill and the refrigerator becomes tiring. Best for narrow patios or spaces where the kitchen backs against a structure.
## 2. L-shaped layout
The most popular configuration for medium-sized patios. The perpendicular wing naturally separates the hot cooking zone from the cold prep and storage zone, and the corner becomes prime prep territory. Typical dimensions run a medium length on the long side and shorter on the short side, accommodating multiple appliances with room for bar seating on the guest-facing edge.
## 3. U-shaped layout
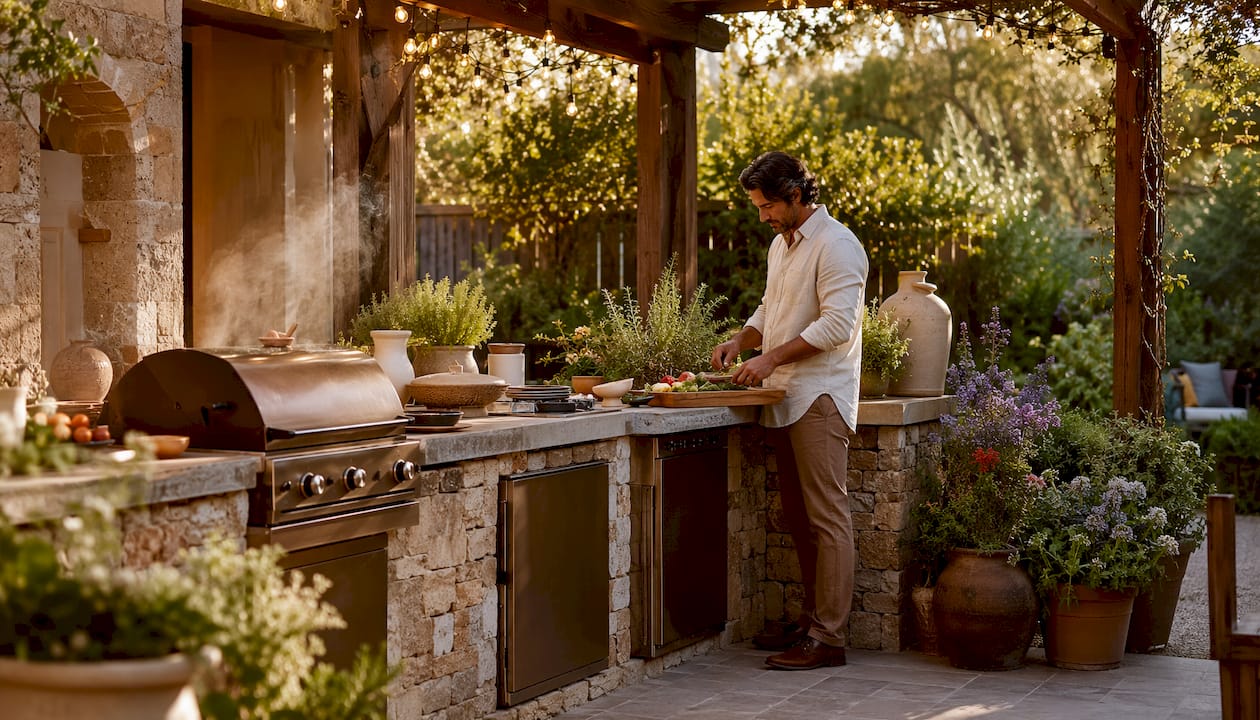
Three sides wrap around the cook, putting every appliance within arm's reach. This layout suits serious entertainers with larger patios and significant space. The grill anchors the center section, prep and sink occupy one wing, and cleanup or beverage storage fills the other. Guests sit along the open fourth side.
## 4. G-shaped layout
An extension of the U-shape with an added peninsula, often used as a dedicated bar return. The extra leg creates a natural boundary between the cooking cockpit and the dining area, which works well when you are hosting larger groups and want the bartending station physically separated from the grill.
## 5. Island-plus-bar layout
A freestanding cooking island paired with a separate bar or serving counter. The two structures create distinct zones across open patio space, giving guests their own destination away from the heat. This configuration suits large, open yards where flexibility in traffic flow matters as much as cooking capacity. See backyard layout examples for how these configurations translate to real San Diego properties.
How to design your outdoor kitchen layout step by step
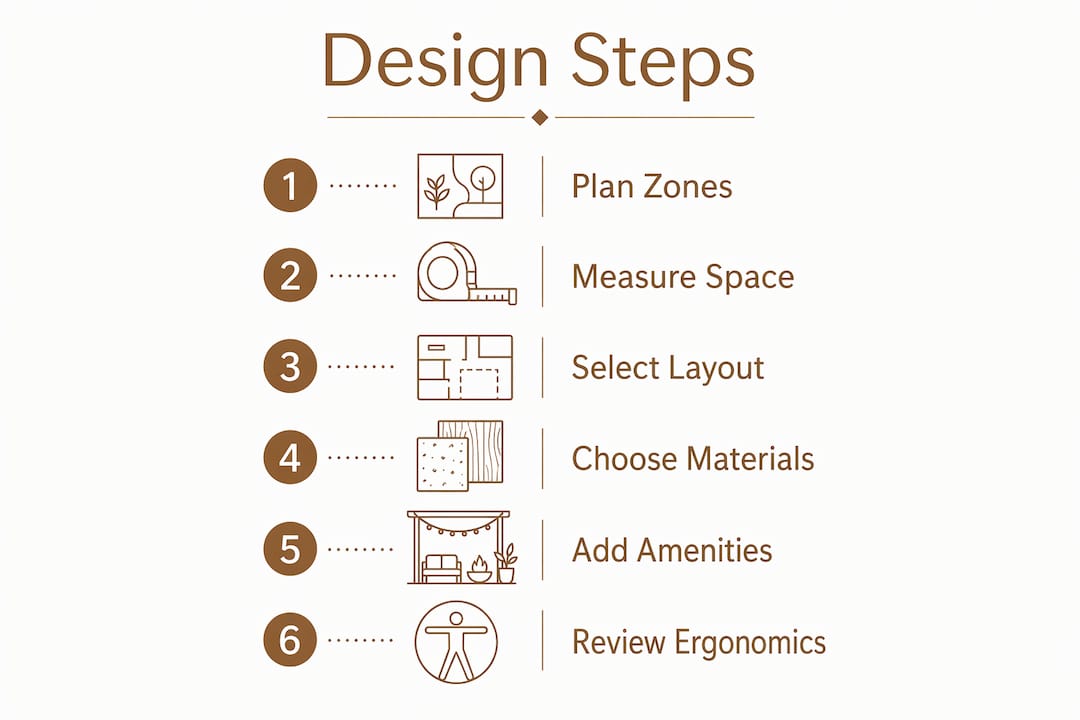
- Measure your space and mark the footprint. Before any purchasing decisions, tape the kitchen outline directly onto the patio surface. Walk through it. Open imaginary grill lids. This physical test reveals clearance problems that no drawing catches.
- Assess sun, wind, and traffic patterns. Note where afternoon sun hits hardest and which direction prevailing winds travel. Appliance placement based on local wind patterns keeps smoke away from dining areas and protects materials from coastal salt air in San Diego neighborhoods like La Jolla and Coronado.
- Apply the work triangle. Position the grill, prep counter, and refrigerator so each leg of the triangle measures 4–9 feet, with a total perimeter of 13–26 feet. This keeps every station within a few steps without crowding two cooks together.
- Allocate zones deliberately. Assign a specific area for cooking, prep, storage, cleanup, and socializing before selecting any appliance. The cleanup zone belongs at the end of the food's natural path, so dirty dishes move away from cooking and serving areas.
- Plan utilities before construction starts. Retrofitting gas, water, and electrical lines after hardscape is complete is one of the most costly corrections in any outdoor kitchen build. Lock in routing during the design phase.
- Sketch at least three layout options. Small shifts, moving the sink one section over or rotating the grill 90 degrees, can produce large gains in flow. Comparing options on paper costs nothing.
Pro Tip: Use painter's tape to mark every appliance position and aisle width on the actual patio surface. Walk the space while holding a platter. If you feel cramped, you are cramped, and it is far less expensive to move tape than to move a built-in grill.
Ergonomic principles that separate a functional layout from a frustrating one
Getting the dimensions right is where most homeowners underinvest. These are the standards that govern how a layout actually feels to use:
- Work triangle legs: each measures 4–9 feet; total perimeter stays within 13–26 feet to balance reach and efficiency
- Aisle widths: 42 inches minimum for a single cook; 48 inches when two people work back-to-back
- Grill landing zones: at least 15 inches of counter on each side of the grill for hot platters and tools
- Refrigerator placement: keep cold zones separated from the grill by at least one cabinet section; direct adjacency forces the compressor to work against constant heat, shortening its lifespan
- Bar seating clearance: 15 inches of knee clearance at a 36-inch-high counter keeps guests comfortable during long evenings
- Guest traffic path: the main route from the house to the yard should never pass through the cooking zone
Landscape designers consistently report that homeowners underestimate how much space guests actually occupy near the cook. Extra counter space beyond the work surfaces is not a luxury; it is what prevents social congestion at every gathering.
Design tools that let you see the layout before you build it
Visualizing a layout in three dimensions before committing to construction prevents expensive mistakes. Several tools make this accessible without requiring design experience:
- RTA Outdoor Living design tool: browser-based configurator that lets you select island modules, appliances, and finishes, then generates a 3D view of the assembled kitchen
- Coyote Outdoor Living design software: manufacturer's planning tool focused on their appliance lineup, useful for confirming clearances and counter configurations around specific equipment
- Fontana Forni design tool: oriented toward pizza oven integration, helping homeowners plan the additional counter space and ventilation clearance a wood-fired oven requires
- 2D graph paper sketches: still the fastest way to compare three layout options side by side before committing to a digital model
A 3D rendering shows how the kitchen reads against the home's exterior, the patio material, and the surrounding landscape. It also surfaces problems like a grill hood that would block a sightline to the pool or a bar counter that crowds a pergola post.
Pro Tip: Run your layout through a digital tool first, then physically mark the footprint on site. The software catches visual proportion issues; the tape on the ground catches real-world clearance problems. Both steps together are what [space planning guides](https://flooringstorejacksonville.com/blog/how-space-planning-for-kitchens-works-a-homeowners-guide-en) consistently recommend before any construction begins.
Professional guidance for luxury outdoor kitchen layouts that last
For homeowners in Rancho Santa Fe, Del Mar, or Carmel Valley building a permanent architectural kitchen, the planning phase carries more weight than any single appliance choice.
- Specify weather-resistant materials from the start. Coastal San Diego's salt air accelerates corrosion on standard stainless steel grades. Marine-grade stainless, natural stone countertops, and porcelain or travertine cladding hold up where lesser materials fail within a few seasons.
- Design ventilation around your site's wind patterns. A covered kitchen with a grill and no exhaust strategy creates smoke and heat buildup. Position the grill so prevailing winds carry smoke away from dining and seating areas, and specify a properly sized hood for any fully covered build.
- Raise the bar counter on the guest-facing side. A 42-inch bar with a 12–15-inch overhang creates a natural boundary between the cook's work area and where guests sit. It keeps people comfortable and out of the heat zone without requiring a physical wall.
- Integrate the kitchen's material palette with the home. Stone cladding that matches the pool coping, counter edges that echo the home's exterior trim, and lighting that connects to the landscape system all signal that the kitchen was designed as part of the property, not added to it.
- Use a design-build firm that produces 3D renderings before construction. Seeing the finished kitchen in context, against the actual home and landscape, is the only reliable way to confirm that proportions, materials, and zone placement work together. At Modern Yardz, every outdoor kitchen design begins with photo-realistic 3D renderings approved by the homeowner before a single material is ordered.
Modern Yardz has completed 2,900+ projects across San Diego County under California Contractor License #1082881, with a 5.0-star rating built on one team managing every phase from design through construction, with zero subcontractor handoffs.
Ready to see your outdoor kitchen in 3D before committing to a build? Schedule a free consultation with Modern Yardz and get a photo-realistic rendering of your layout before any construction begins.
Key Takeaways
Outdoor kitchen layout design succeeds when zones are deliberately placed, ergonomic dimensions are respected, and utilities are planned before construction starts.
| Point | Details |
|---|---|
| Work triangle dimensions | Each leg should measure 4–9 feet, with a total perimeter of 13–26 feet for efficient workflow. |
| Aisle width standards | Allow 42 inches for a single cook and 48 inches when two people work simultaneously. |
| Utility planning timing | Gas, water, and electrical lines must be routed during the design phase to avoid costly retrofits later. |
| Cleanup zone placement | Position the sink and trash at the end of the food's natural path, away from cooking and serving areas. |
| Visualization before building | Use 3D design tools and physical footprint marking together to catch both proportion and clearance problems. |
Recommended
Start Your Free Design Consultation
Tell us about your project and we'll be in touch within 24 hours. No pressure, no obligation.
Ready to design your dream yard?
Tell us about your project. We'll send back a real plan, not a templated quote.
Book My Free Consultation→